Day-12 Ubuntu-24.04 Server Installation

This is the time for creating our next server which is ubuntu server. According to logical diagram we will create a ubuntu server with ssh enabled as our target server and this is not inlcuded in our VPC just like windows server as per our last modification in logical diagram for our project infrastructure.
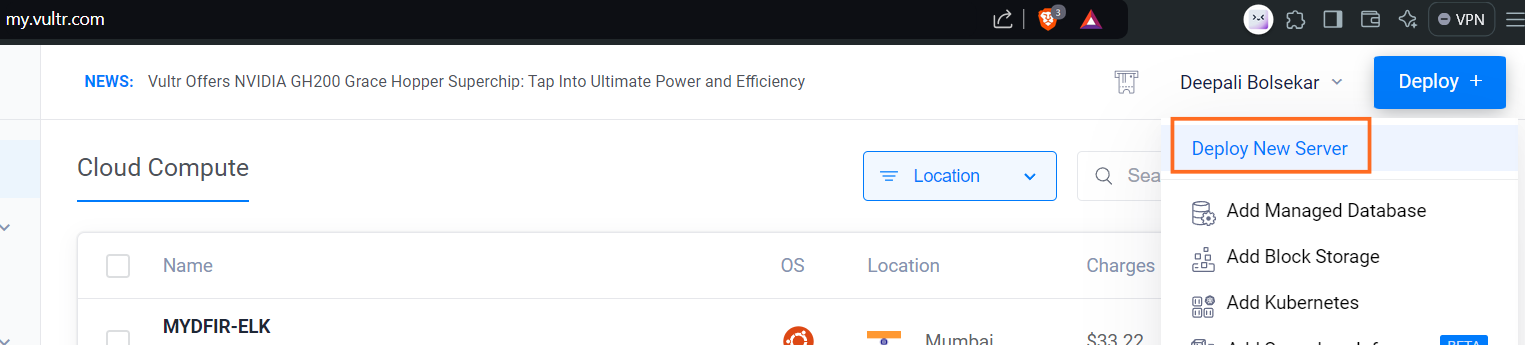
Let’s start with deploying the new server from vultr compute service.
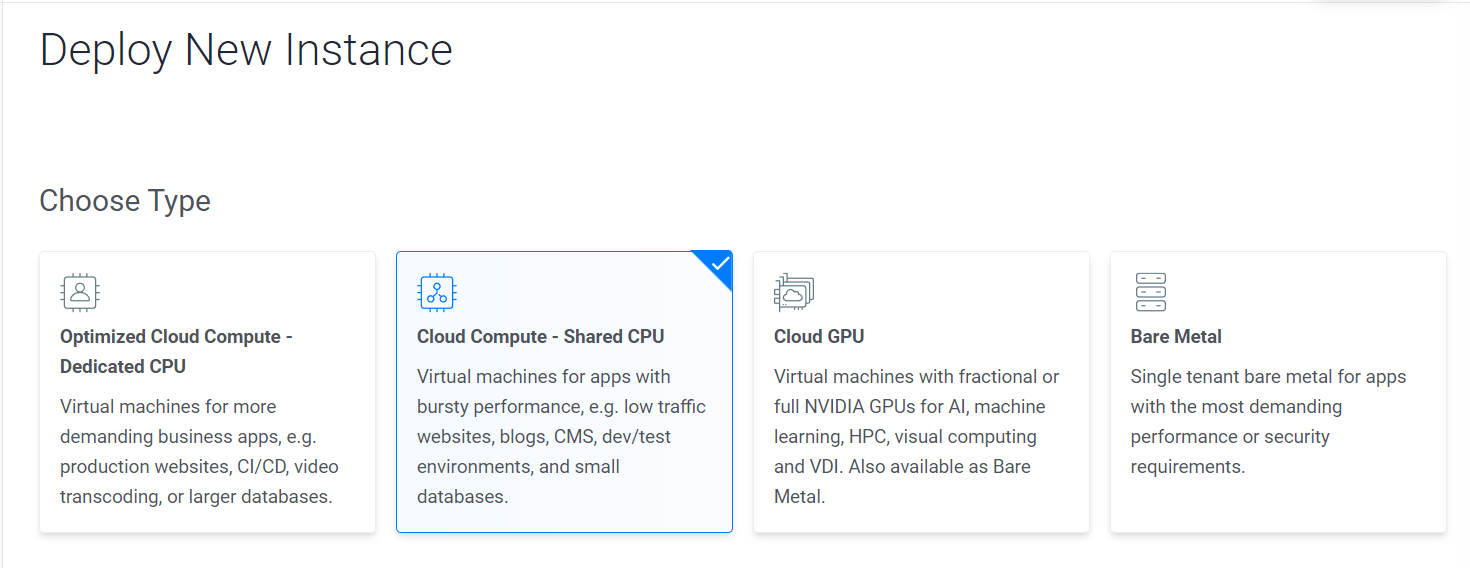
Choose the instance as shared CPU.
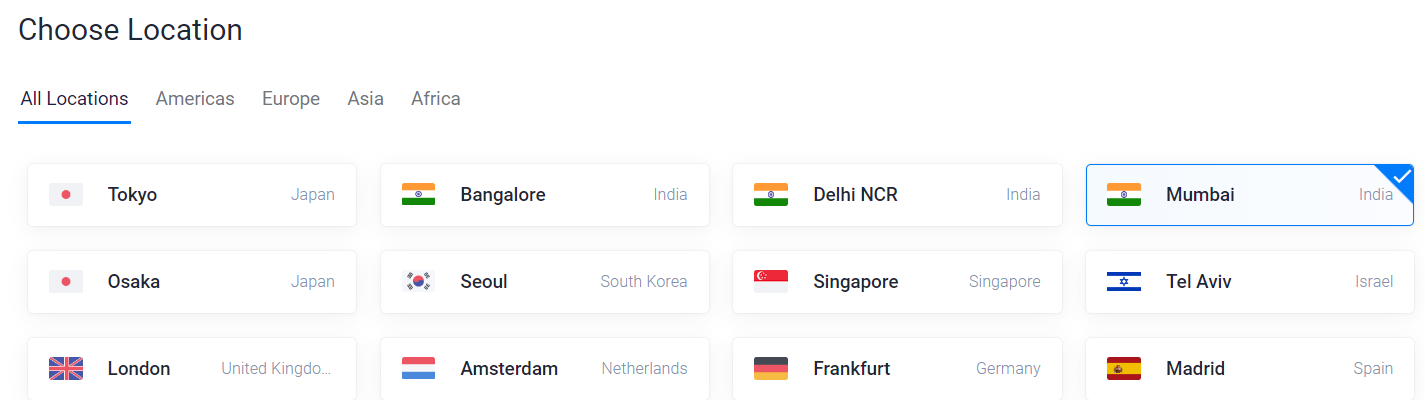
Select the location same as all other servers you created.
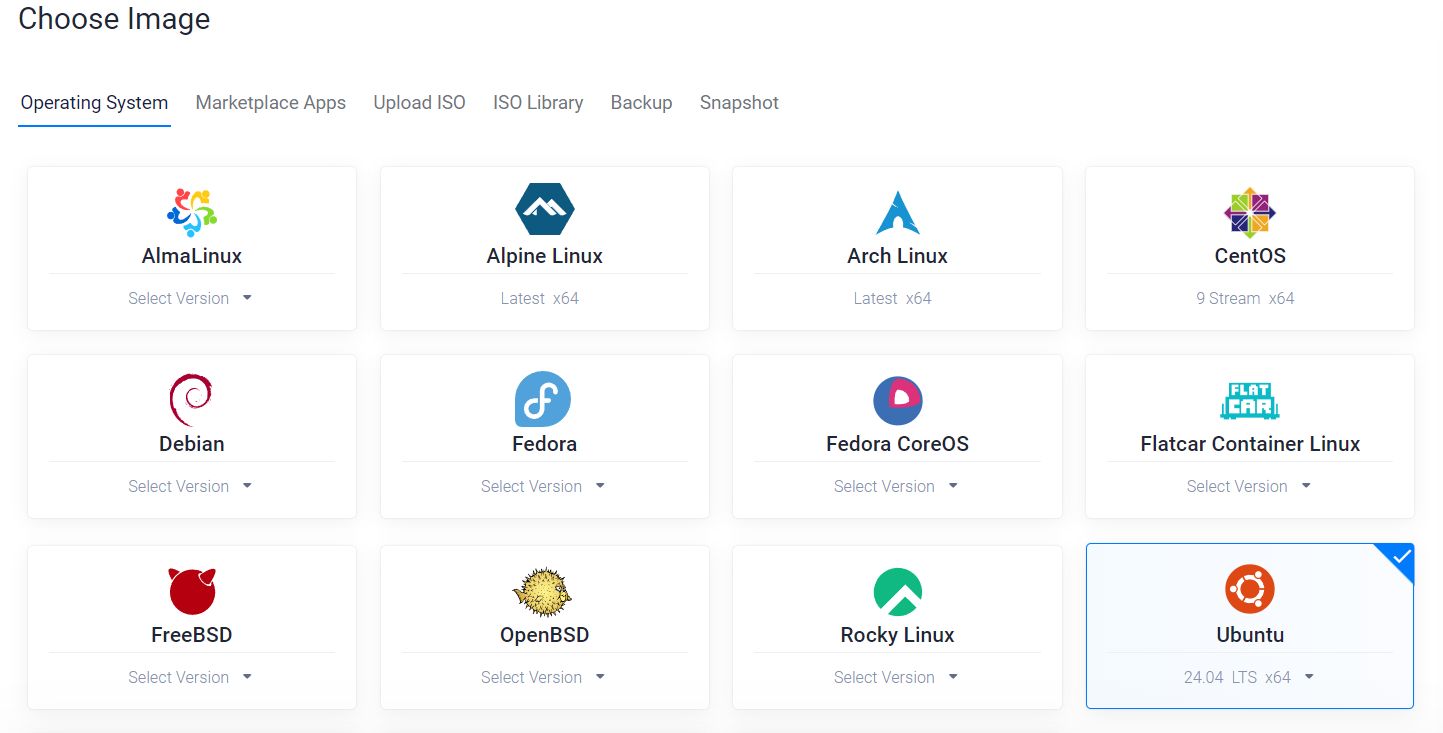
For image we are selecting Ubuntu 24.04 operating system.
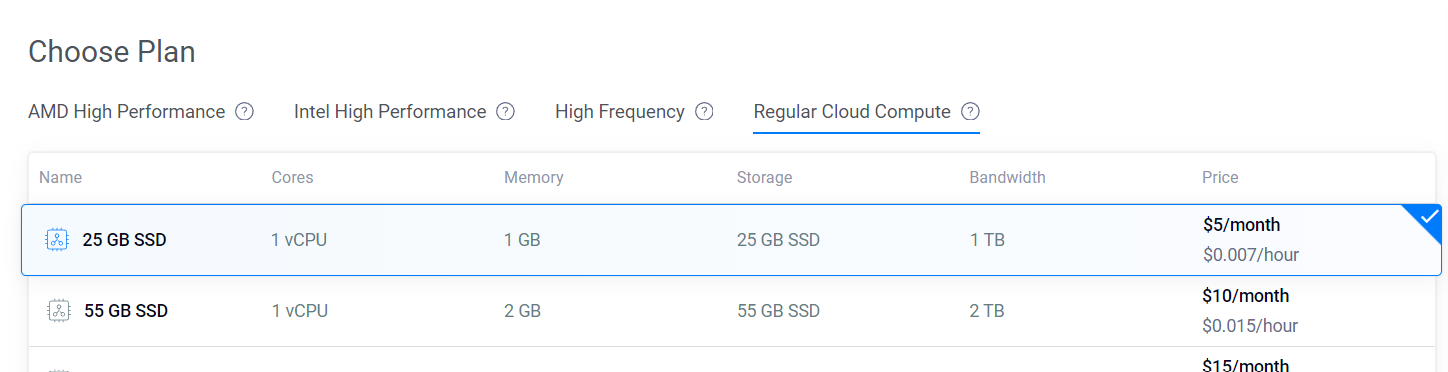
Now, we will select the Regular Cloud Compute plan with 1vCPU and 1GB memory.
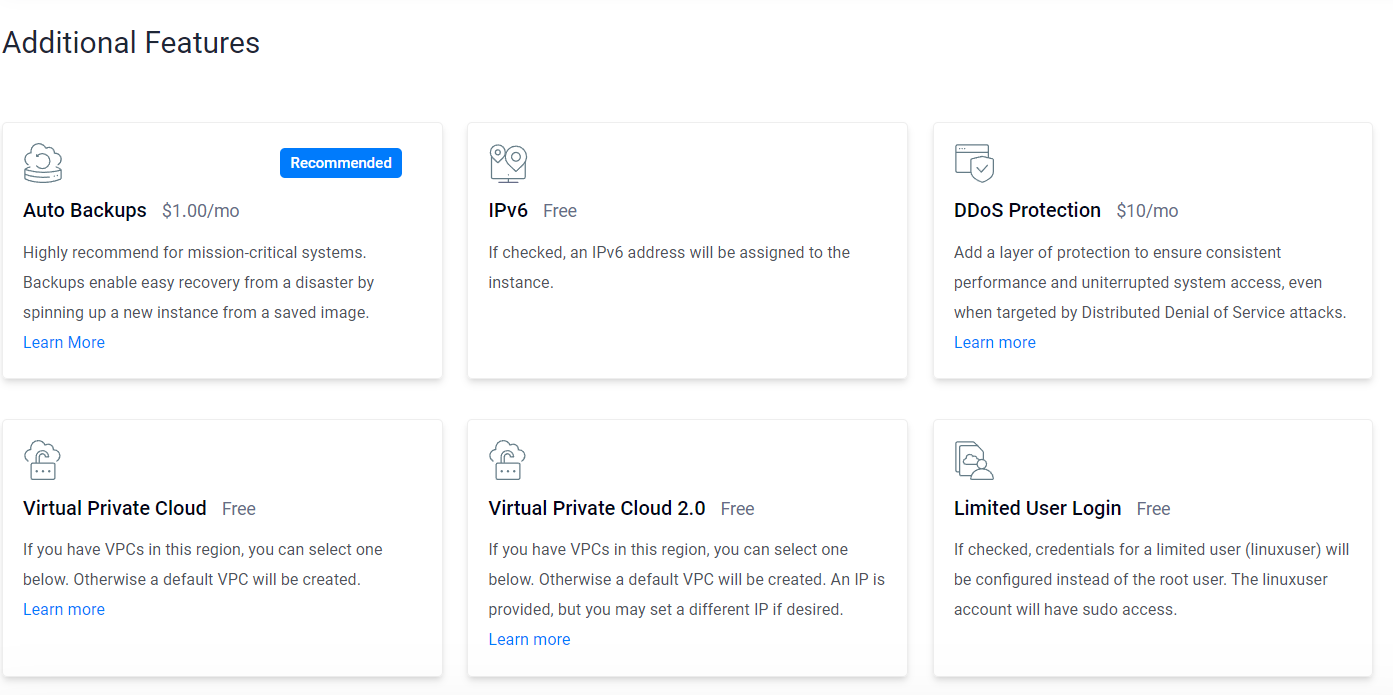
There is no need for any additional features so, let’s deselect all the selected features.
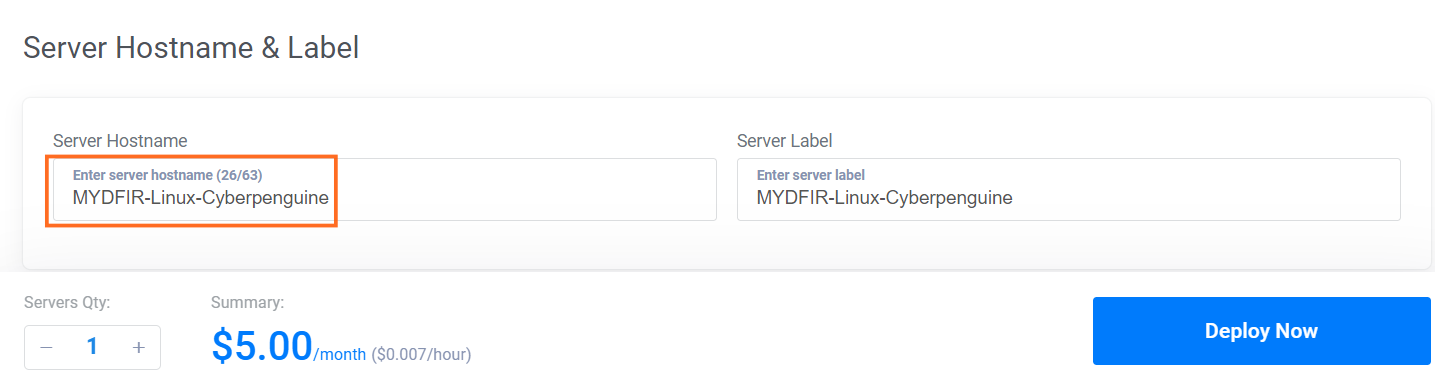
Now, name your server and deploy the instance.

We will wait for few minutes for instance to run and then we will use SSH to access the server.
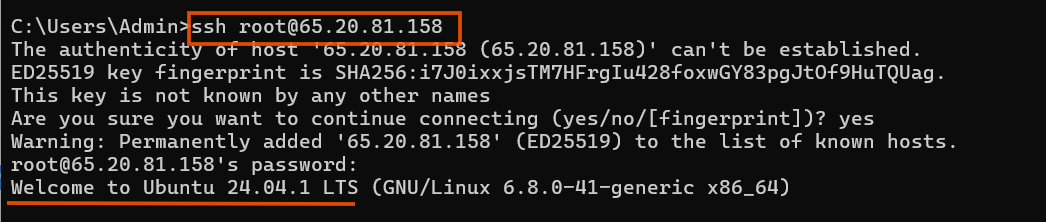
First think to do after accessing the server is to update and upgrade the server using command:
#apt-get update && apt-get upgrade -y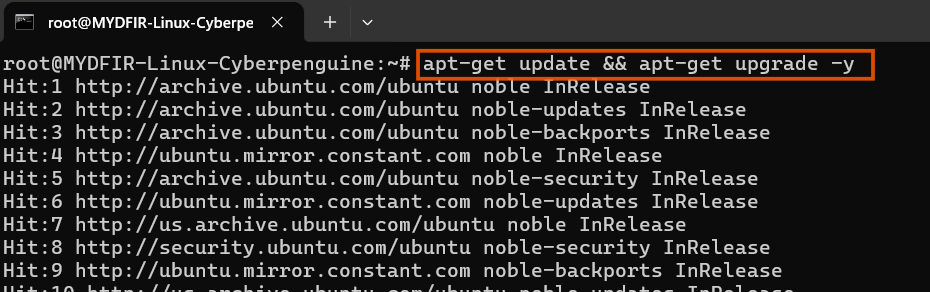
As a SOC analyst we are interested in logs specifically authentication logs to find out who is trying to log into our server.

Lets look at the authentication logs using
catcommand.#cat auth.log
We can use
grepcommand to look for specific keywords like failed, to display only the failed authentications from all the logs.“ -i ”is used for case-insensitive. It will search keyword regardless of the case of letters or word.#cat auth.log | grep -i failed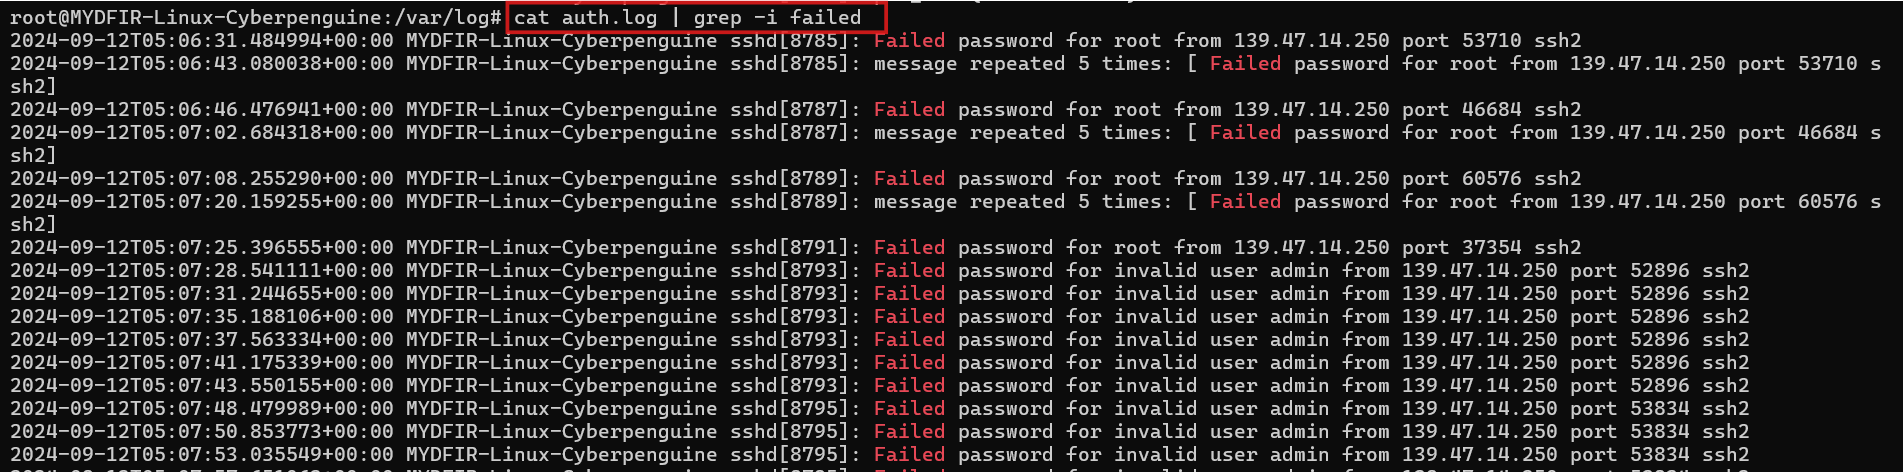
As a root user we are more insterested in looking for the login attempts with root username. so, lets look for only root related failed attempts.
#cat auth.log | grep -i failed | grep -i root
We can also filter for specific column using
cutcommand.#cat auth.log | grep -i root | grep -i failed | cut -d ‘ ’ -f 9-dis used to specify delimiter. here, the space is delimiter. it will seperate the columns as per the spaces.-fis used to specify the field and we want 9th column as per command above. So, it will seperate the columns by space and then display the 9th column.
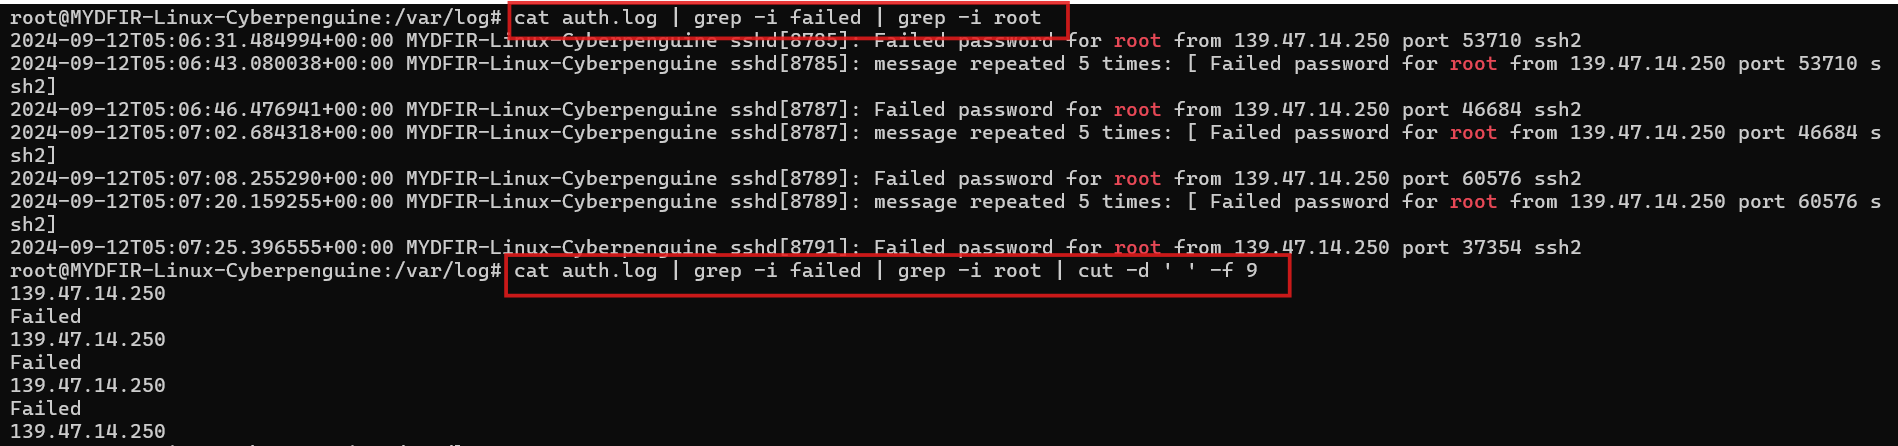
These logs demonstrate a classic example of a brute force attack, a topic we covered in detail during Day 11’s blog post.
While manually examining logs can be tedious, we’ll explore tools like ELK in future posts to make this process more efficient.🤓
Explore further :