Day-13 Installing Elastic Agent on Ubuntu Server
On day 12 we sucessfully installed the Ubuntu server 24.04 and now that we’ve successfully set up our Ubuntu 24.04 server, let’s proceed with installing the Fleet agent. Let’s start with loging to our vultr account and starting the machines.
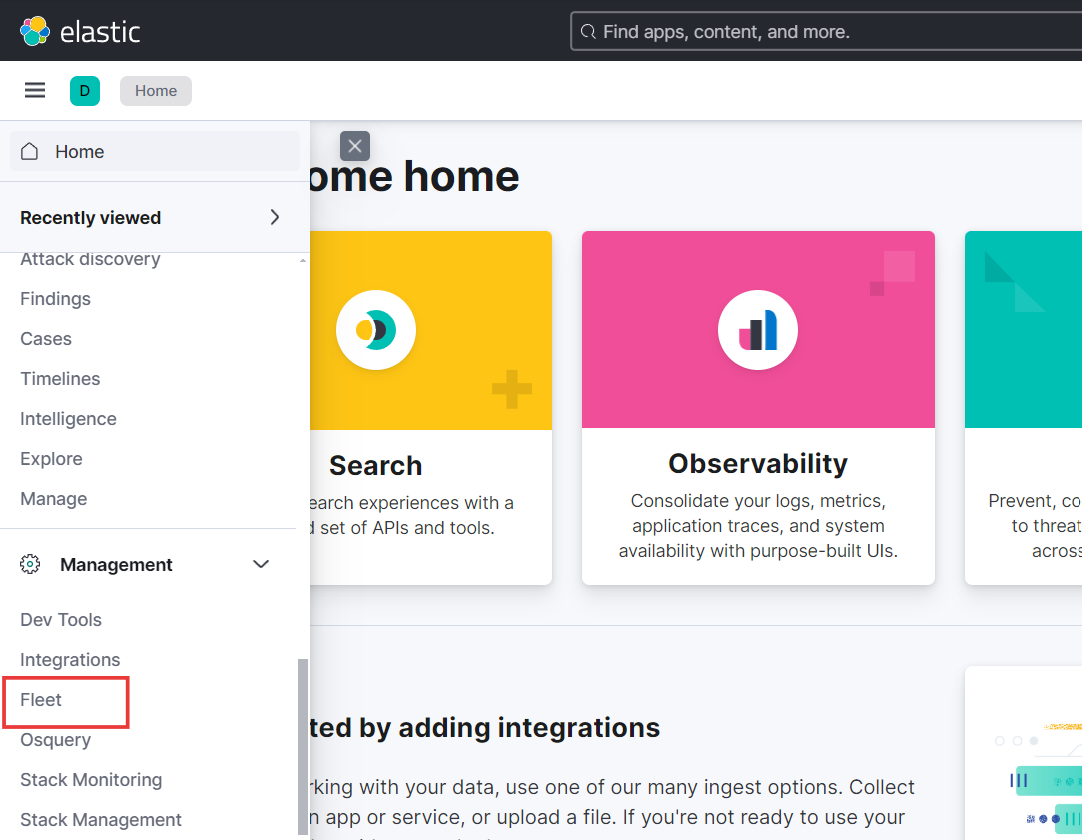
- Go to elasticsearch and login to your account. Click on hamburger icon and under Management select Fleet.
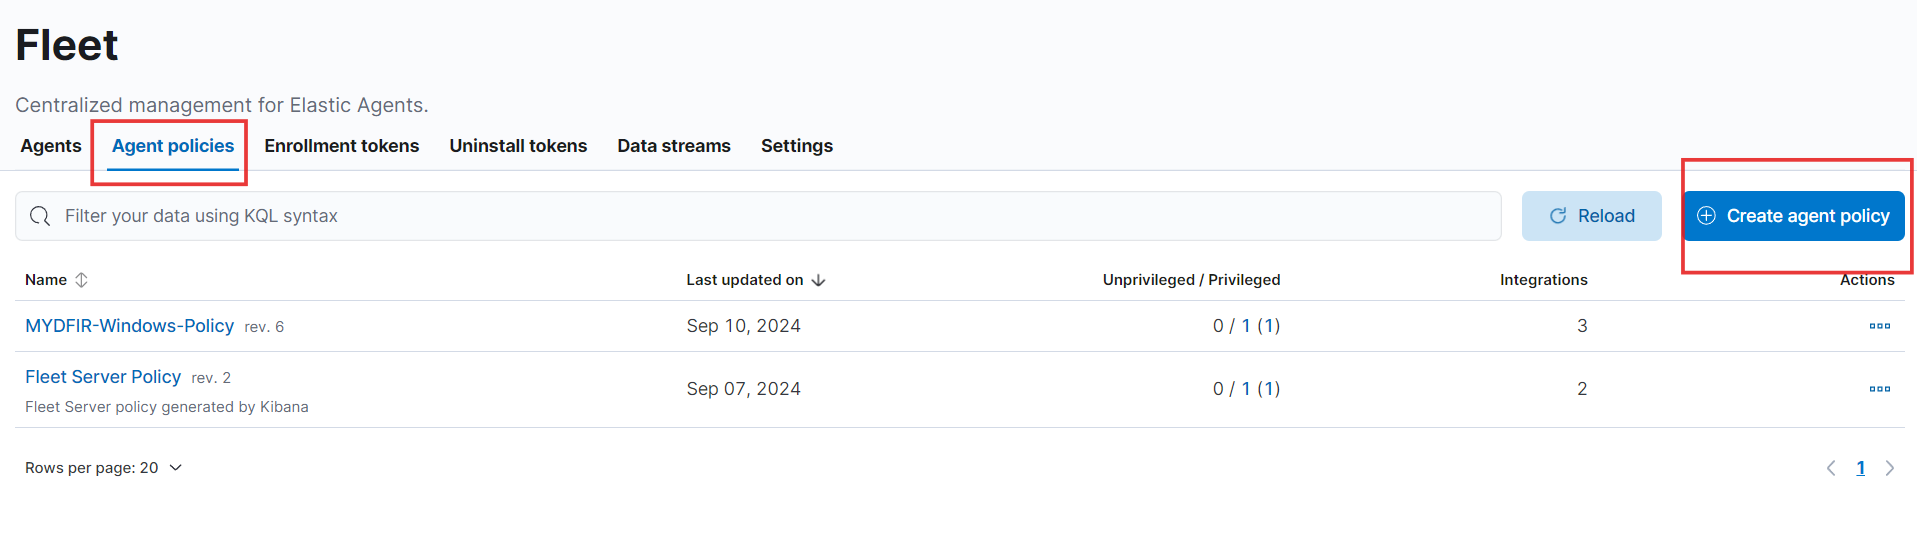
- On the fleet page, you’ll find the “Agent Policies” option. Click on it and create a new agent policy for your Ubuntu server.
- Choose a policy name that aligns with the MYDFIR challenge, such as “MYDFIR-Linux-Policy.” However, feel free to select a name that better reflects your specific requirements or preferences.
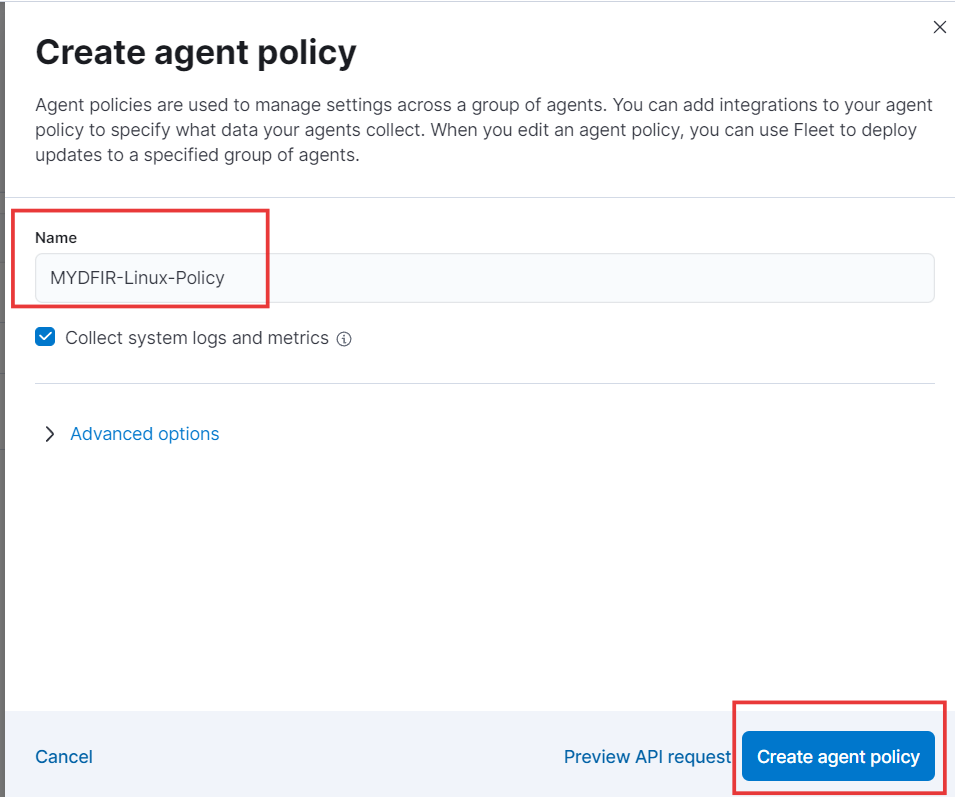
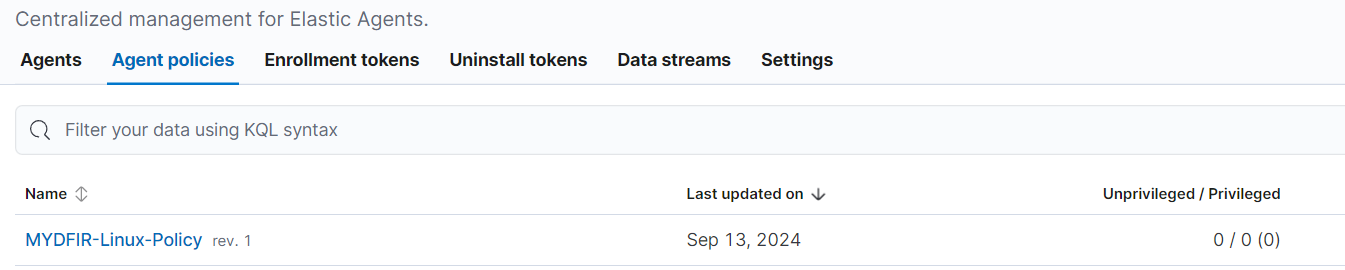
- To create a policy for your Ubuntu server, click on “Create agent policy.” The newly created policy will appear in the “Agent Policies” tab.
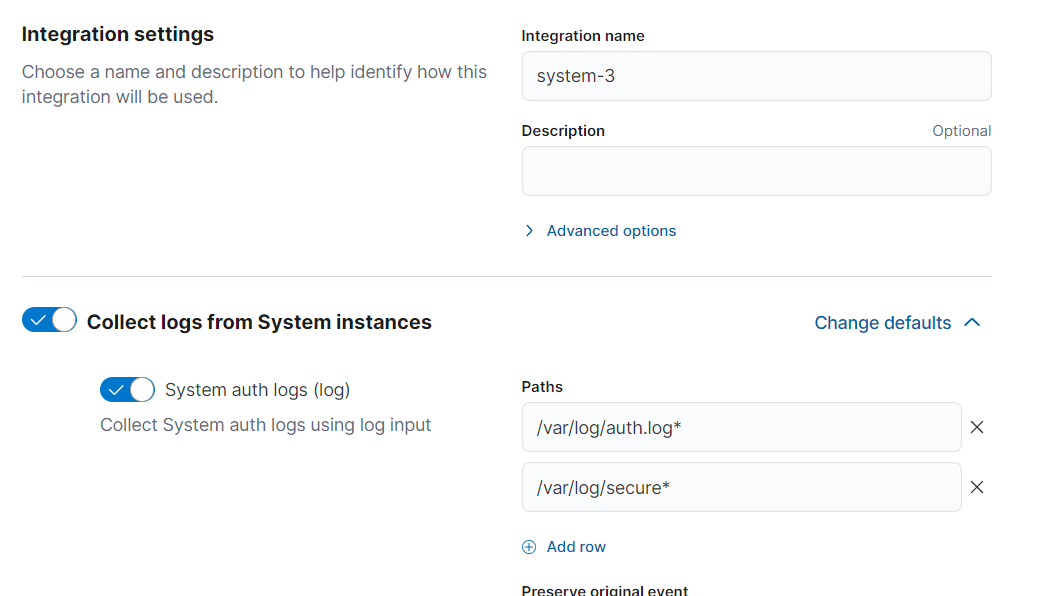
- Locate the agent policy you created and click on the integration’s name. In my case, it’s called ‘system-3,’ but yours may be different.

- You’ll be viewing the logs collected for your Ubuntu server. For Ubuntu, the primary log file is
/var/log/auth.log. Redhat/CentOS systems use/var/log/secure. For now, we’ll focus on these files for ubuntu server. So, let’s keep the file paths as it is.
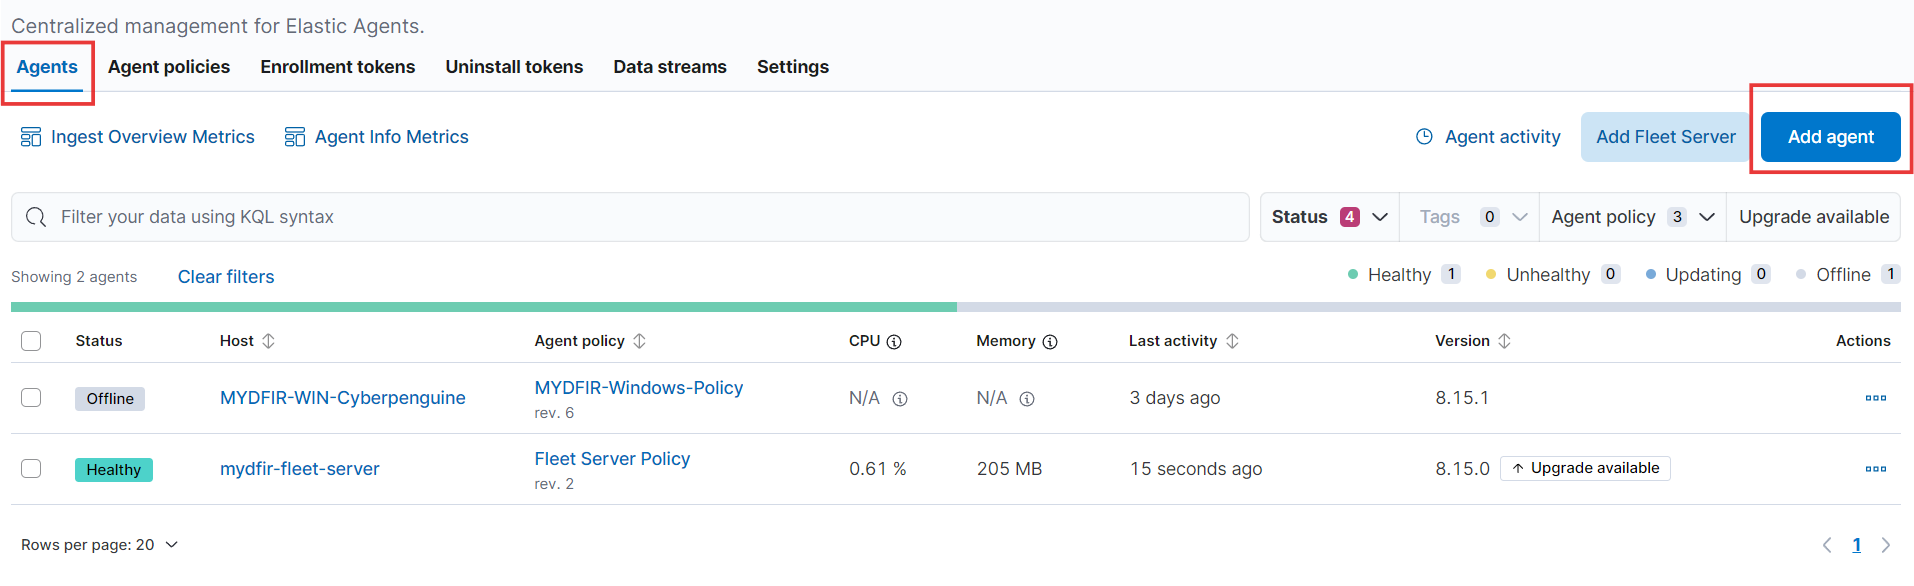
- Now, lets create an agent. Go to Agent tab and click on Add agent button.
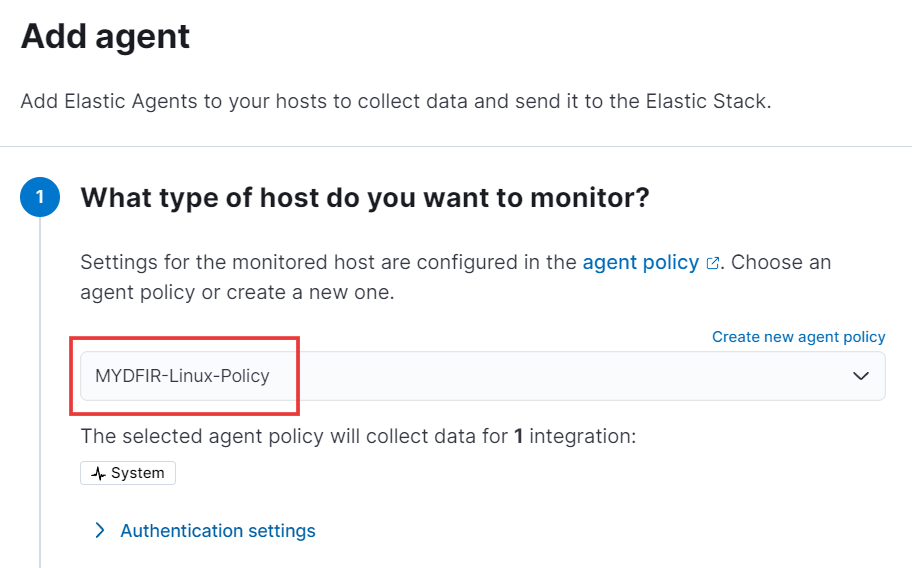
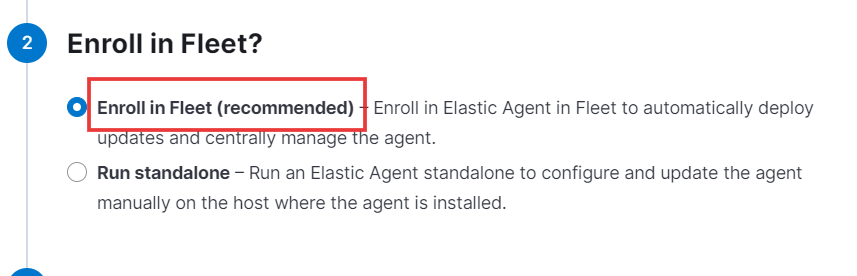
- To add the agent, specify the name of the policy you created for the Ubuntu server and enroll it in Fleet, as recommended.
To utilize the fleet, we’ll need to install it on our Ubuntu server.
- Locate the appropriate command for Linux.
- Paste the copied command into your Ubuntu server’s terminal and press Enter to begin the installation process.

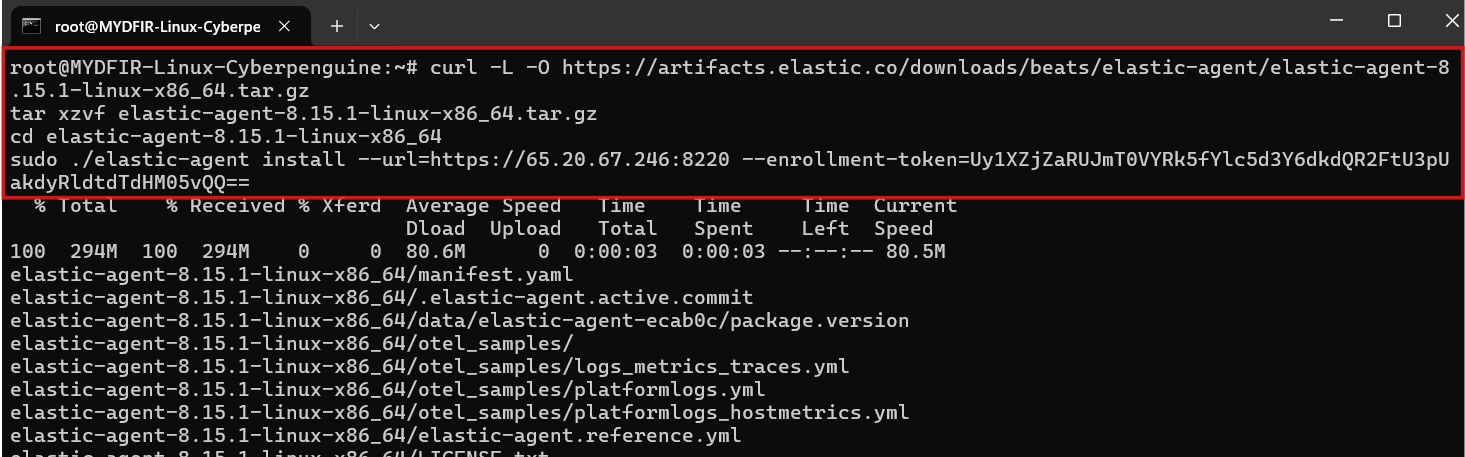
- To continue the installation, type “y” and enter.

If you encounter an error like the one I did while installing the Fleet agent, stating “Certificate signed by unknown authority,” you might recall that we’ve addressed this issue previously during the Windows Fleet installation.
This error typically arises due to the use of a self-signed certificate for Fleet agent installation.
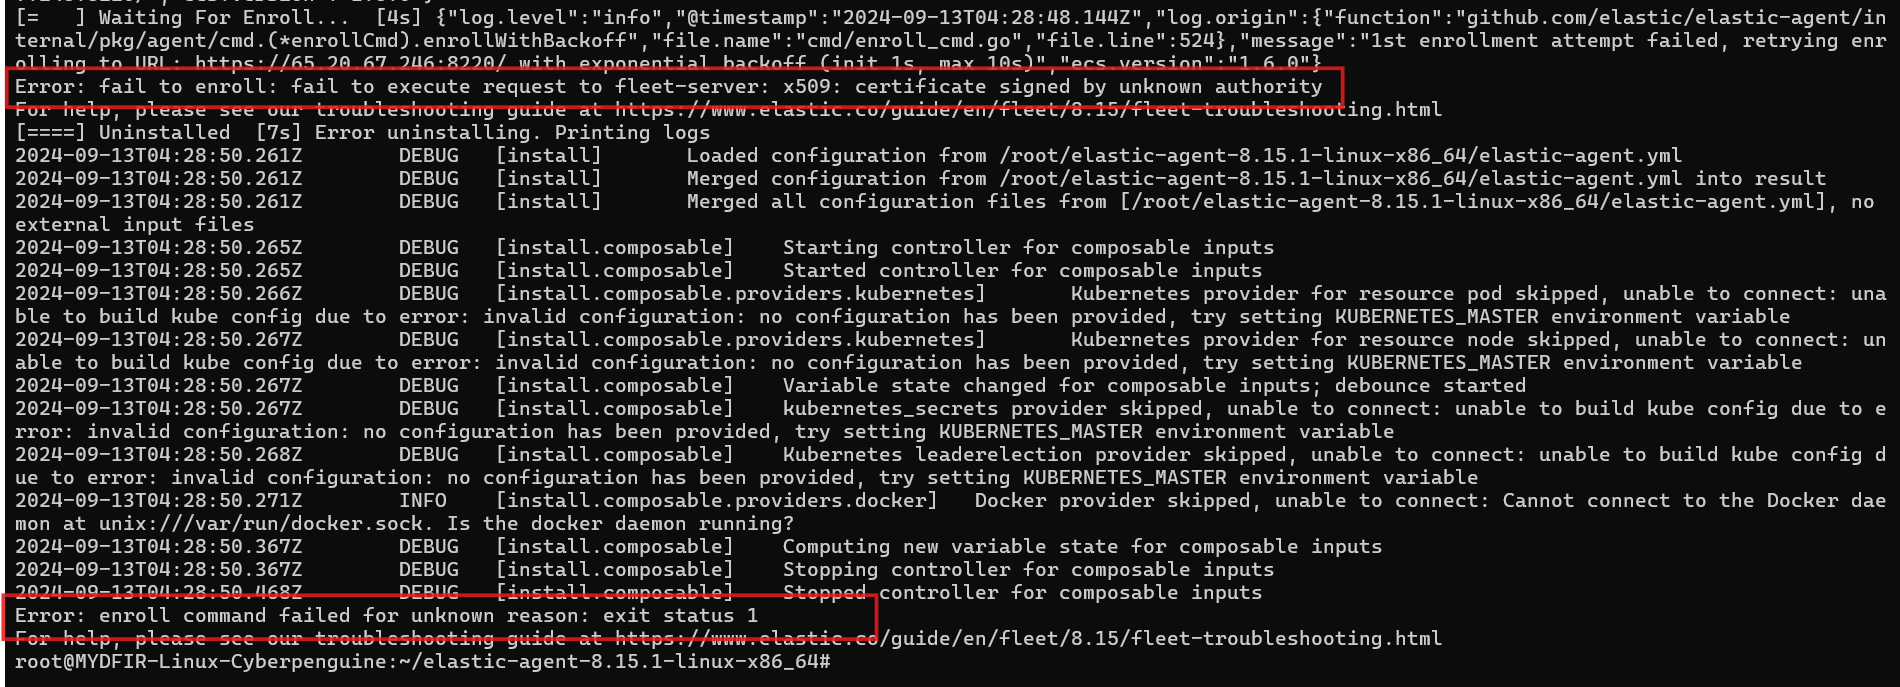
- To resolve the error, we’ll append the
--insecureflag to the end of the command and run it again. This should successfully install the Fleet agent on our Ubuntu server.

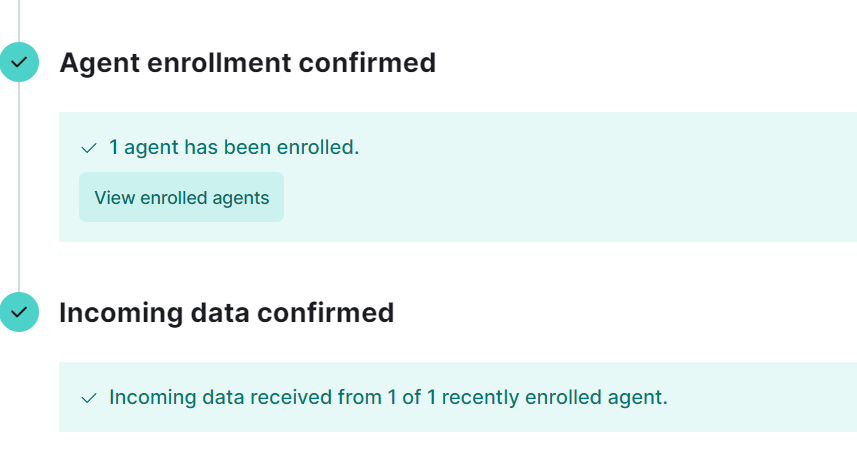
- Once the Fleet agent is successfully installed on the Ubuntu server, the Elasticsearch screen will display the message “Agent Enrollment and Incoming Data Confirmed.”
- Let’s explore our logs using the Discover tab. To verify the connection, locate your agent name in the left-side navigation pane. If you don’t see it, try refreshing Elasticsearch in your browser. Once you’ve selected the agent name, you’ll be able to view all associated logs.
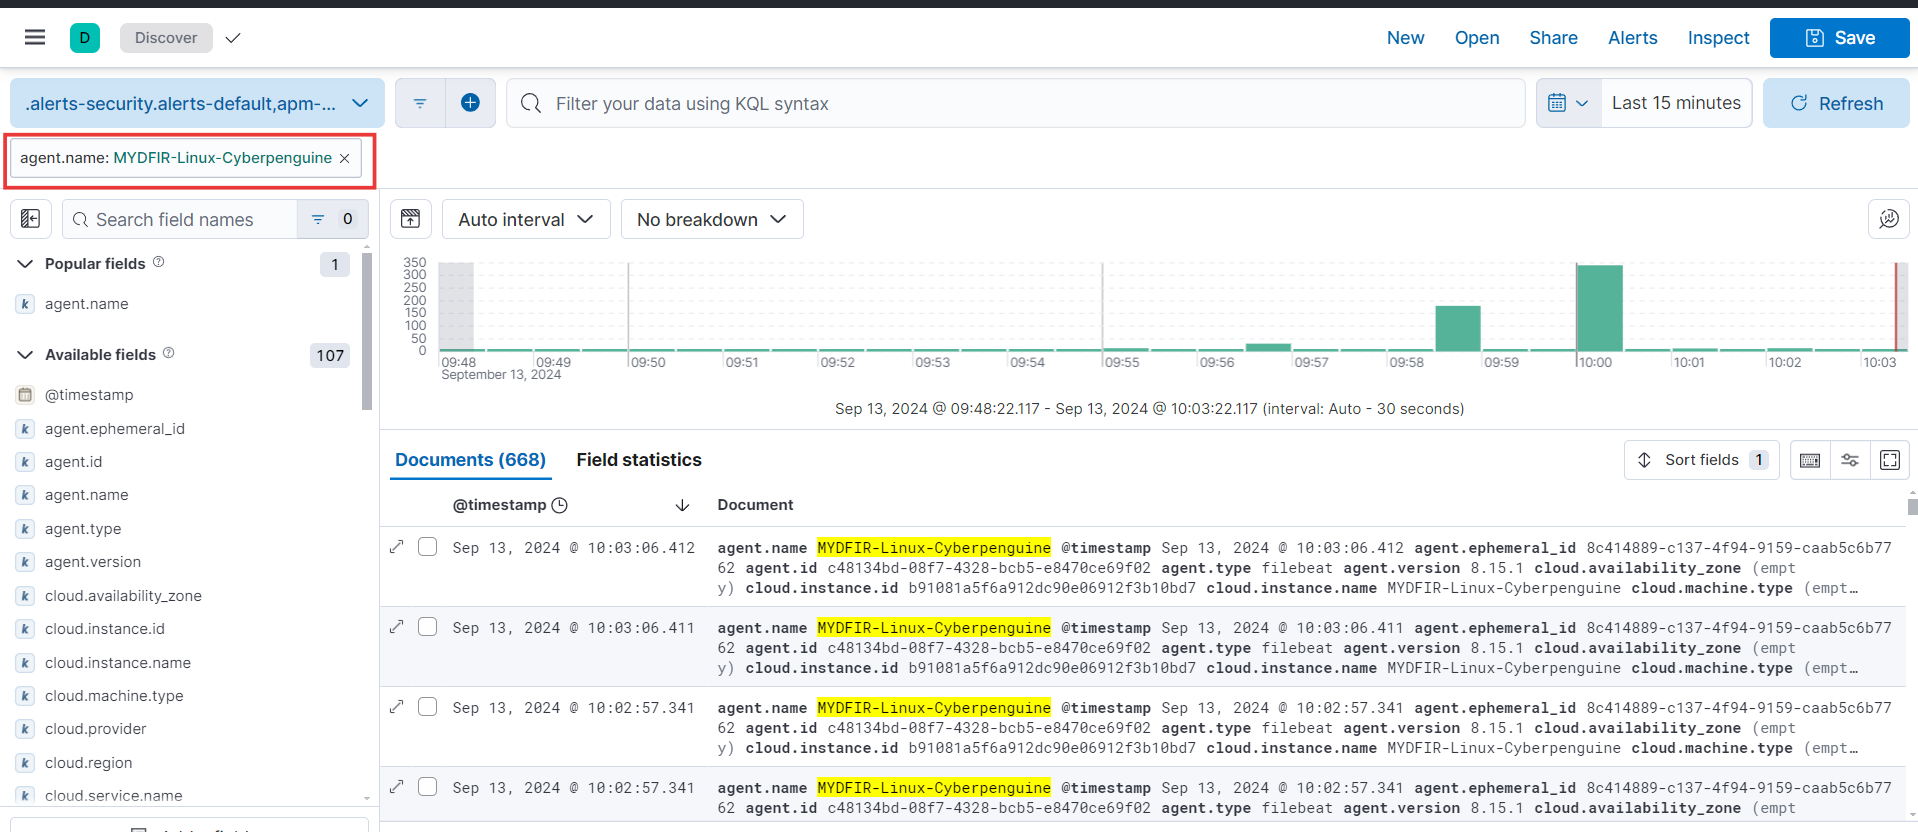
- On Day 12, while reviewing the
/var/log/auth.logfile, we identified a suspicious IP address associated with failed root authentication attempts. Let’s investigate further by searching for related logs on Elasticsearch.

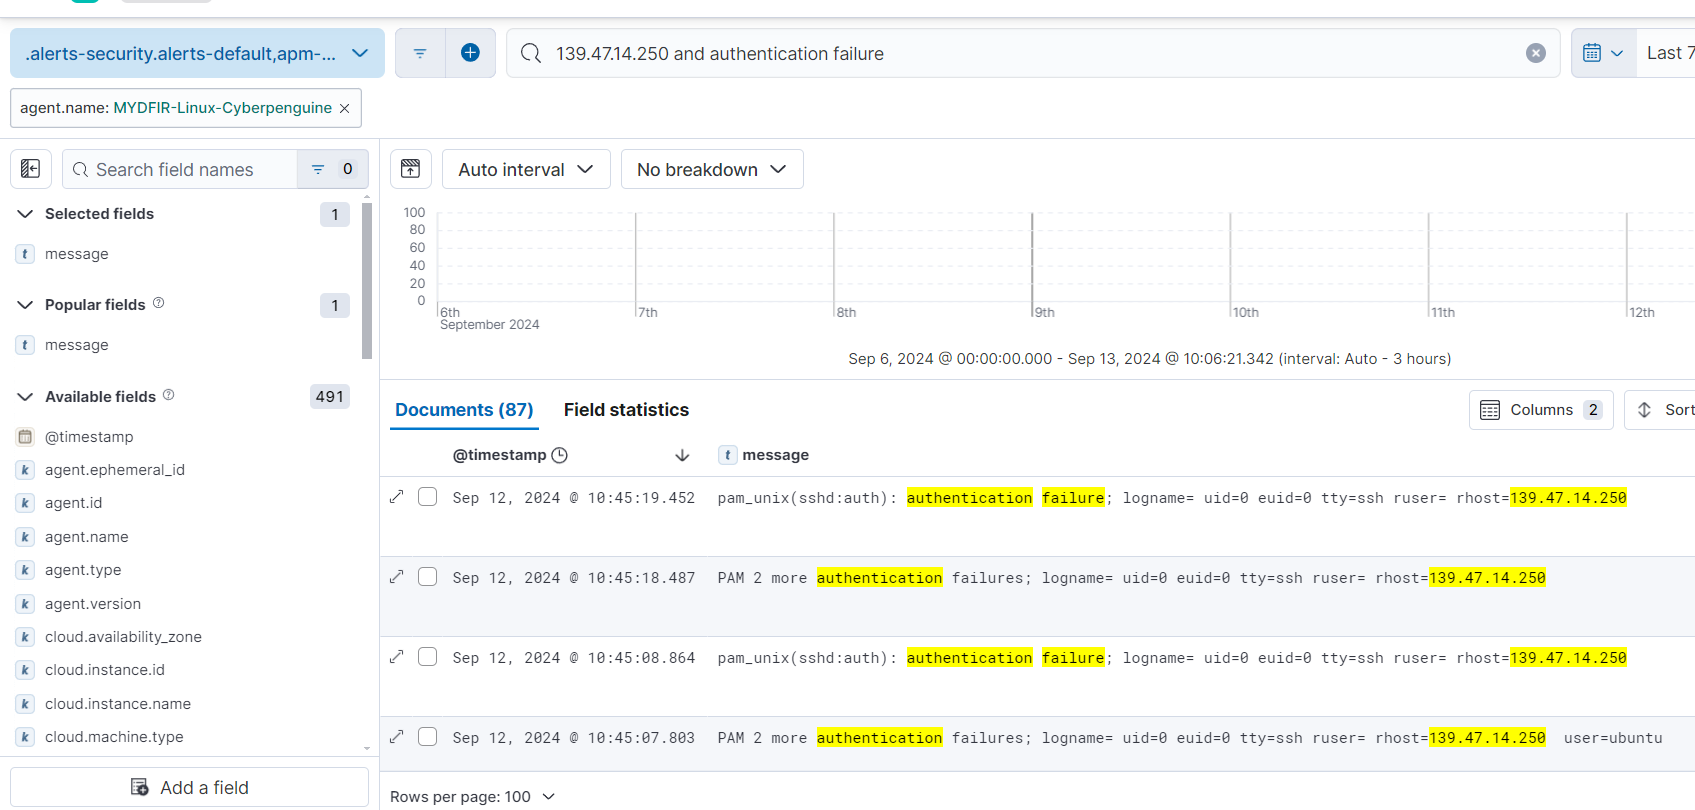
You can view the search results related to your query.
In Day 12’s blog, we explored the challenges of manually analyzing logs directly on the terminal. However, Elasticsearch has significantly simplified this process, allowing us to efficiently search, filter, and sort our results based on specific criteria.