Day-20 Mythic C2 Setup

Let’s put our knowledge to the test and build our very own Mythic C2 server! First, we’ll log into Vultr cloud using our credentials.
- Then, we’ll create a new server from the Compute options.
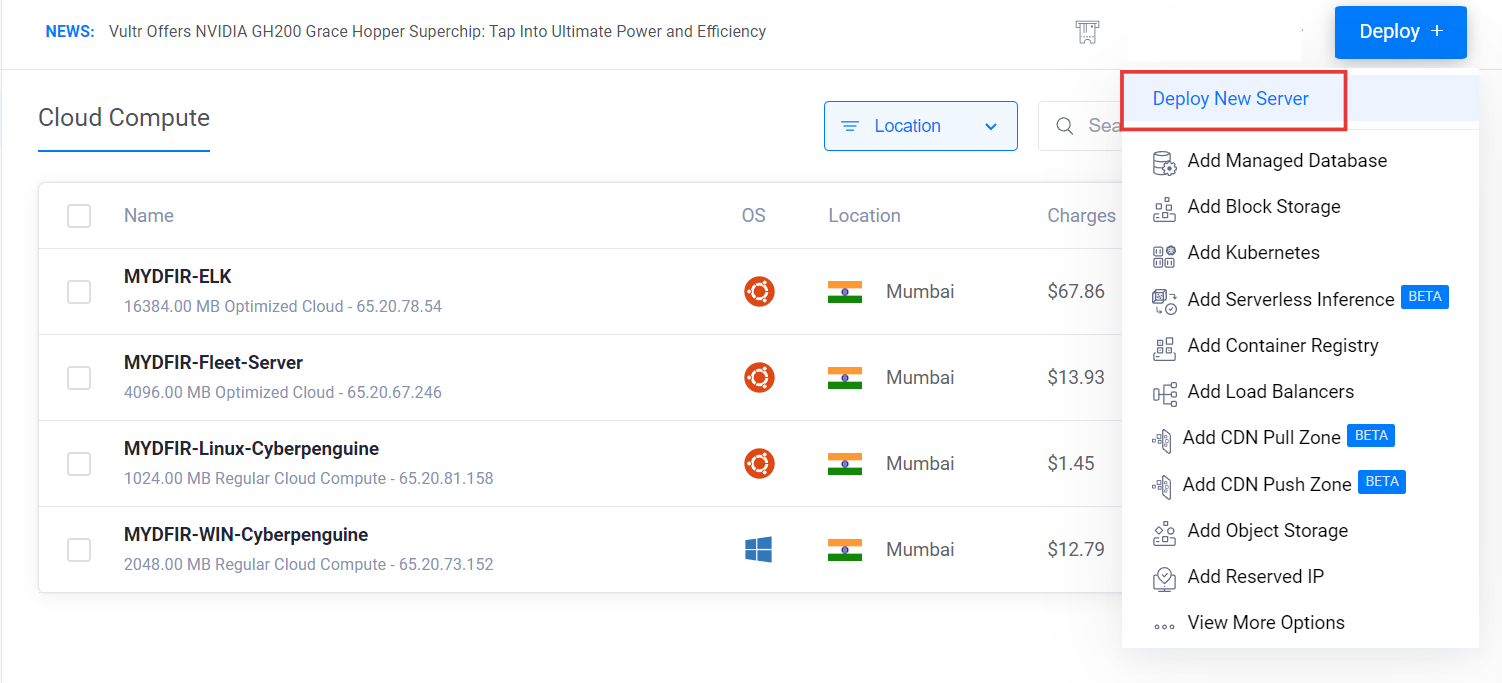
- Opt for a cloud compute instance with shared CPU.

- Let’s keep all the servers in the same location to avoid any geographical hiccups.

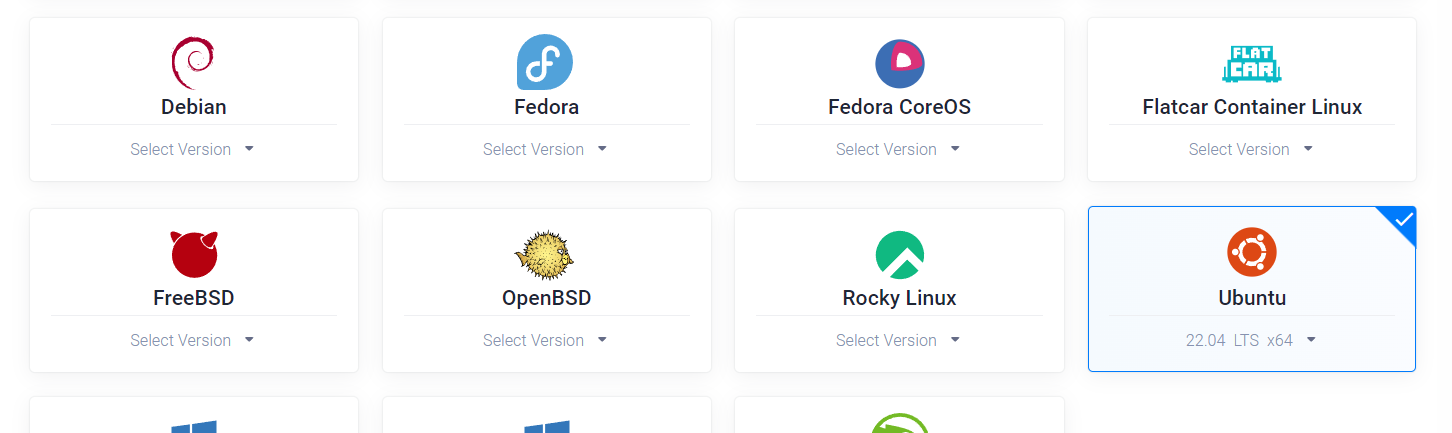
- Choose the image as Ubuntu 22.04 operating system for mythic instance.
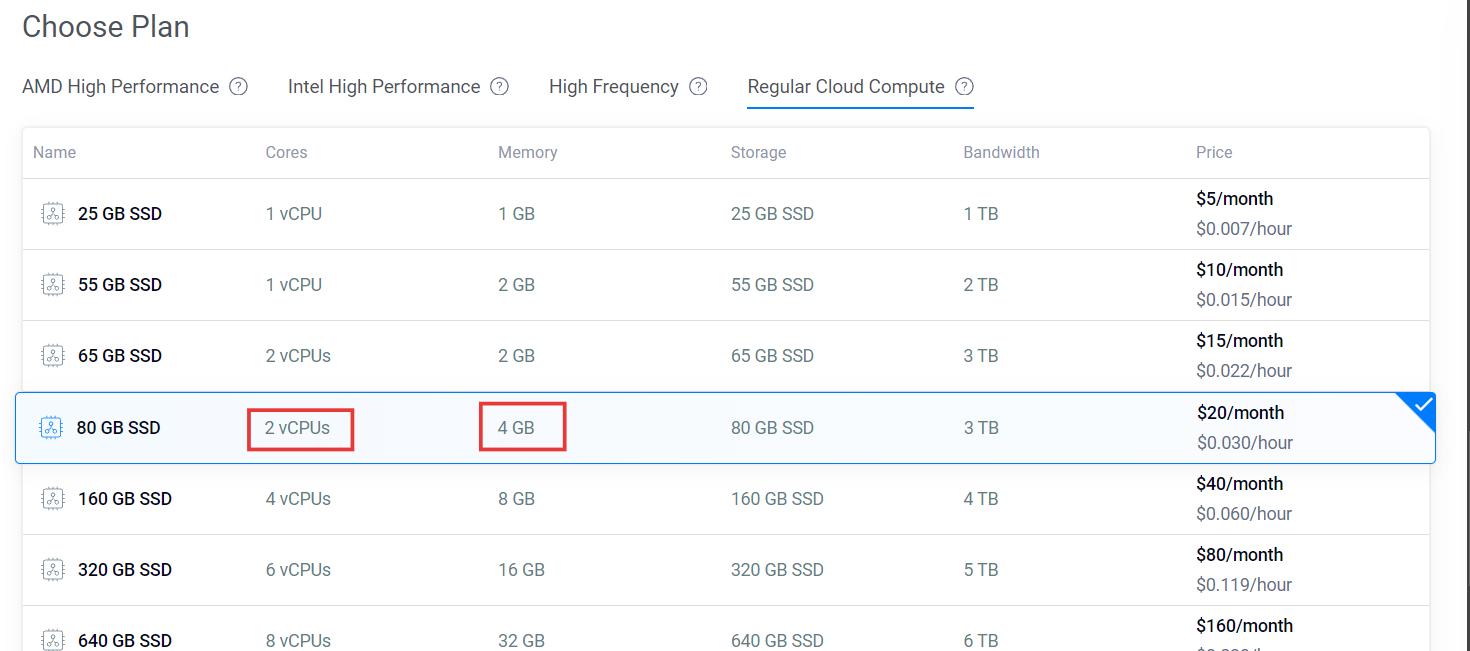
- According to the docs, the Mythic server needs a minimum of 2 vCPUs and 4 GB of RAM to run smoothly. So, make sure your server is ready enough to handle the load!
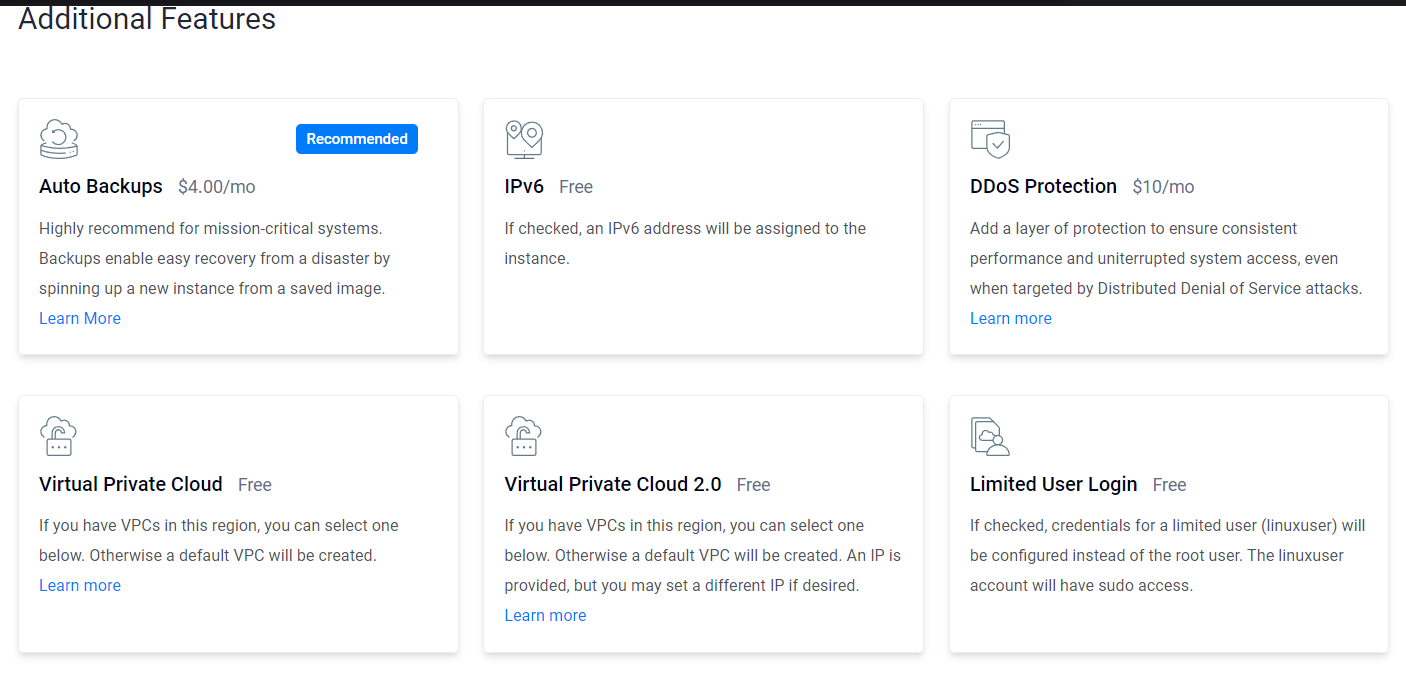
- We’re good to go! Let’s deselect all the extra features we don’t need.
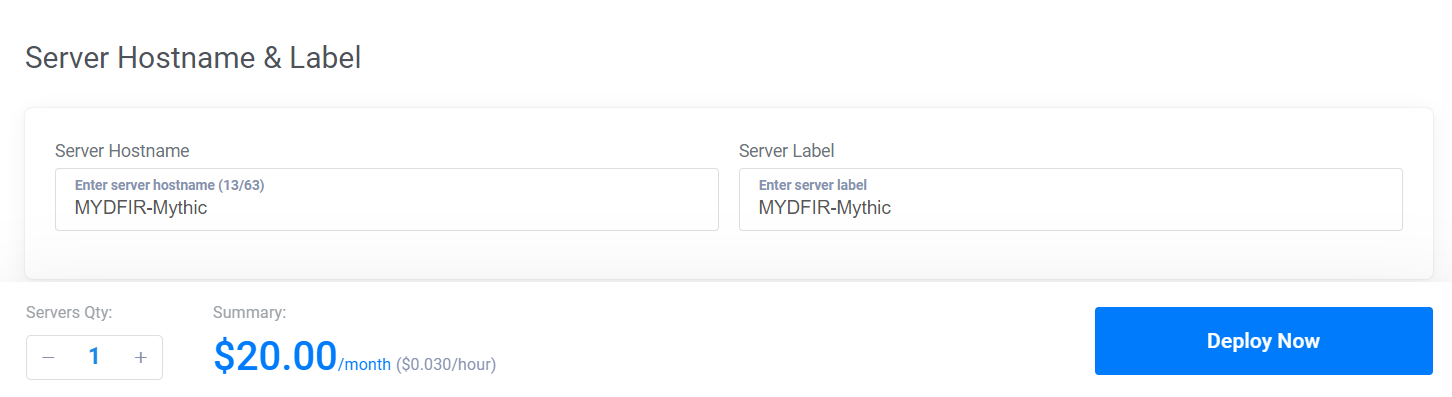
- Now, let’s label the server and get it ready for deployment.
- For our attack simulation, we’ll be putting on our hacker hats and creating a Kali Linux virtual machine to act as the external attacker.


There’s a great tutorial out there that can walk you through setting up Kali Linux. Since we’re focusing on Mythic in this blog, check out that tutorial for a step-by-step guide. https://youtu.be/wX75Z-4MEoM?t=580
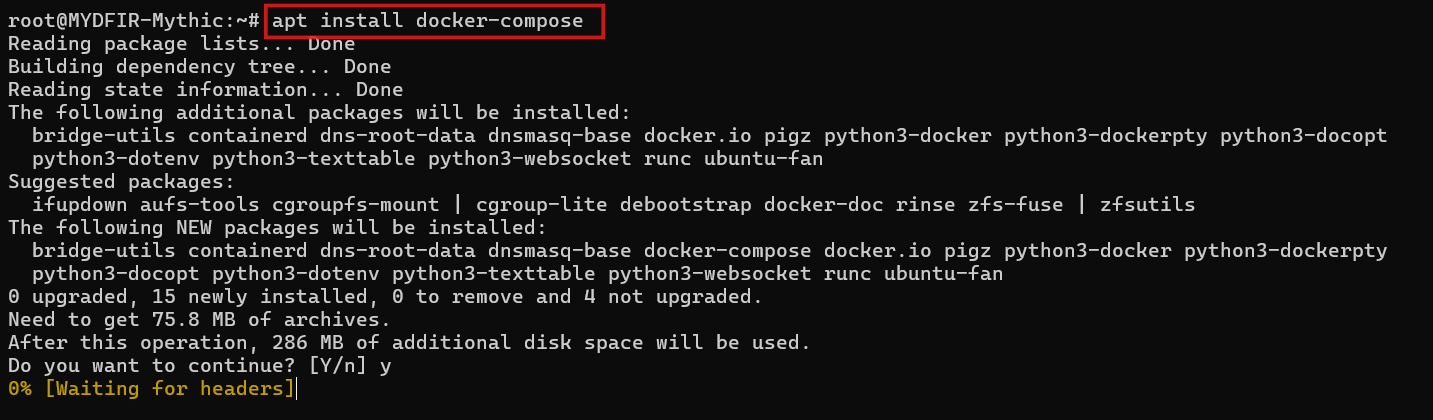
Now, let’s SSH into the root user on your Mythic server using the command line. Once you’re in, we’ll install Docker using the following command
#apt install docker-compose
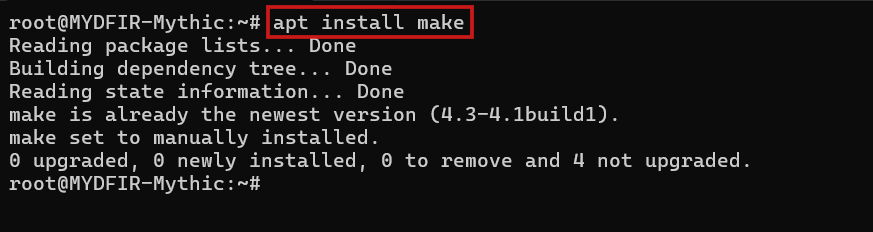
- Before we dive into Docker, we need to install a little helper called ‘make.’ Think of it as your personal assistant for building things. Here’s how to add it to your toolkit:
#apt install make
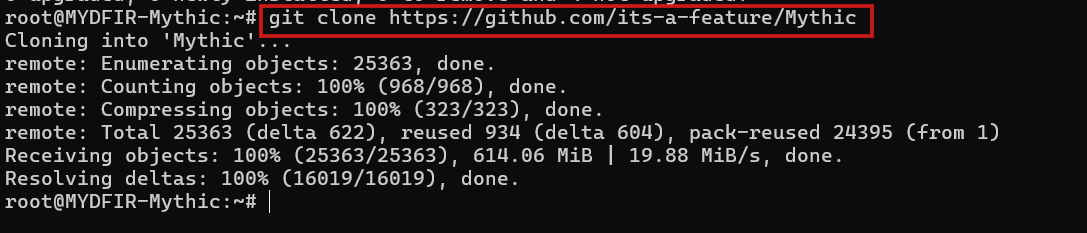
- Now, we will clone the mythic feature from mythic official documentations.
#git clone https://github.com/its-a-feature/Mythic
- Let’s take a peek inside the Mythic directory and see what files and folders are hiding there. Ready to explore?

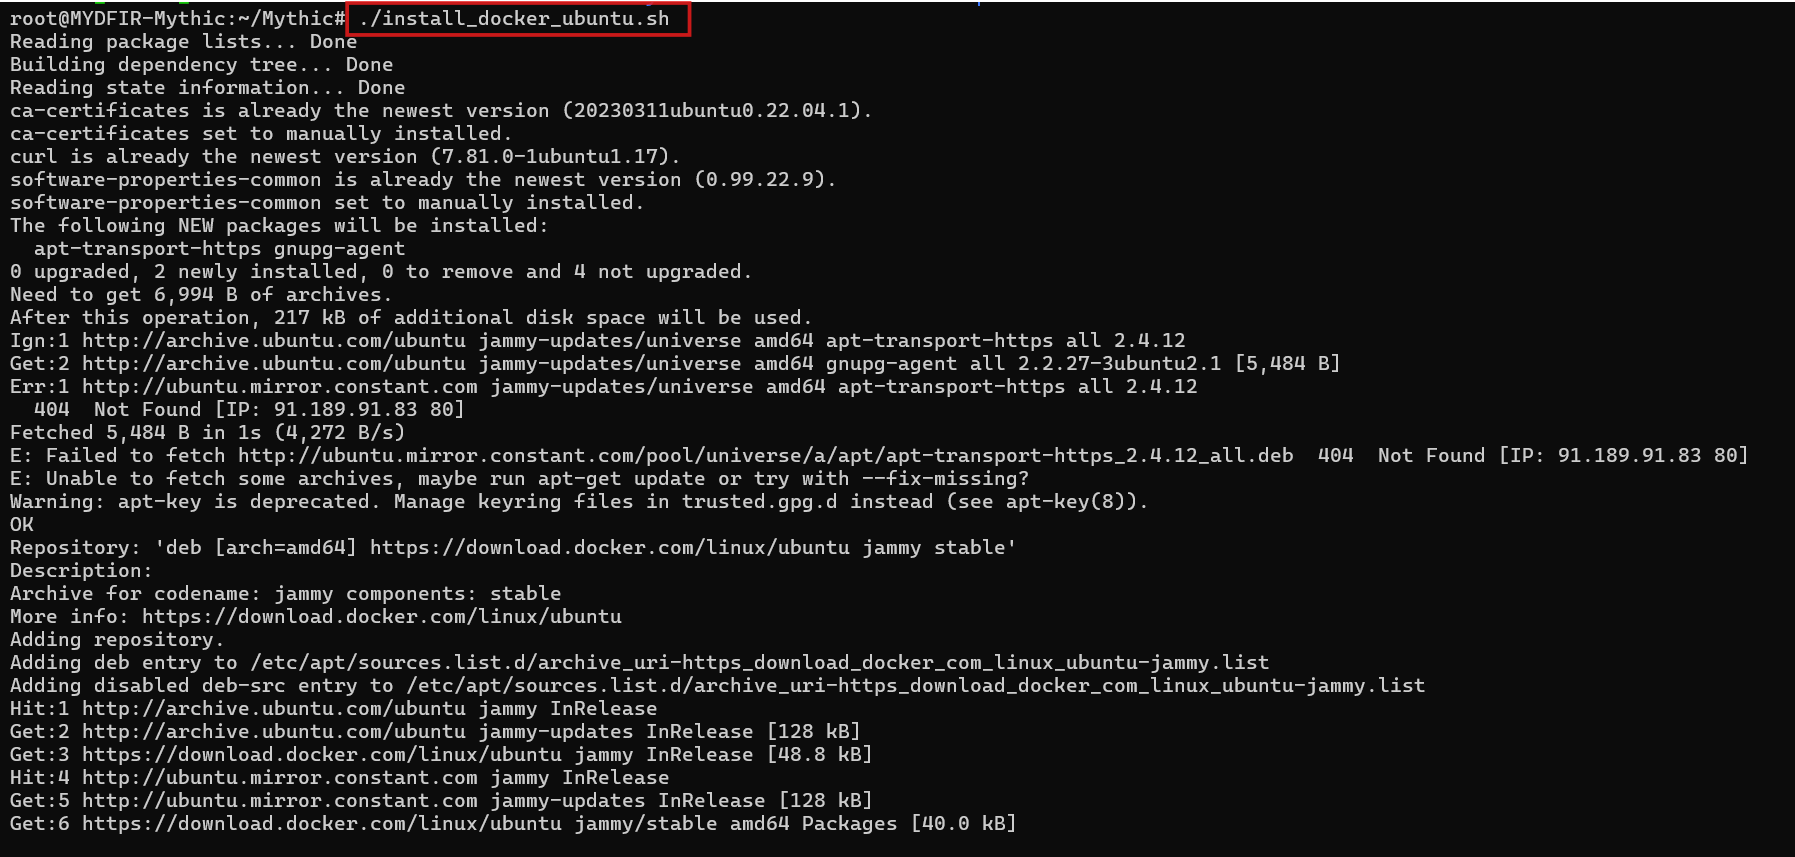
- To fire up Mythic on Ubuntu, we’ll need to get our Docker party started. Just run this magic command
#./install_docker_ubuntu.sh
- Run the following command to start the Docker container:
#make

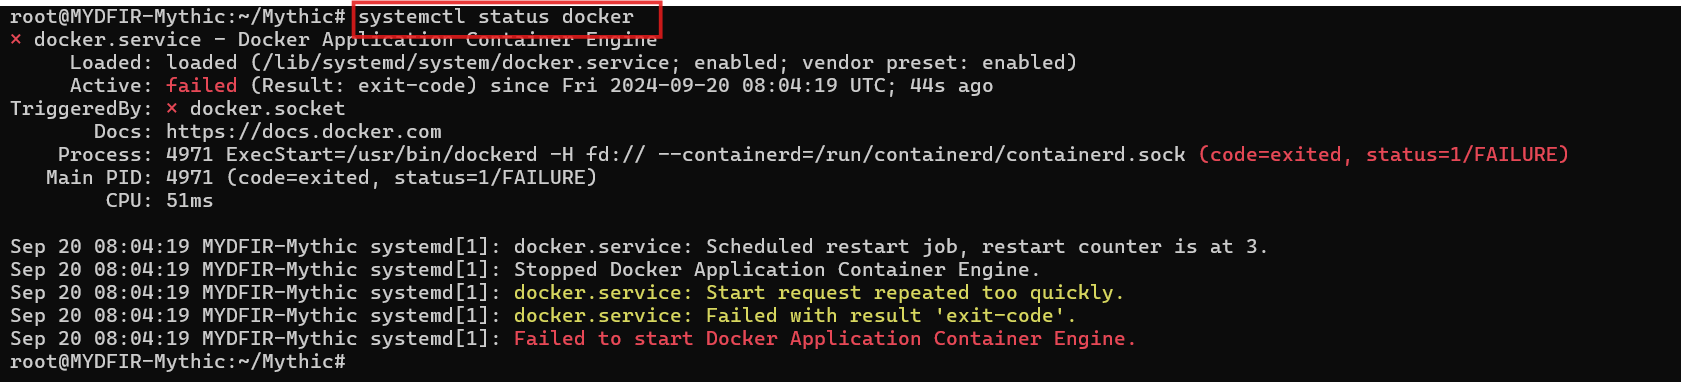
- Looks like Docker is playing a bit of hide-and-seek. Let’s troubleshoot by checking its status. Is it up and running?
#systemctl status docker
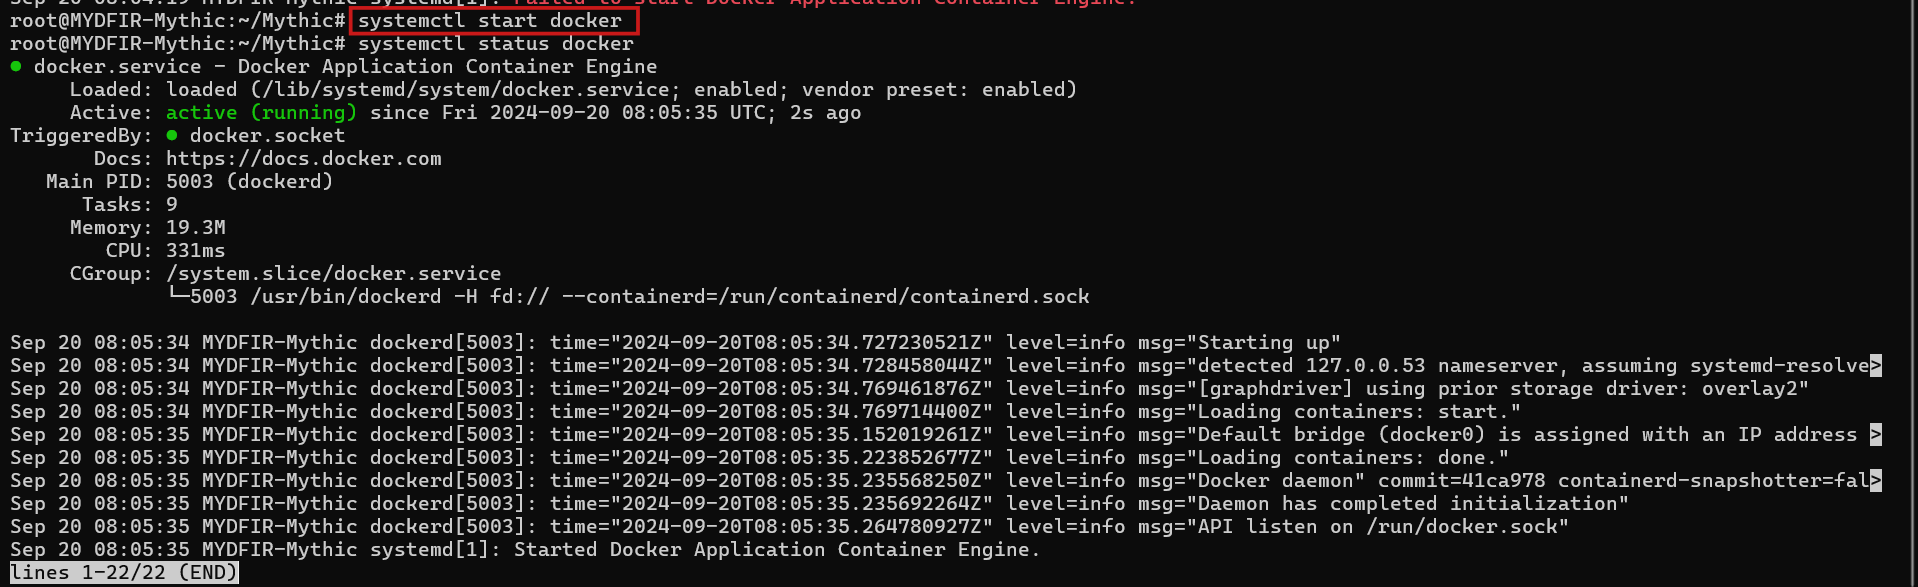
- Looks like Docker’s taking a nap. Let’s wake it up by starting the Docker service, then we can try running ‘make’ again.
#systemctl start docker
#systemctl status docker
#make

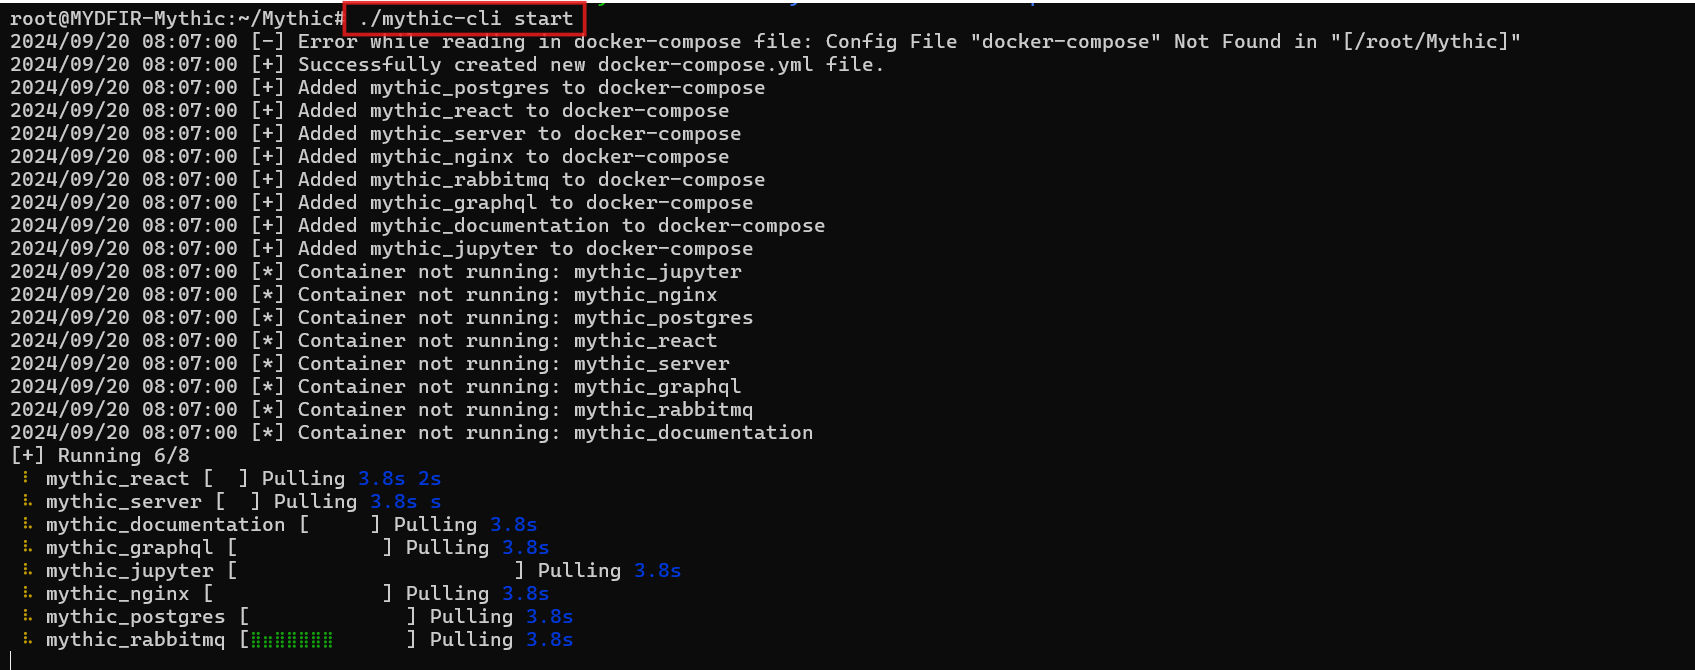
- It’s time to fire up Mythic in our browser. But first, let’s run the Mythic CLI.
#./mythic-cli start
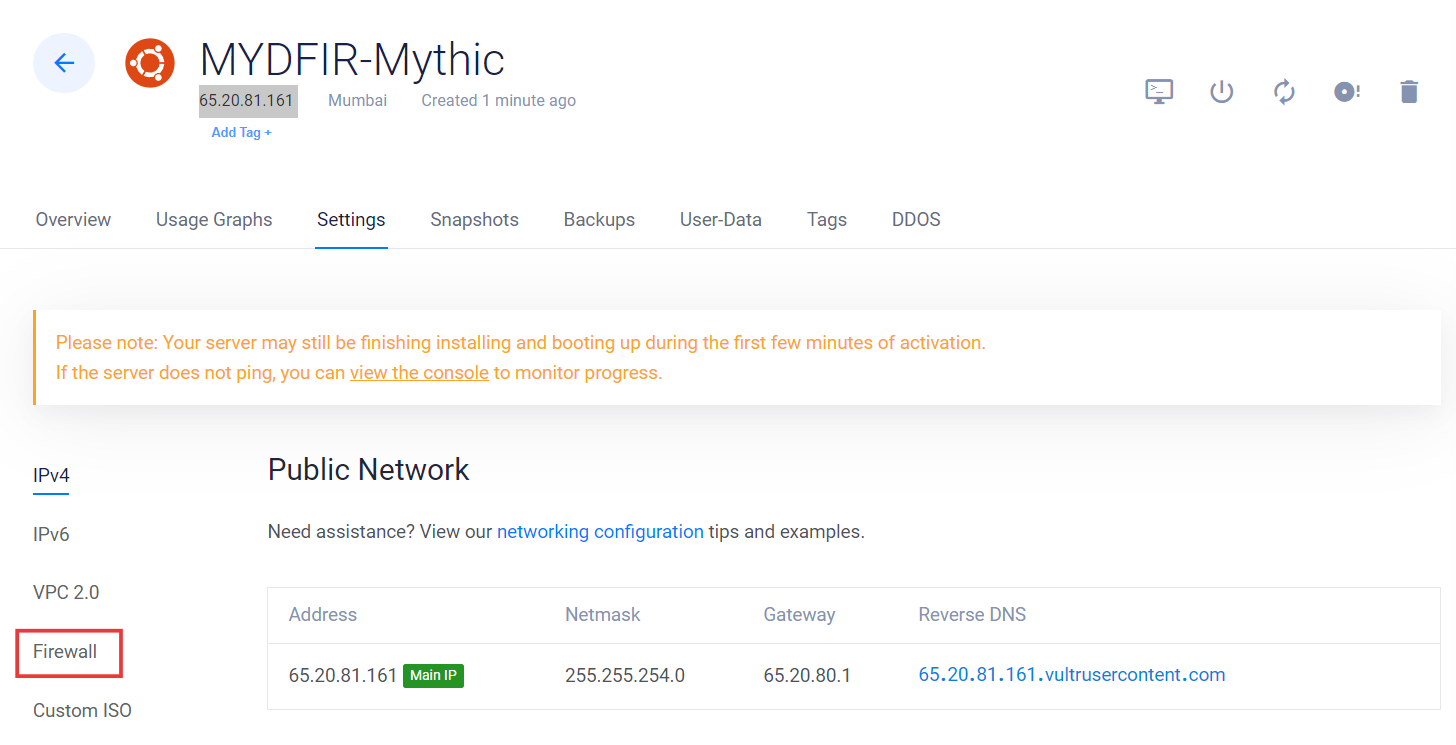
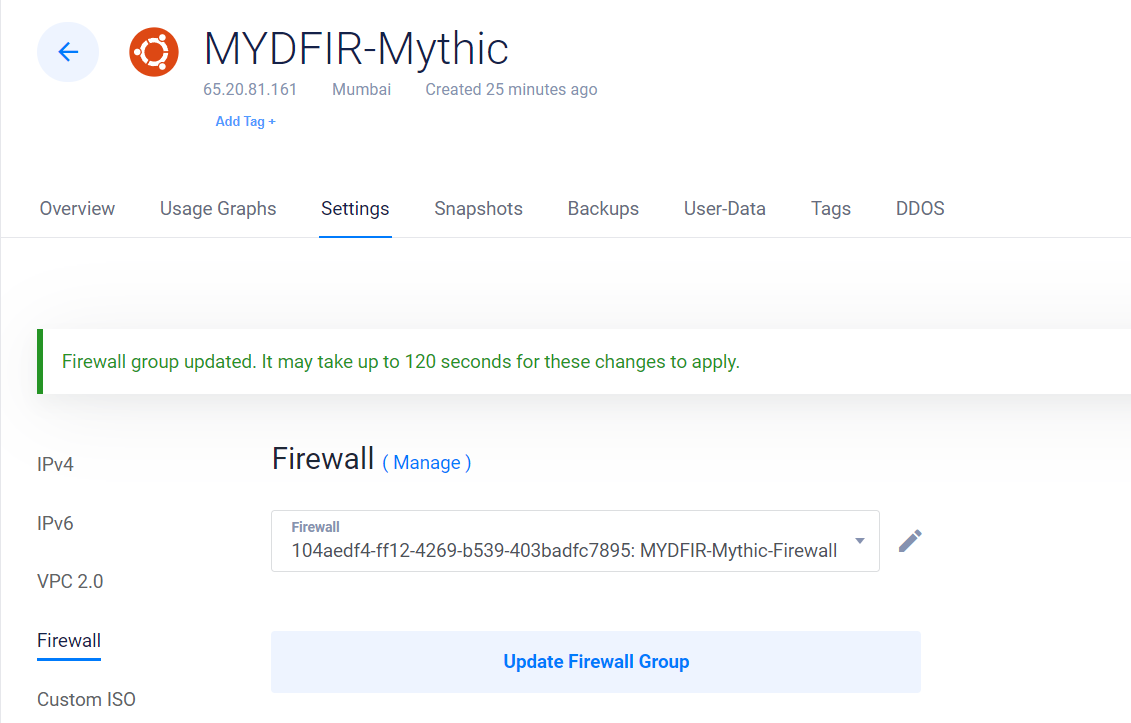
- Wait a sec, are we missing something? Oh yeah, the firewall! We don’t want just anyone poking around our Mythic server. Let’s create a firewall group to keep it safe and sound.
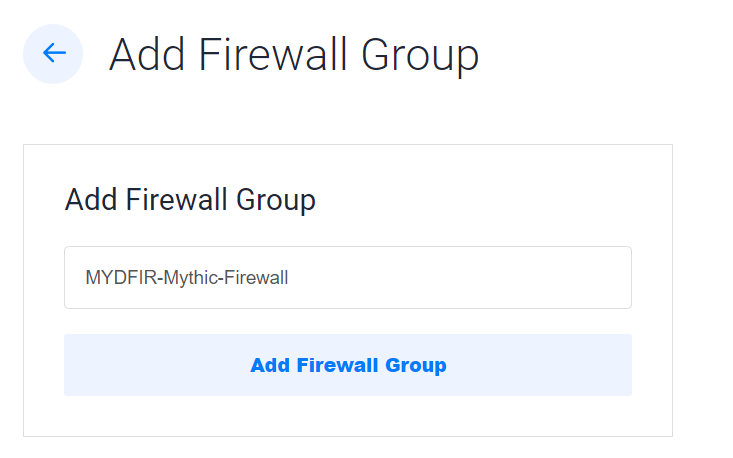
- Add the firewall group:
- Keep this information under wraps! Share the IPs for our Ubuntu and Windows servers only with those who need access to Mythic. Let’s keep this party private.
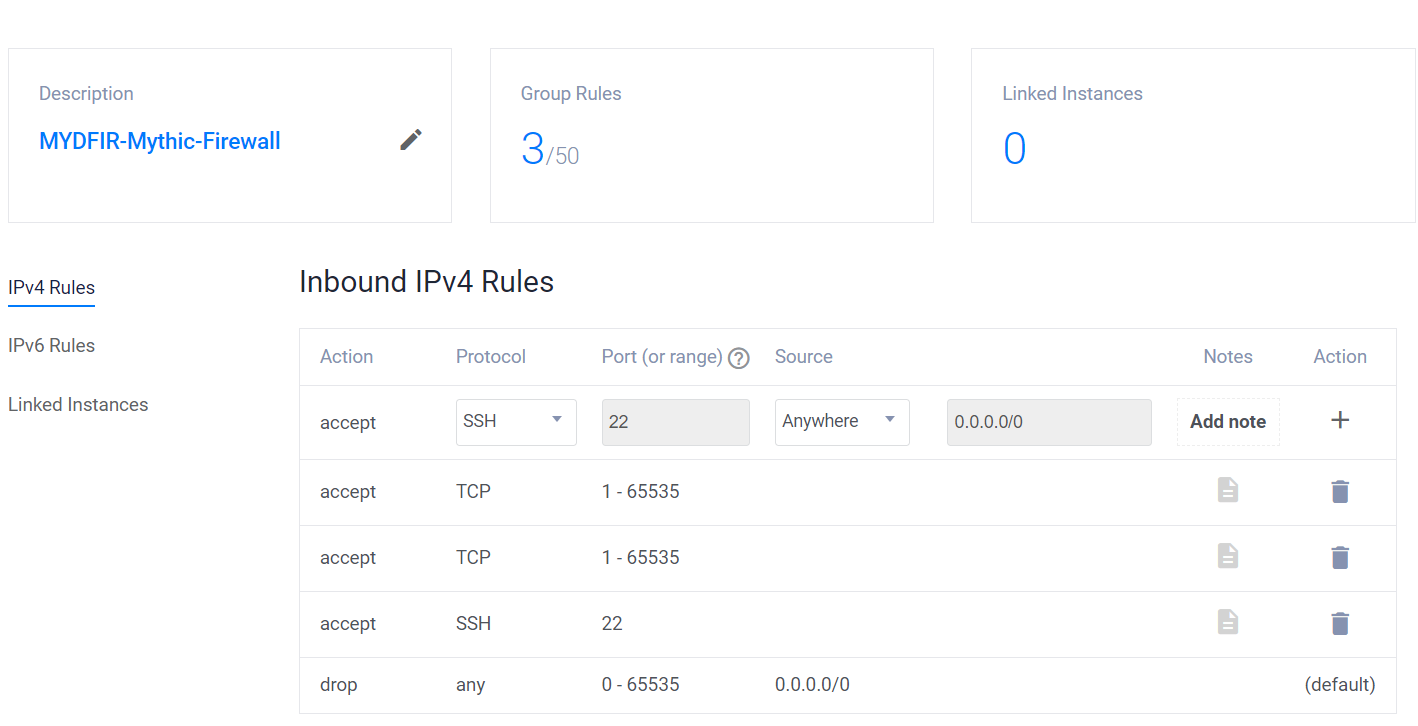
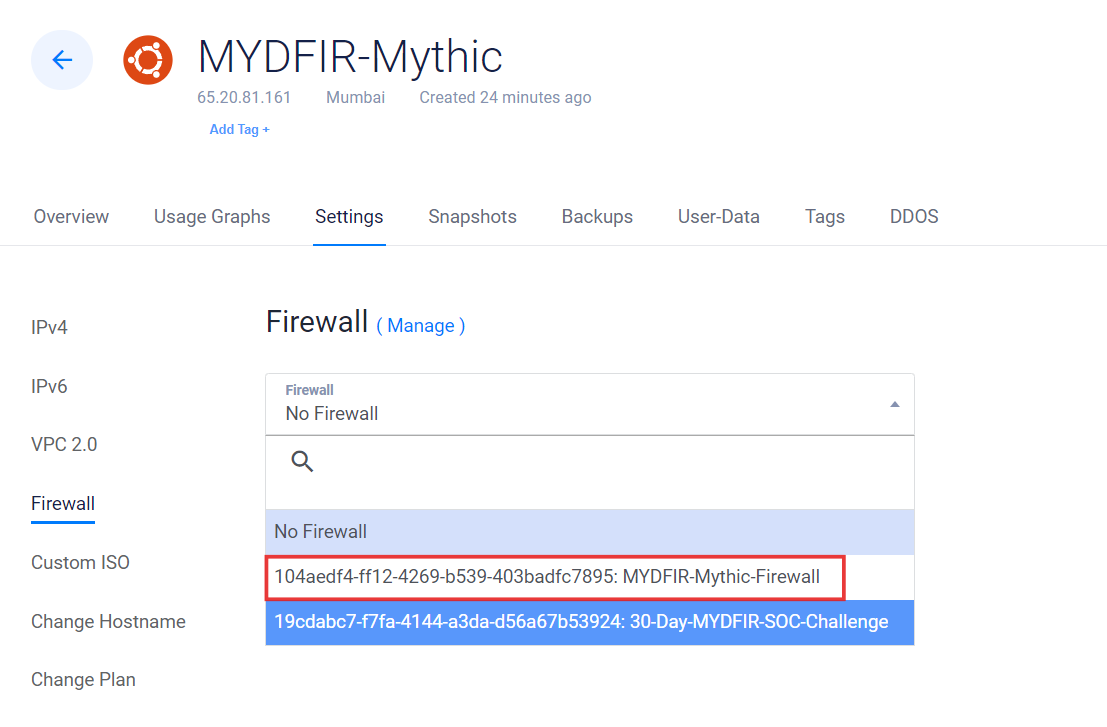
- Update the new firewall group created for mythic
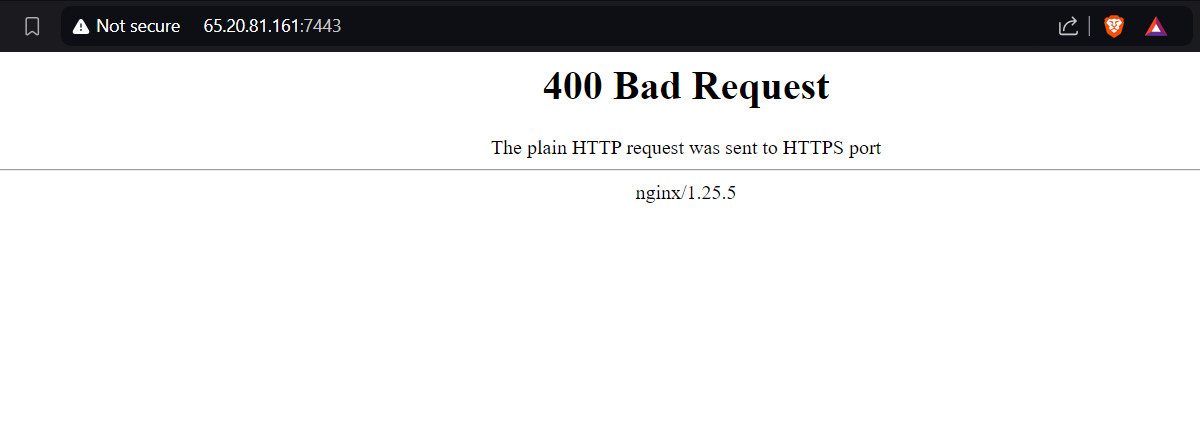
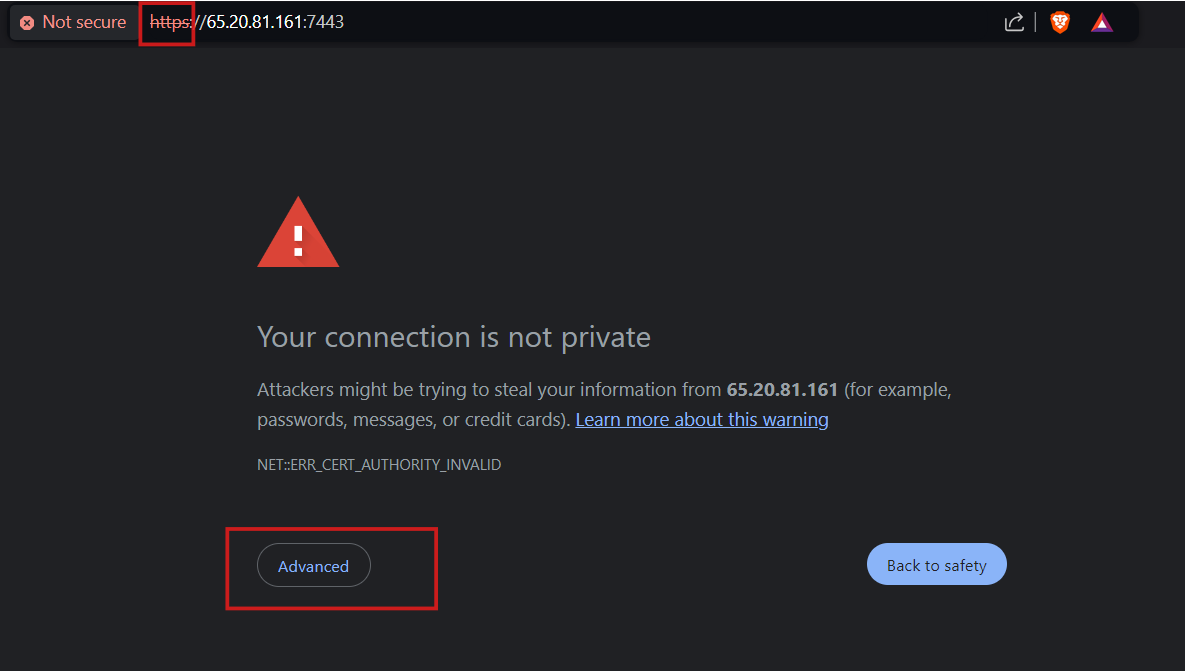
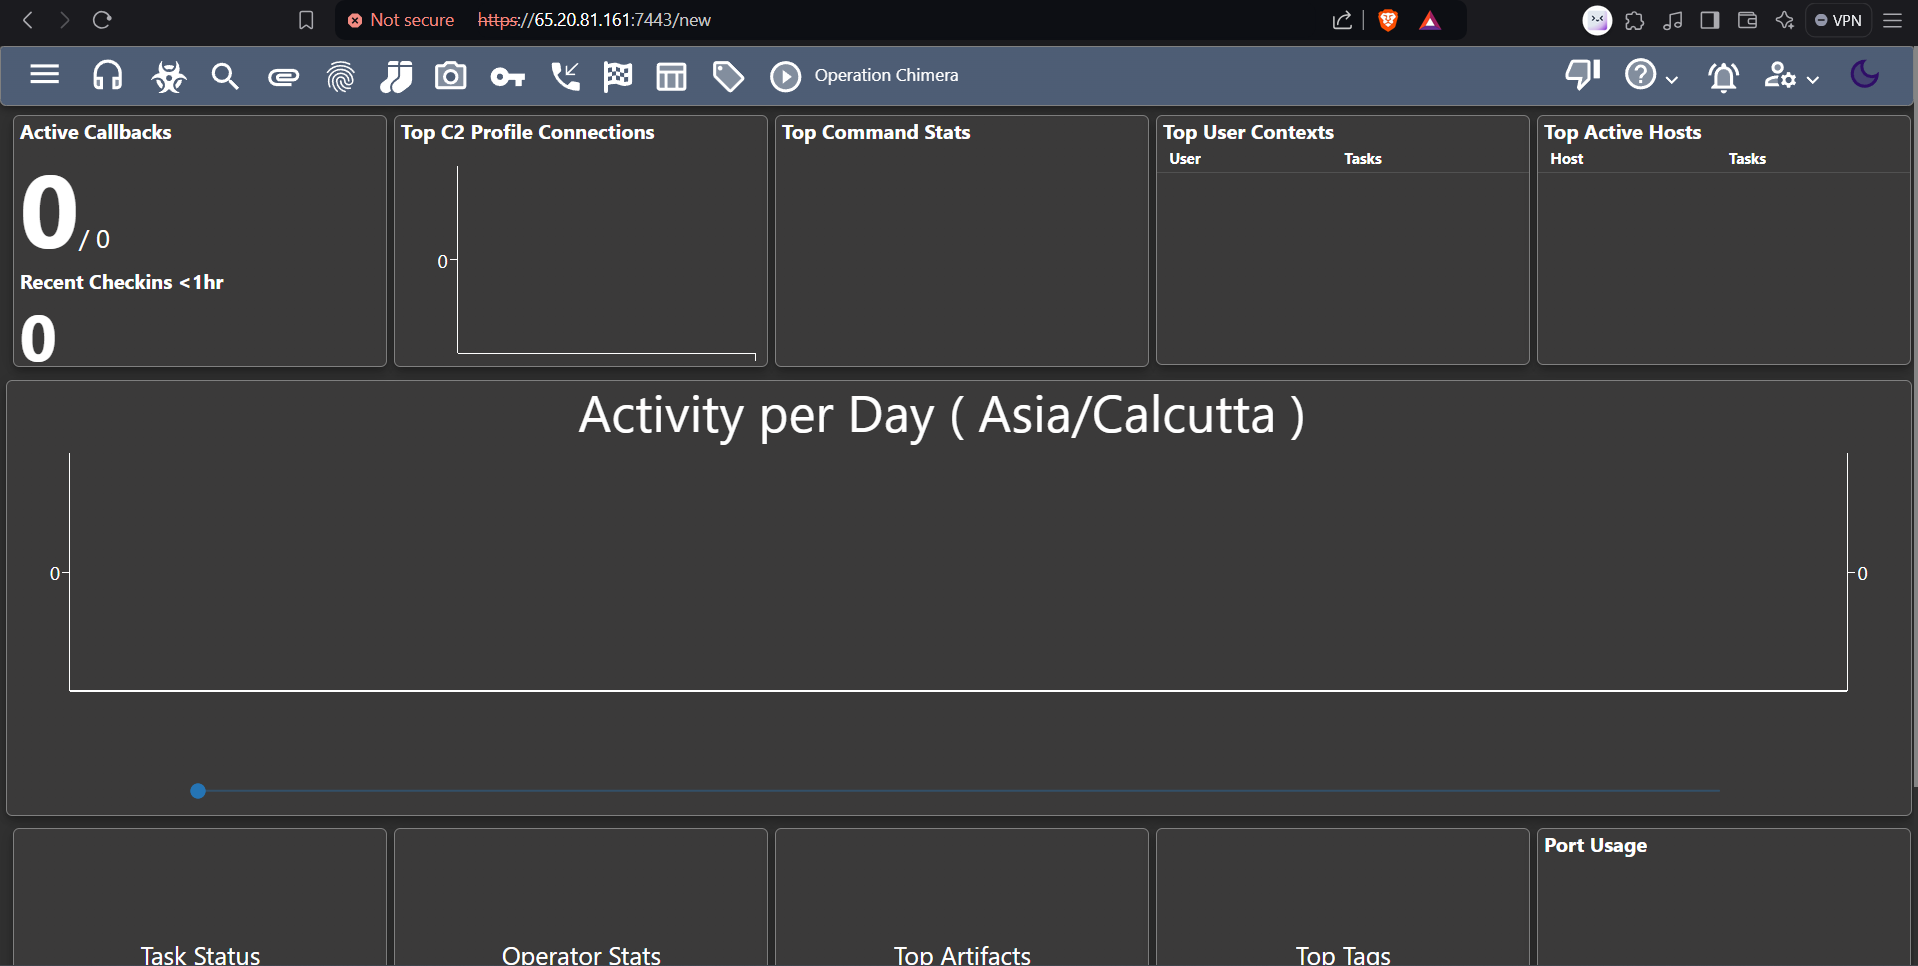
- Let’s paste that Mythic IP with port 7443 into your browser to access the dashboard. If you get a ‘Bad Request’ error, try switching to HTTPS. Just look for the ‘Advanced’ option and proceed.
- Here’s a sneak peek of the Mythic dashboard, but don’t worry about trying to log in just yet. We’ve got you covered.
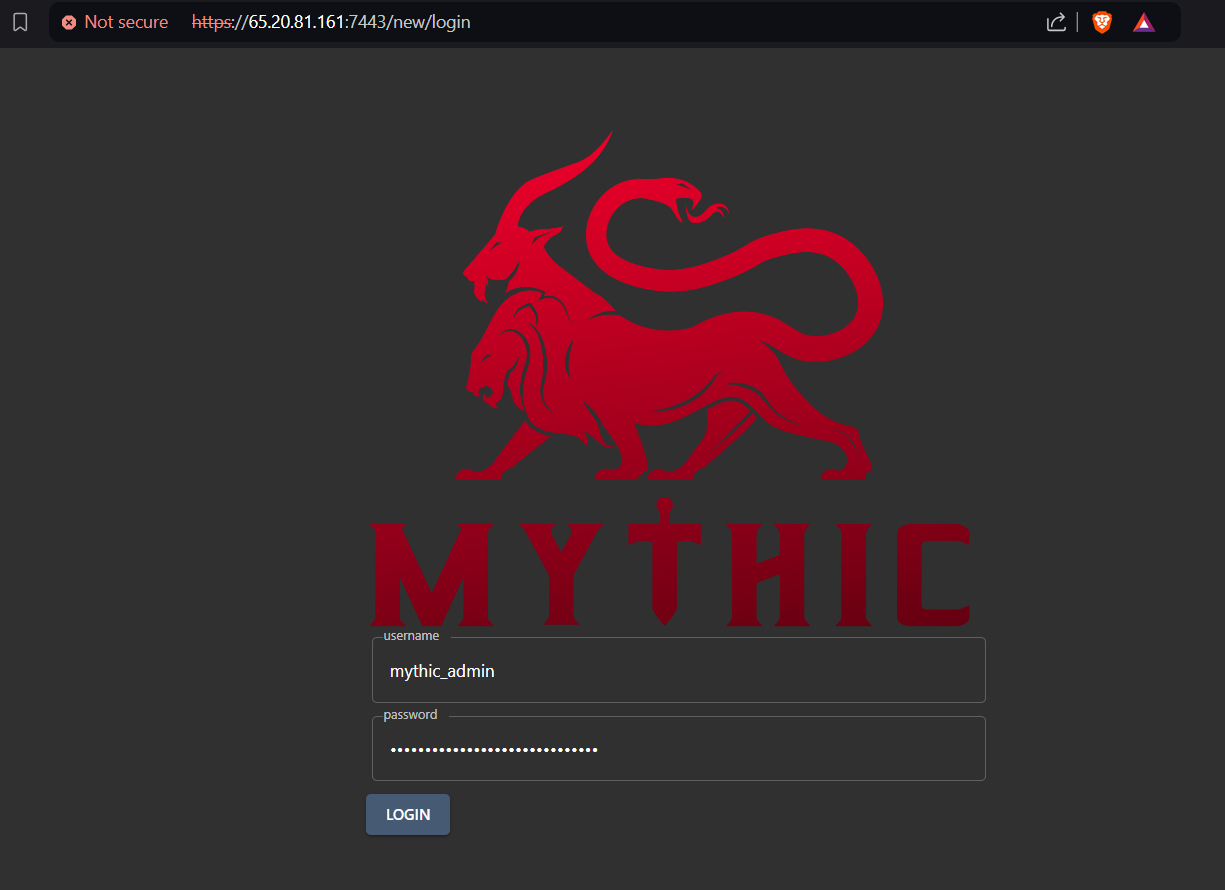
- The password for your Mythic account is tucked away in the env file inside the Mythic folder.
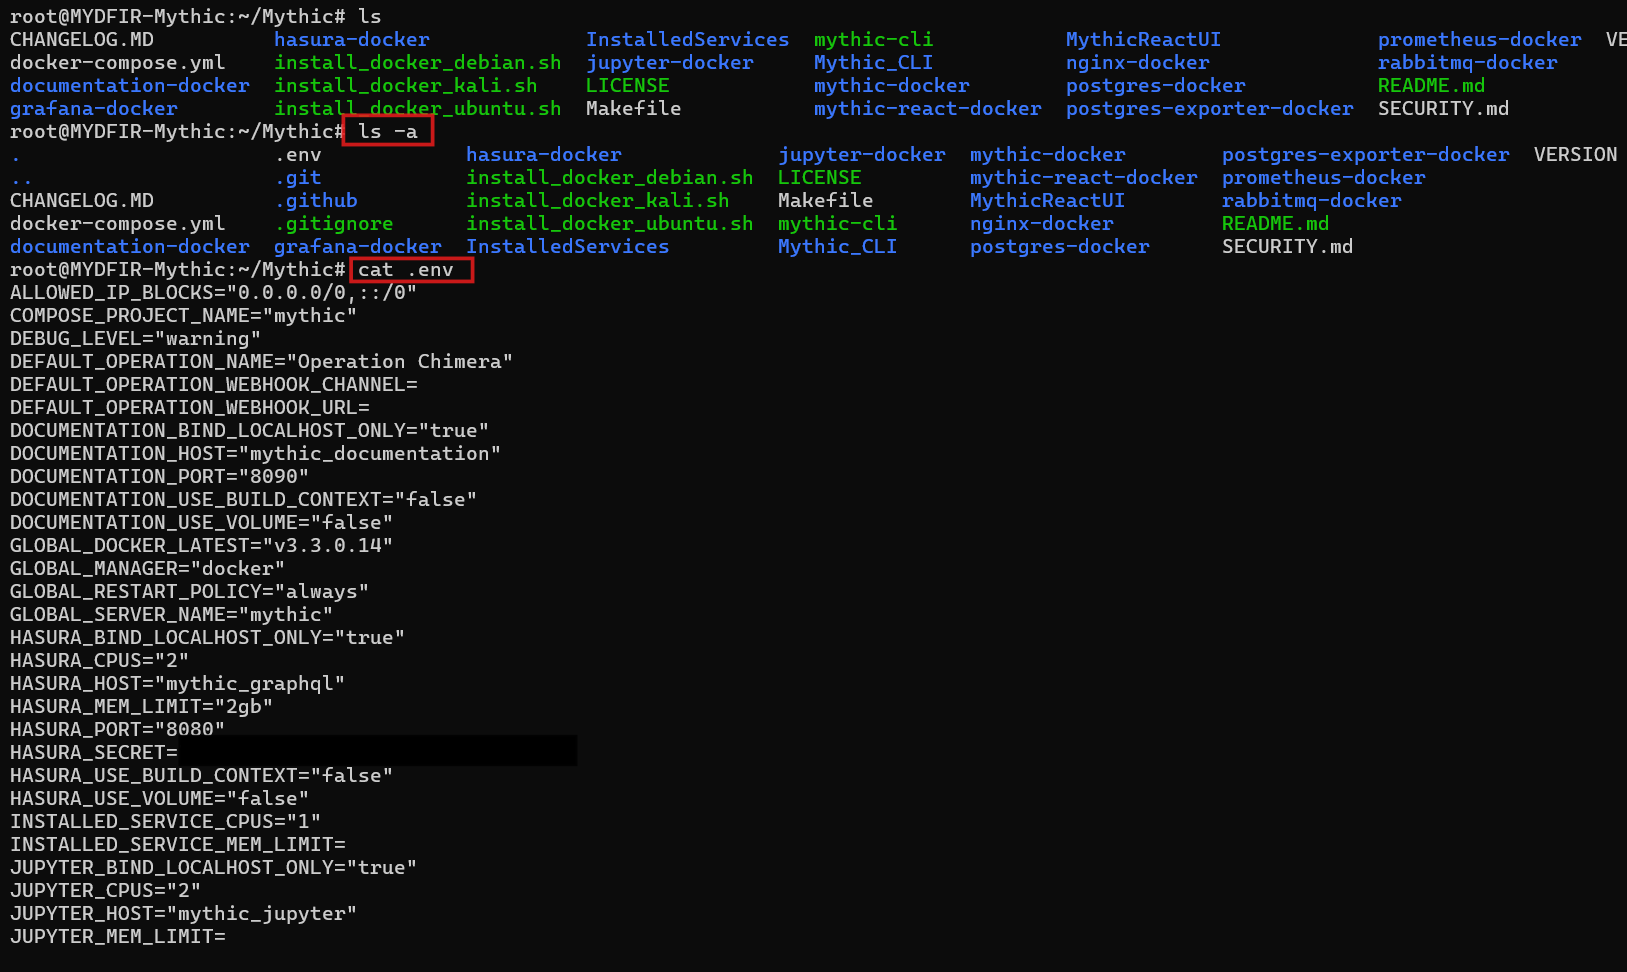
- Since the .env file is hidden, you’ll need to use the command
#ls -a
to see it. Once you’ve located it, grab your password and log into your Mythic C2 server!
In our next blog, we’ll dive deep into these fancy features you saw in the screenshot. Get ready to learn how can we use them! Stay tuned!