Day-24 osTicket Setup
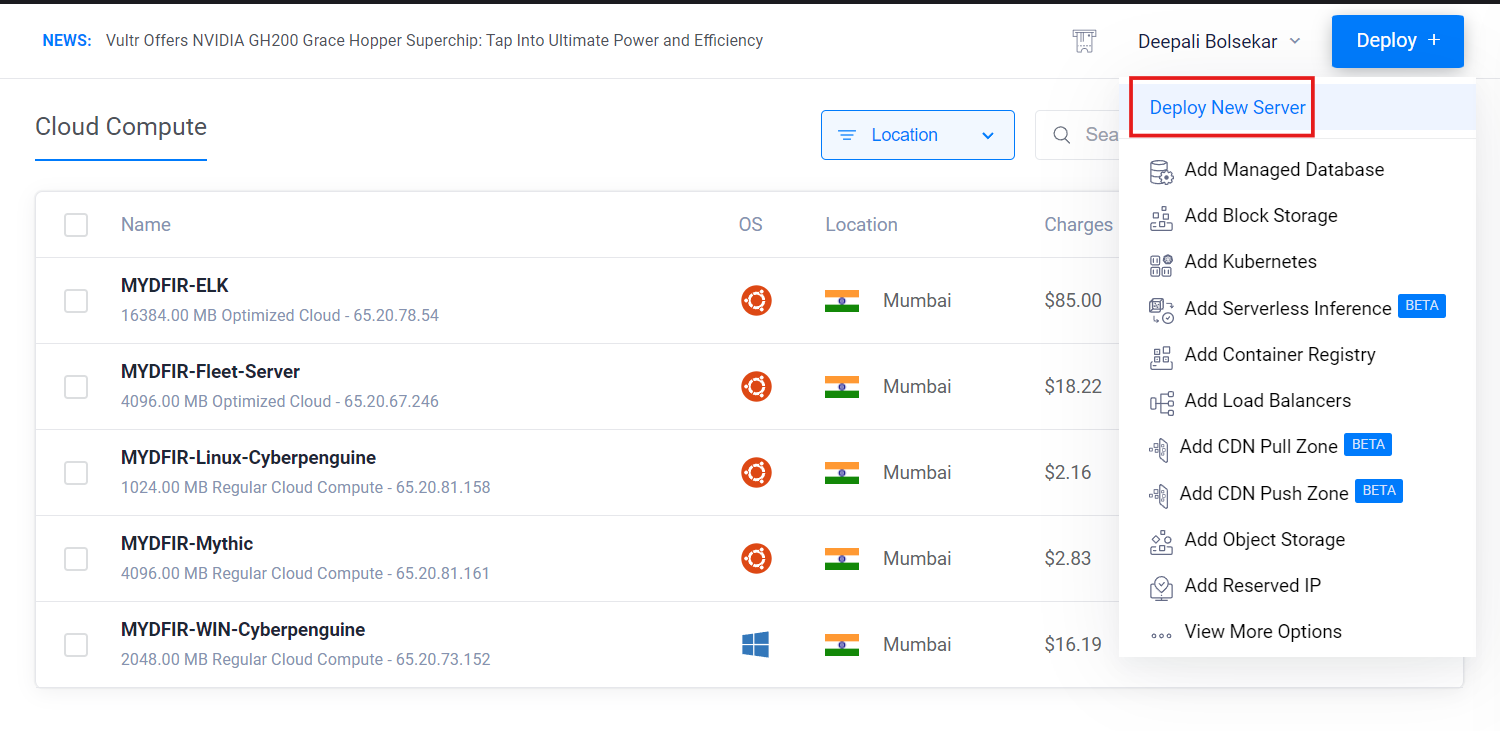
Yesterday, we talked about ticketing systems and OSticket. Today, let’s dive into the setup. We’ll start by creating a new server and deploying it. Get ready for some technical fun!
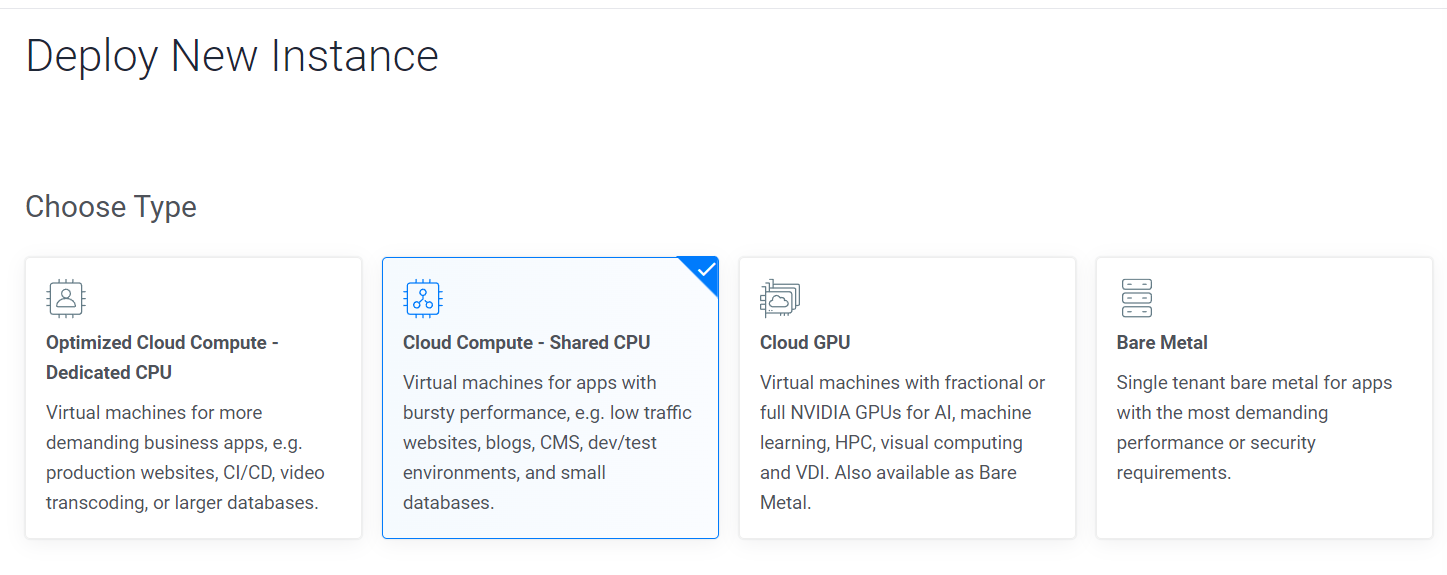
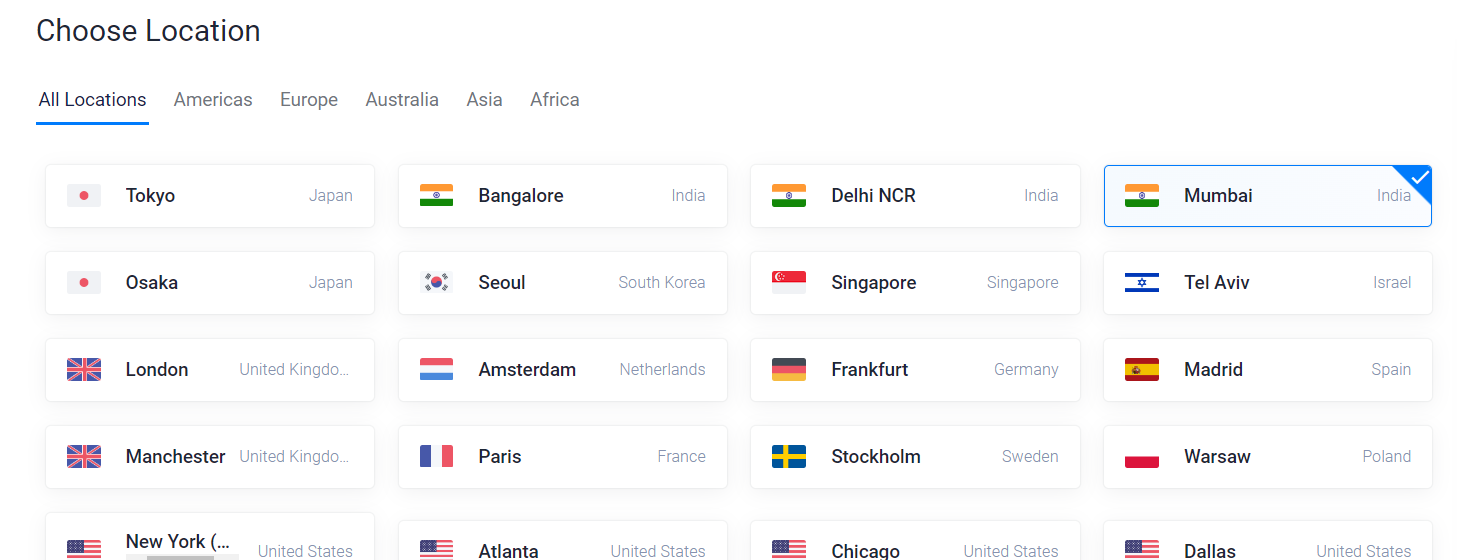
Select the ‘shared CPU’ option and choose the same location as the other servers we set up earlier.
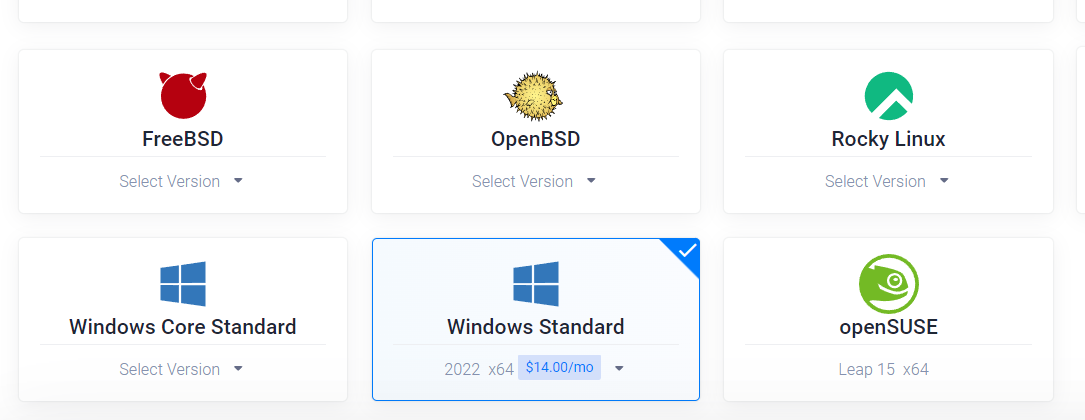
Select the Windows Standard Server image as your operating system.
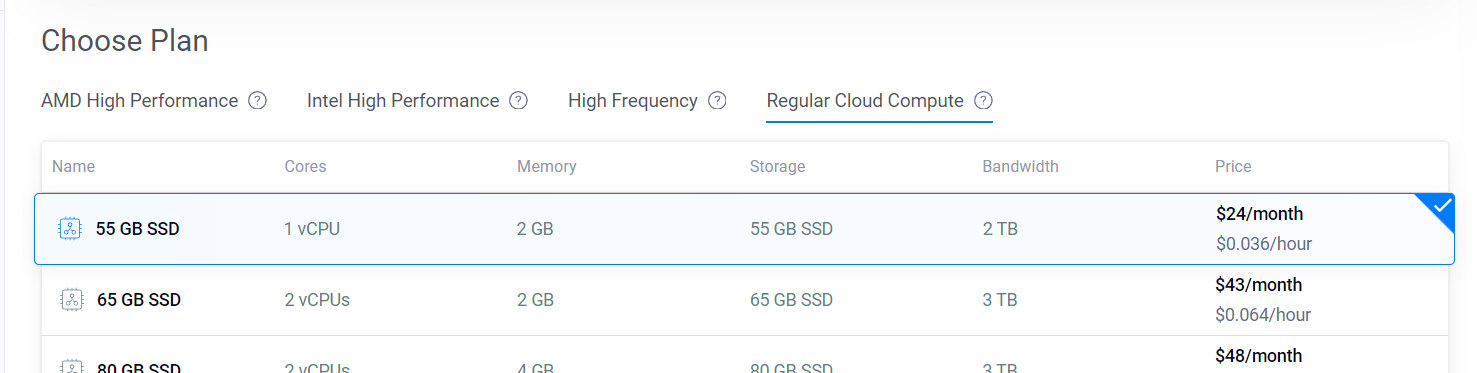
Opt for the regular plan with 1 vCPU and 2GB of memory.
From the additional features, we’ll focus on the VPC option.

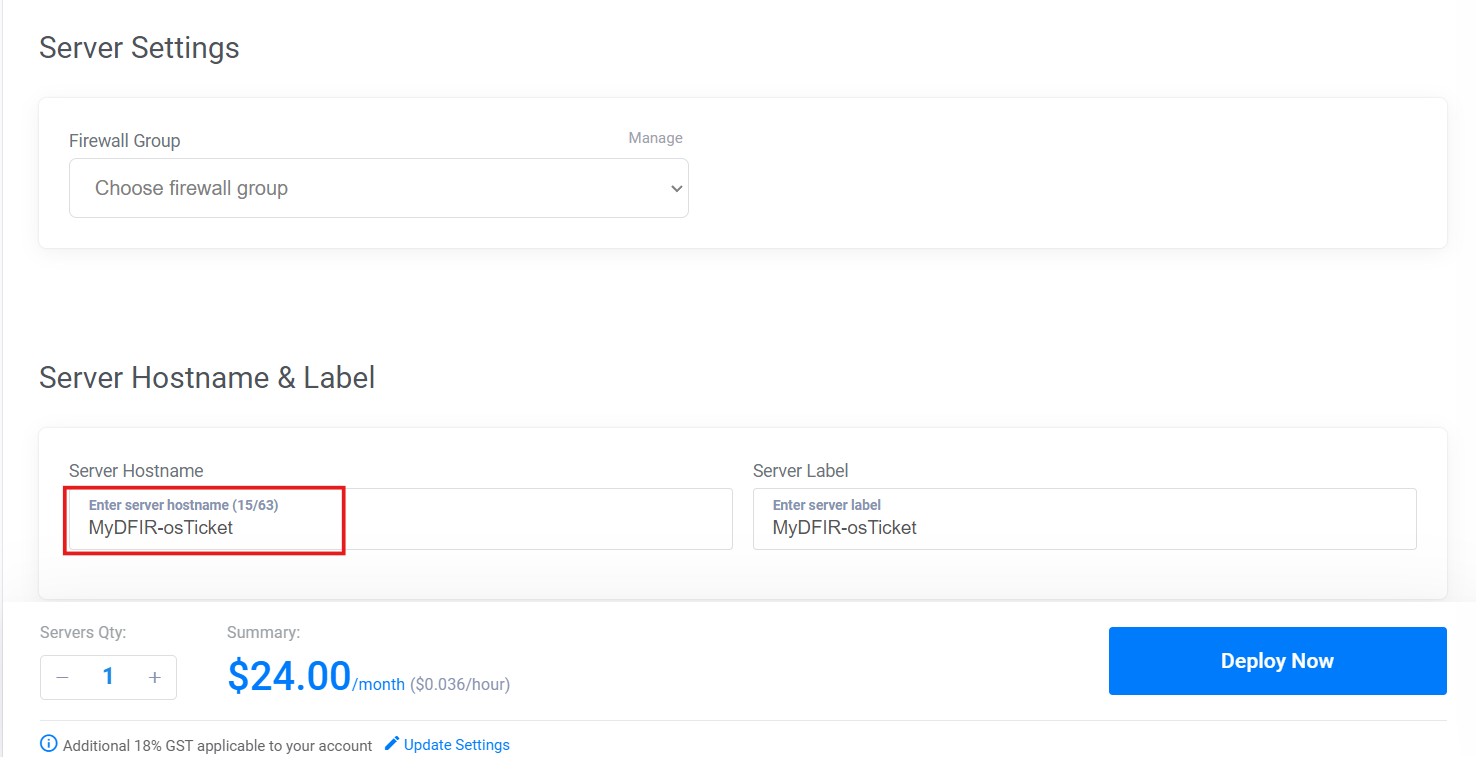
Let’s give this instance a cool name and deploy it! Then, we’ll add the MYDFIR-30-day-Challenge firewall to this OSticket Windows server. It’s like adding a security guard to your digital castle.
Let’s log into the OSticket server using RDP. Once inside, we’ll need to install XAMPP, which is a crucial component for running OSticket.
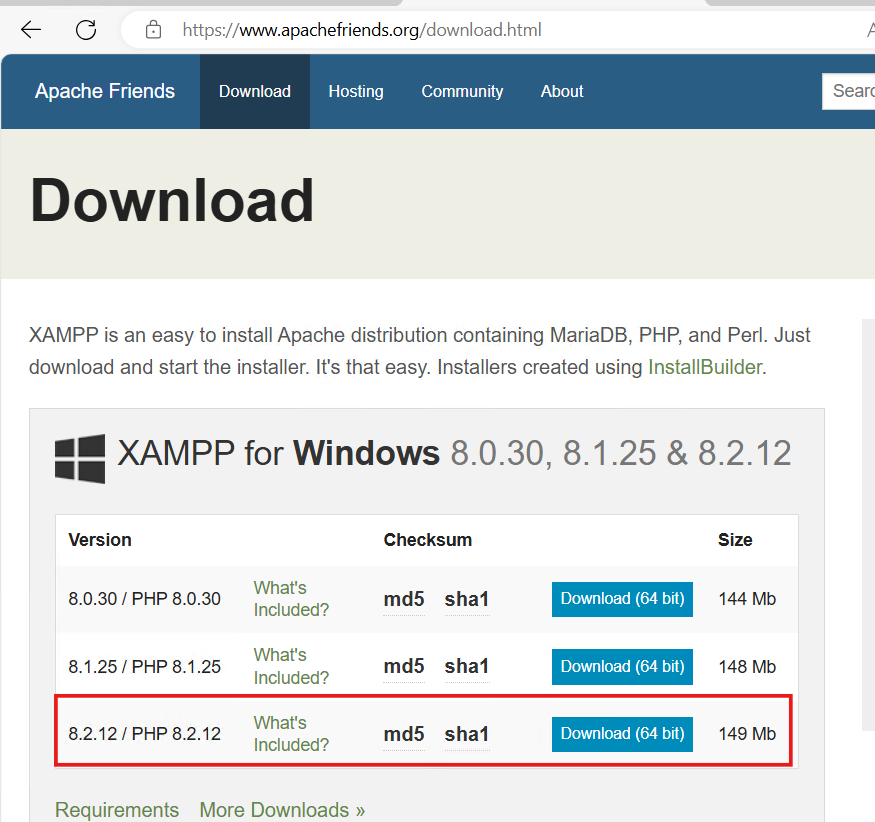
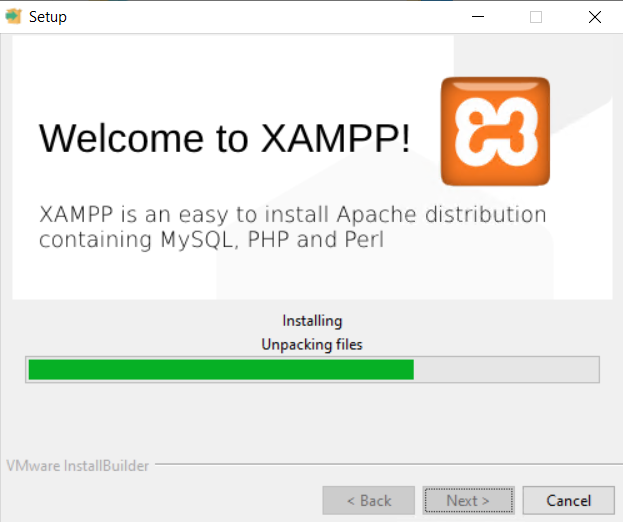
Once you’ve downloaded the file, kick off the installation process and click ‘OK’ to dismiss any warning prompts that pop up.

Let it install.
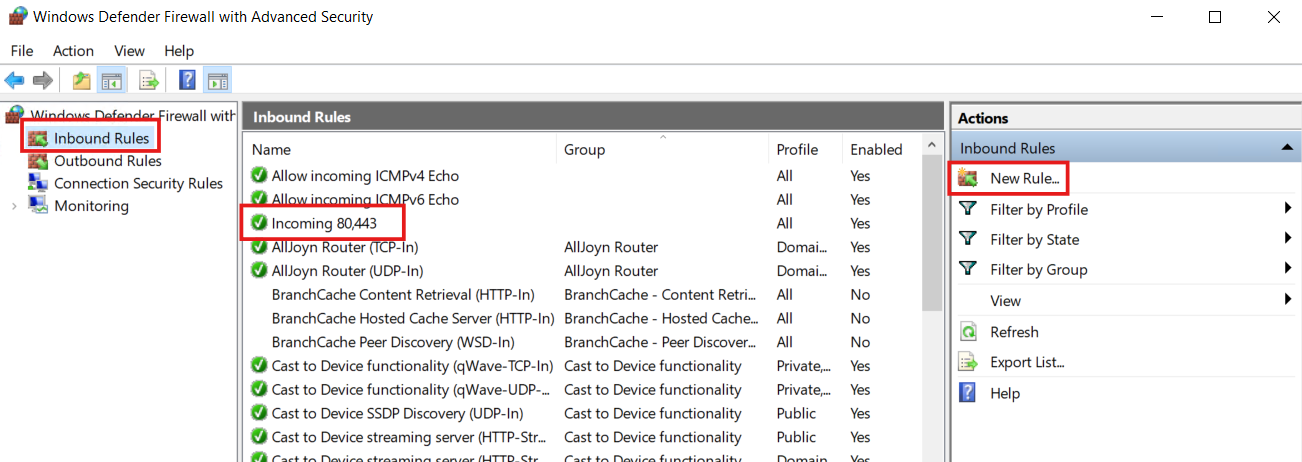
While XAMPP is installing, let’s set up a firewall rule for it. Since XAMPP uses ports 80 and 443, head over to Windows Defender Firewall and create a new inbound rule for port 80 and 443. Keep the default settings for now.
After a successful installation, the XAMPP control panel will pop up, and you’ll see that the Apache server is running on ports 80 and 443.
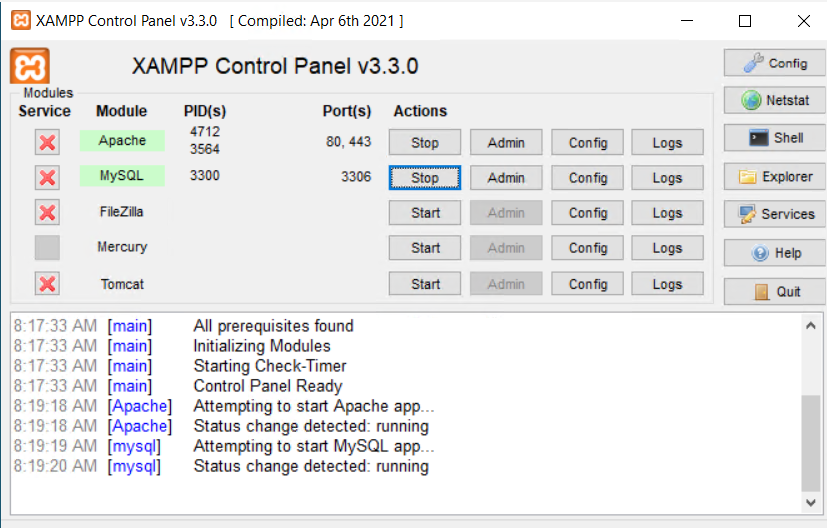
Next, click on the ‘Admin’ button right next to the ‘Apache Start’ button. A new webpage should pop up. From there, click on ‘phpMyAdmin.
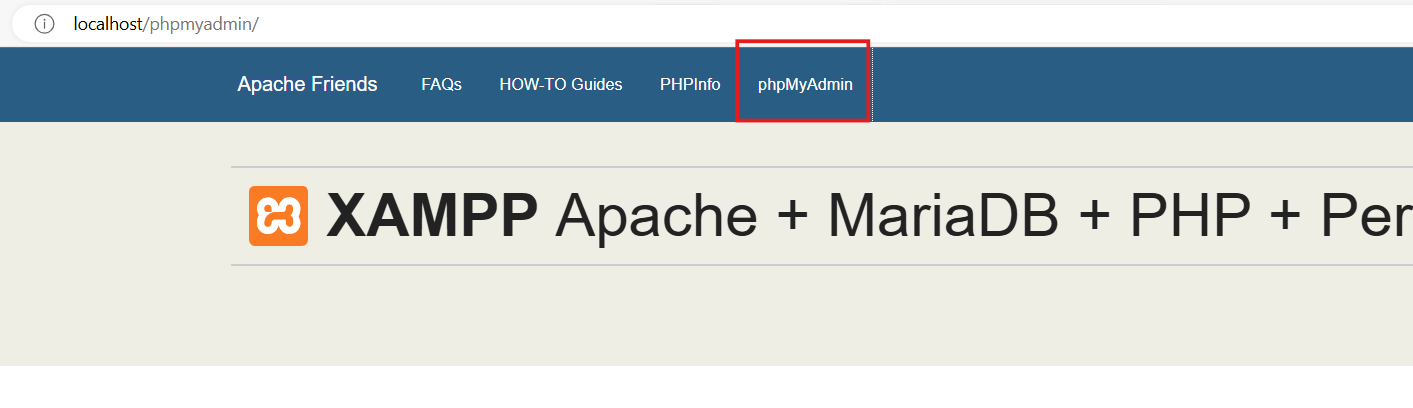
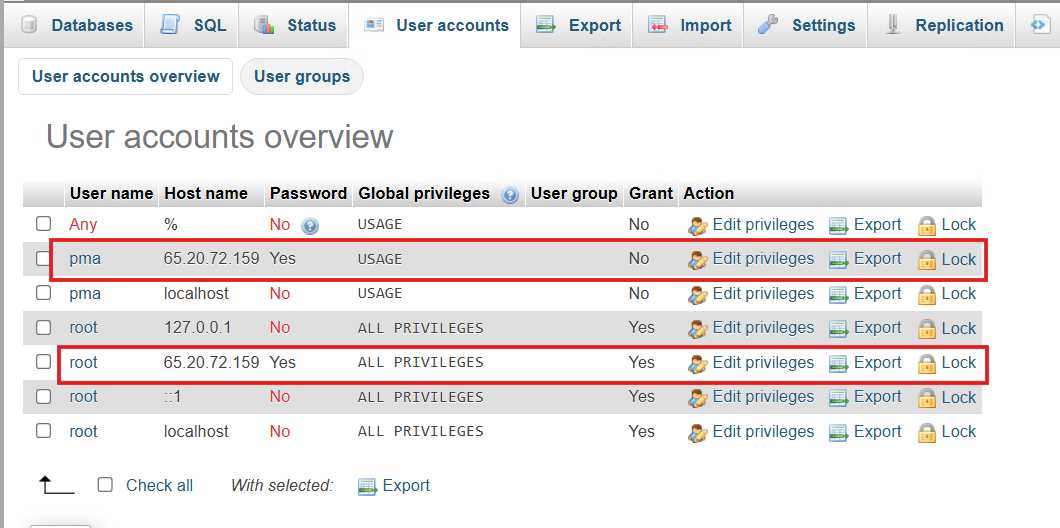
You’ll be taken to the next page, where we’ll make some changes to the user accounts for root and PMA. Let’s update the hostname to match the IP address of the Windows OSticket server.
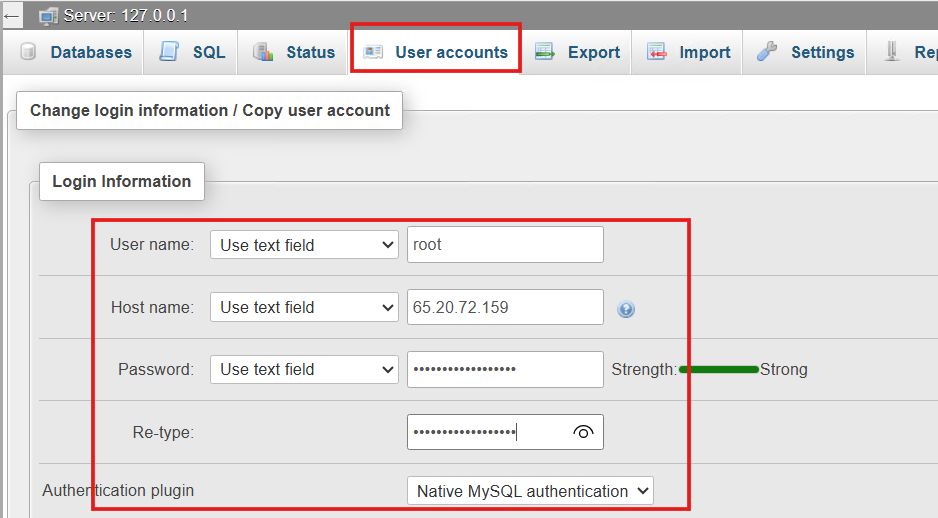
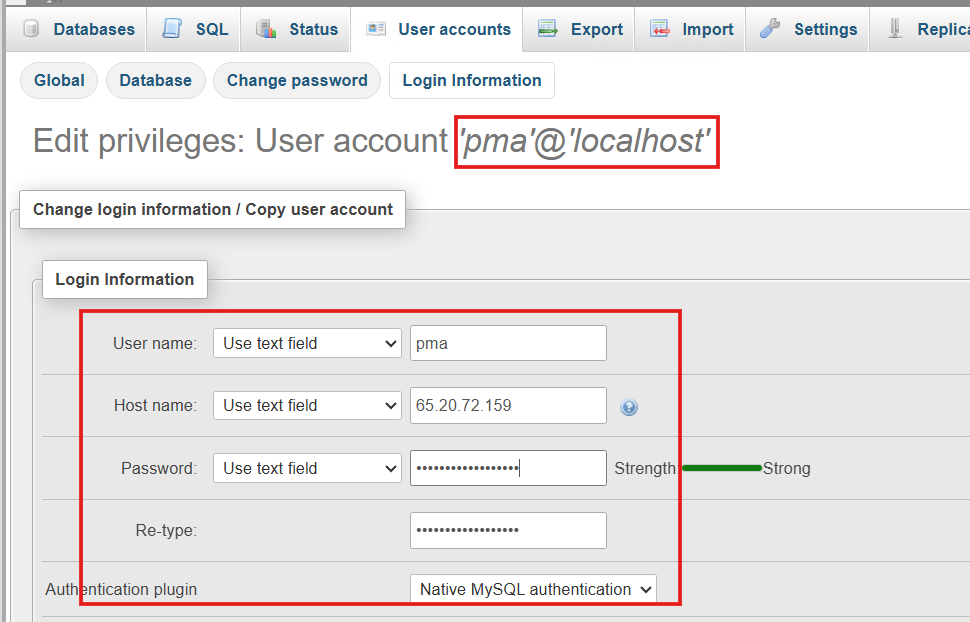
Be sure to update the PMA account credentials with the correct server IP address and password.
Once you’ve successfully installed XAMPP, the first thing you’ll want to do is…
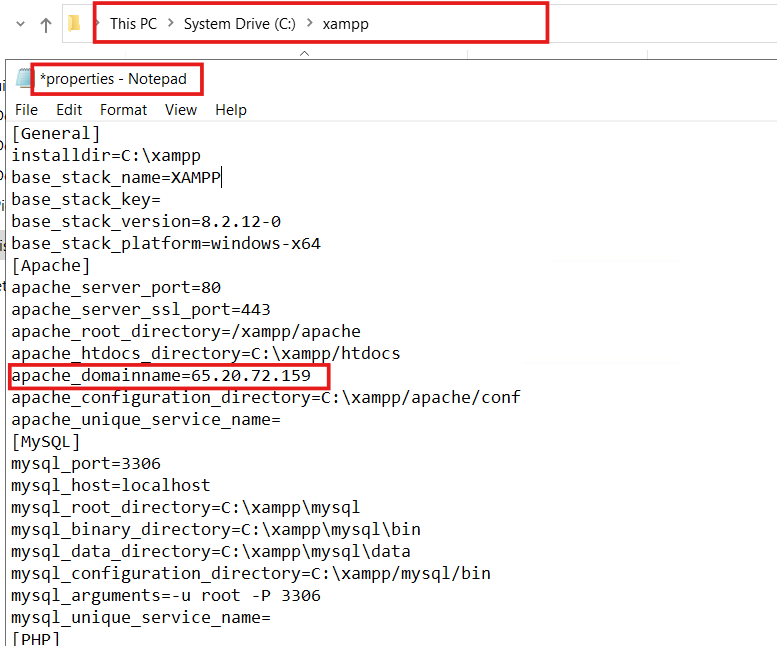
Let’s tweak some settings in the XAMPP folder. Head over there and find the properties file. Change the domain name to your server’s IP address, then save your changes. Easy peasy!
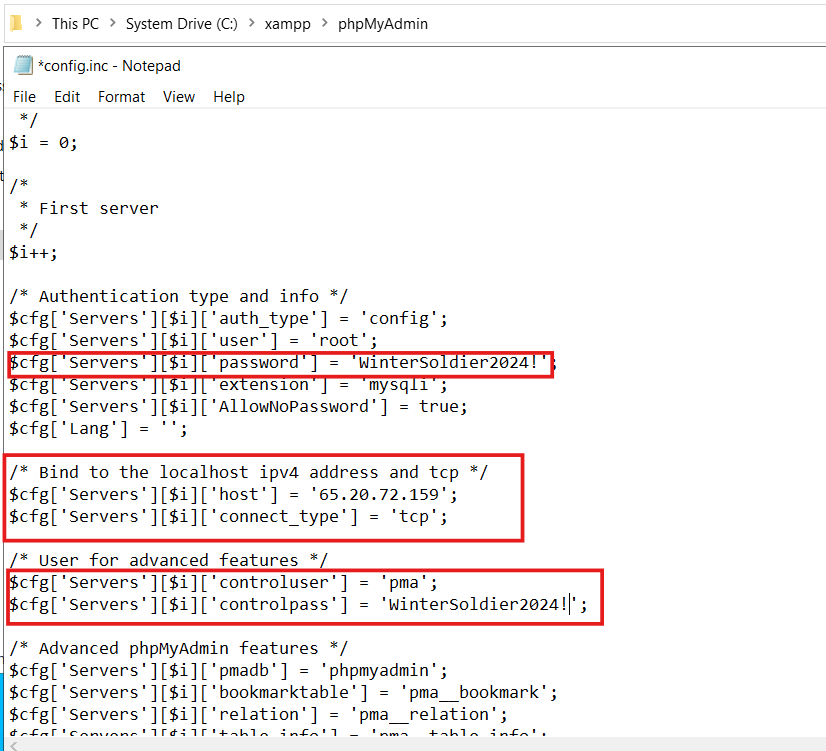
Next, find the config.inc file in the XAMPP > phpMyAdmin folder. Open it in a text editor. Change the password for the root user, the localhost IP address to the server IP, and the password for pma. Save the file.
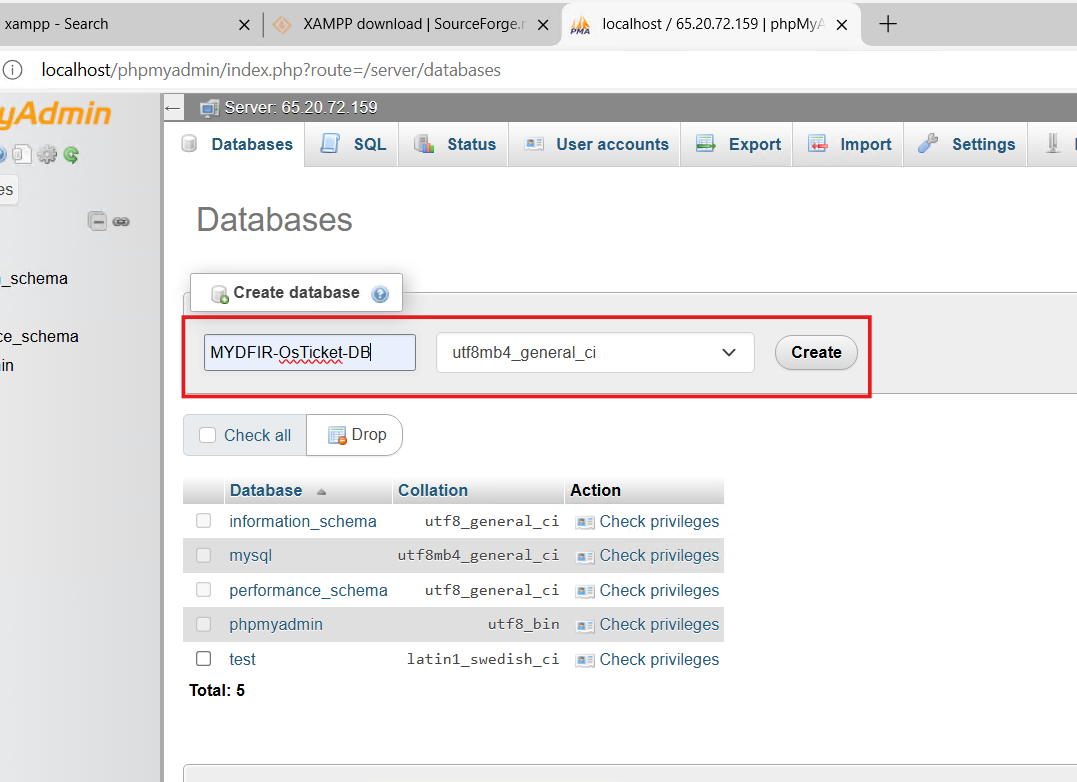
Now, let’s create the database in phpMyAdmin for osTicket.
Let’s get started! We’re going to download the open-source osTicket software for our self-hosted ticketing system.
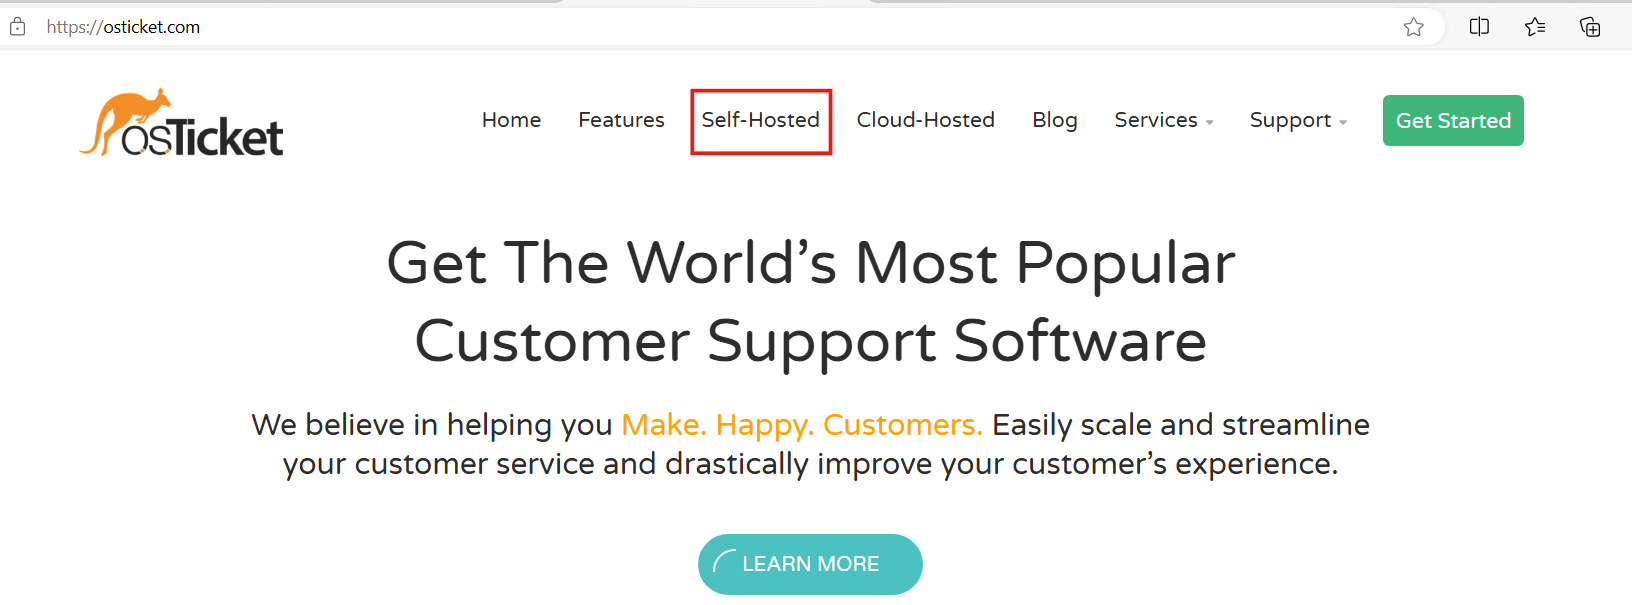
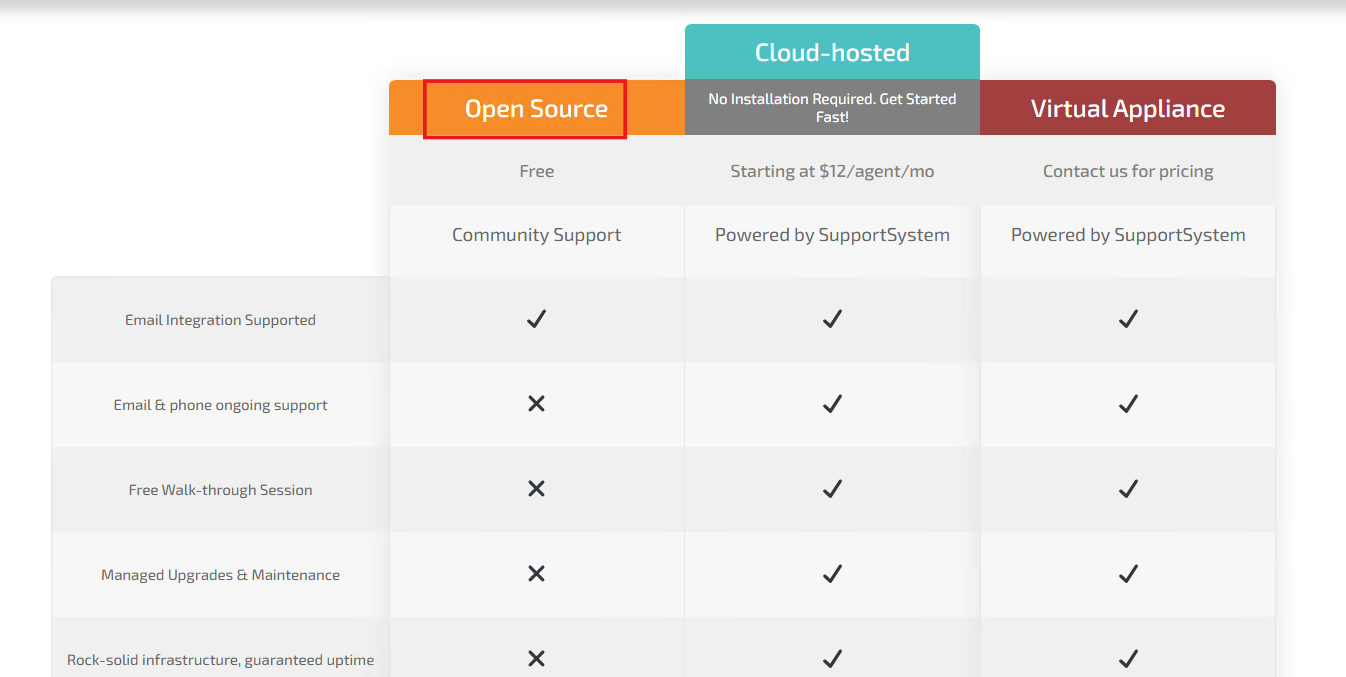
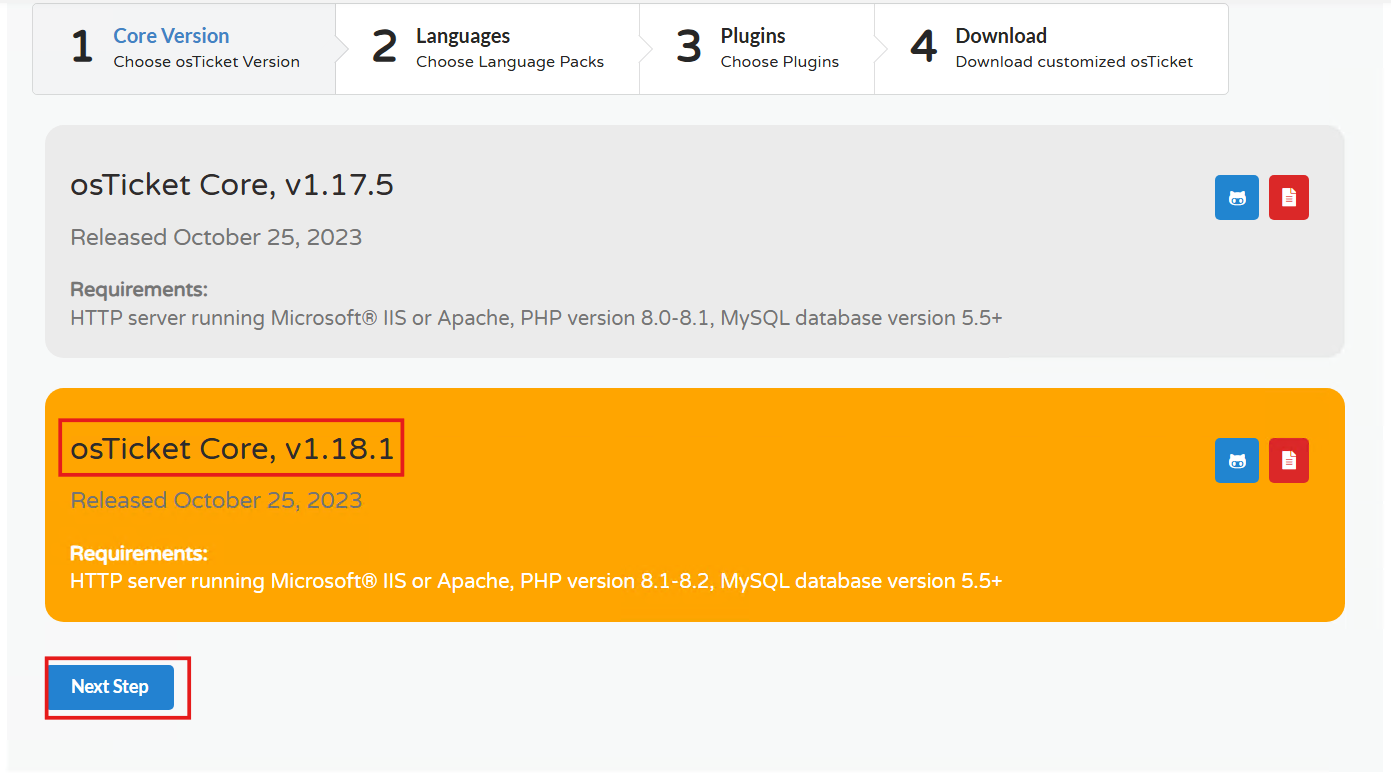
To download osTicket, we’ll follow these simple steps. First, choose the version you want.
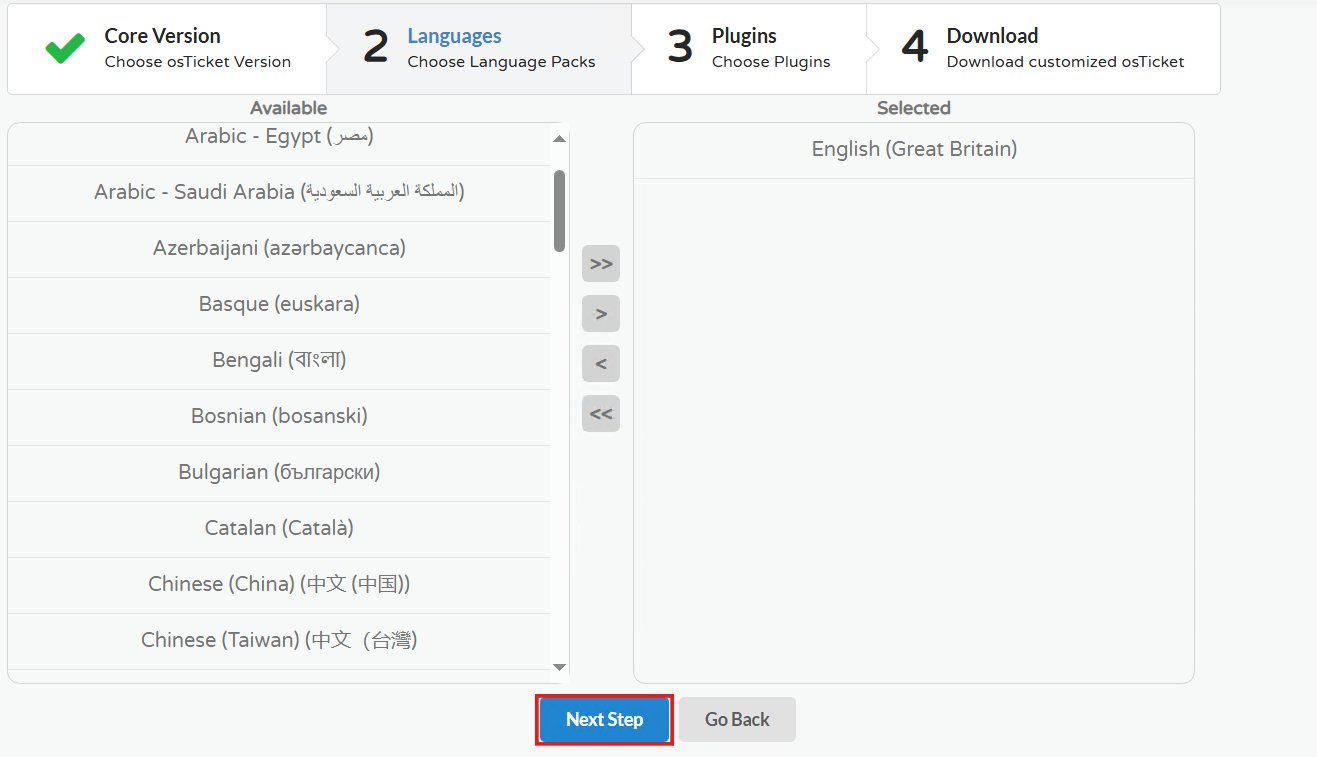
Next, choose your preferred language, but don’t worry about plugins for now. Just skip that step and move on.

After this step, you’ll see a prompt asking if you want to subscribe to the OSticket newsletter. Feel free to subscribe if you’re interested, but I personally clicked ‘No Thanks’ for now.
Once you’ve downloaded the OSticket ZIP file, extract all the contents.”
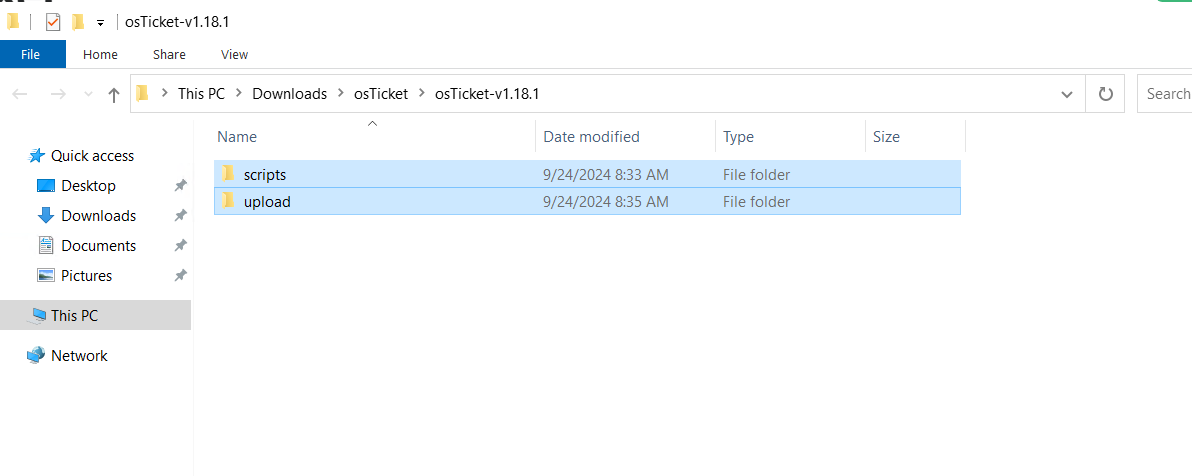
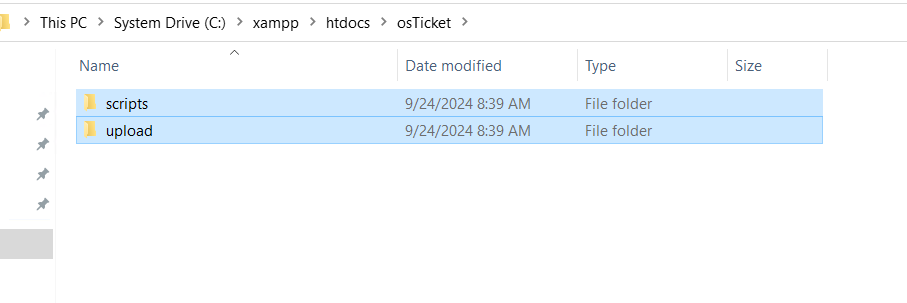
Copy the two folders you see above, scripts and uploads, and paste them into a new folder named ‘osticket’ inside the ‘htdocs’ folder. The ‘htdocs’ folder is usually located within the ‘xampp’ folder.
Now, you can access the OSticket installer using your server’s public IP address. Just go to
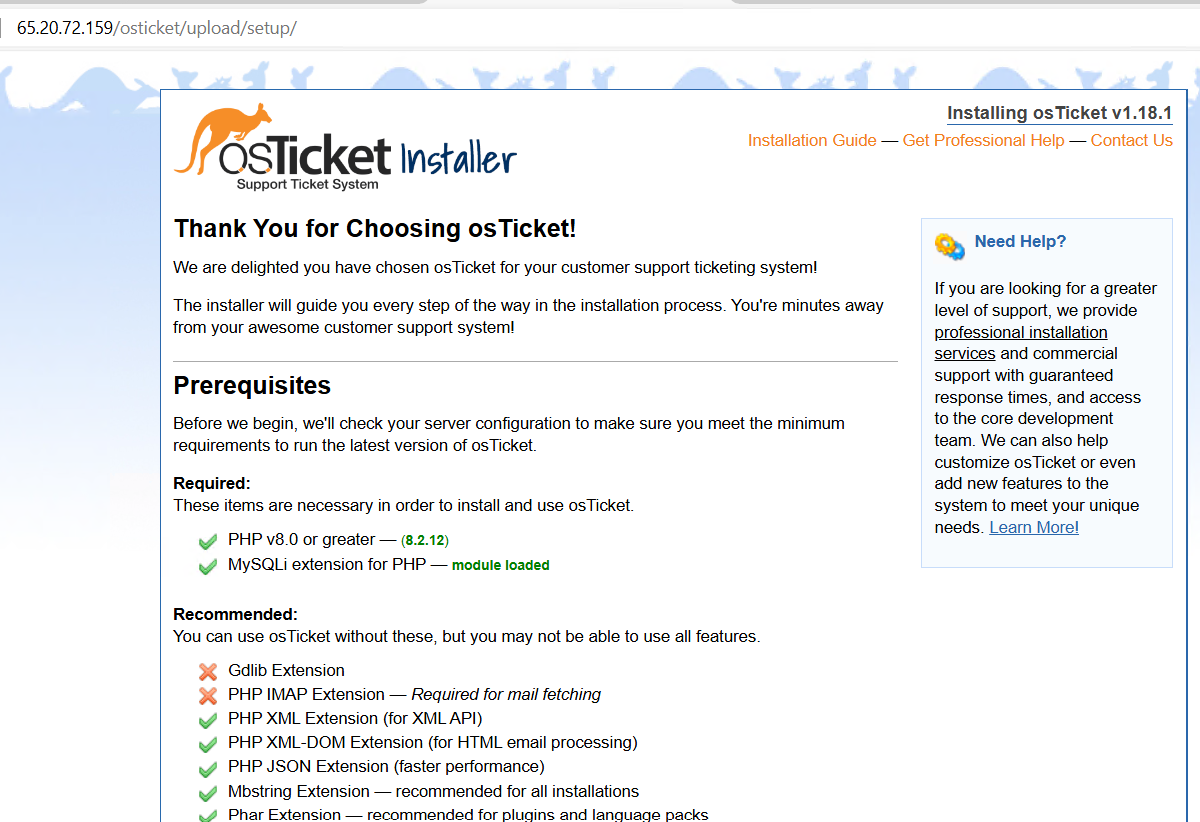
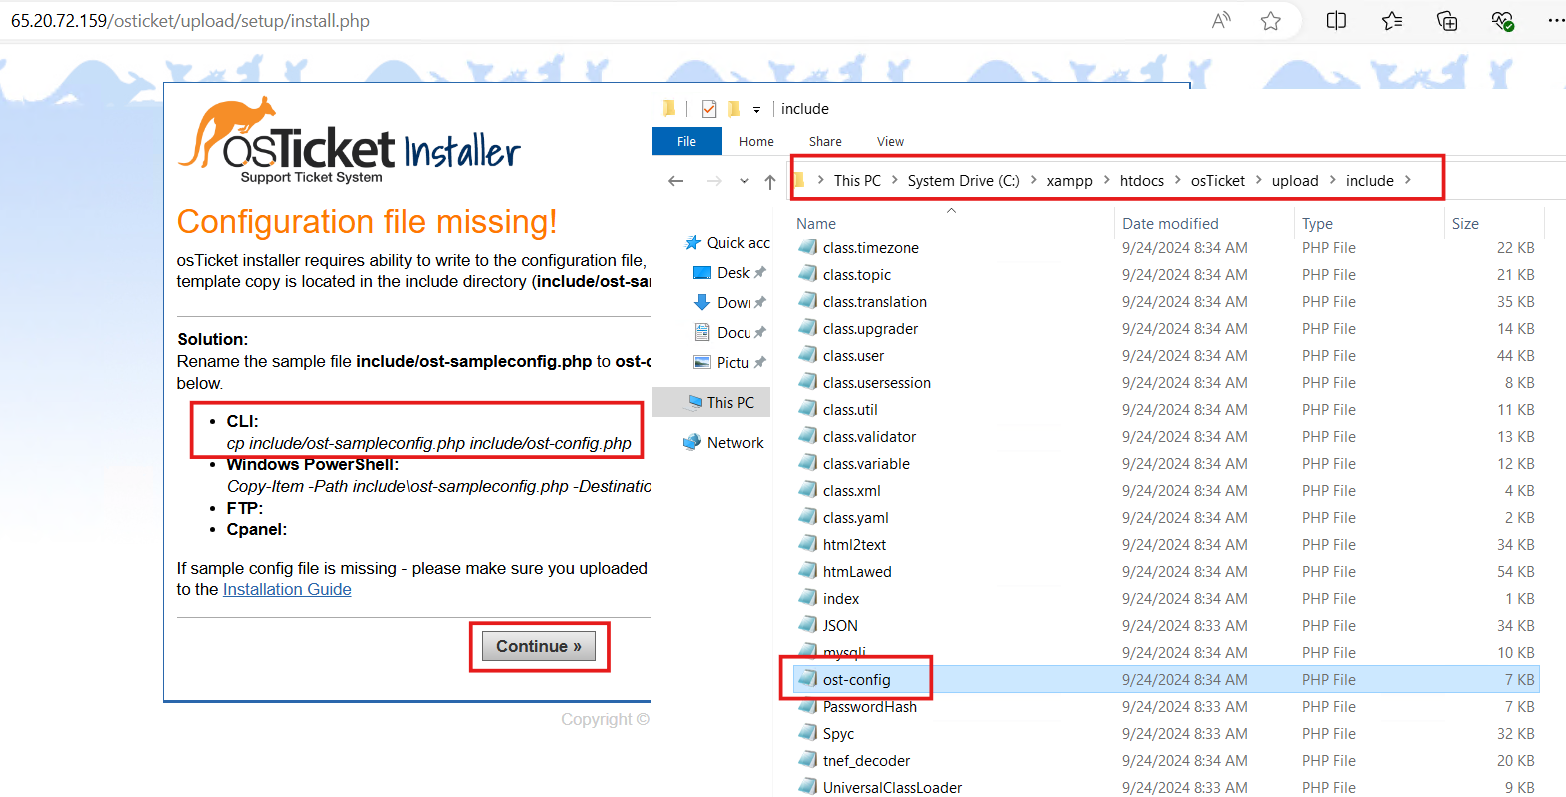
Click the ‘Continue’ button at the bottom and follow the on-screen instructions. Rename the file ‘ost-sampleconfig’ to ‘ost-config’. You’ll find this file in the following directory: xampp > htdocs > osTicket > upload > include.
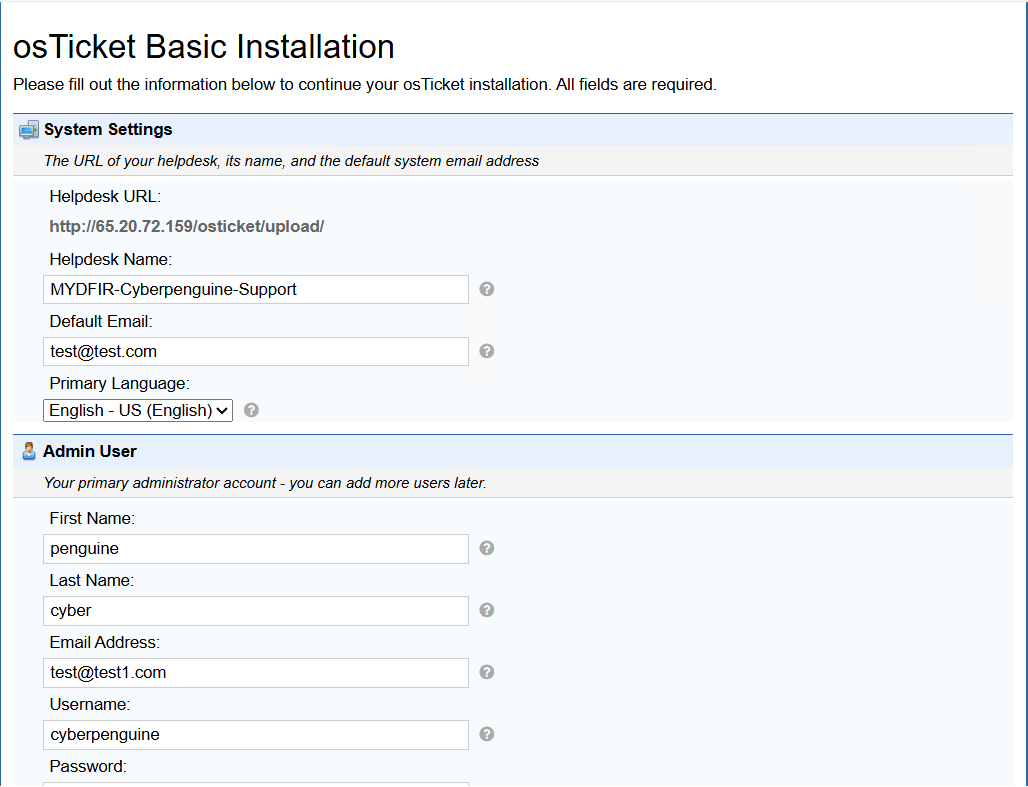
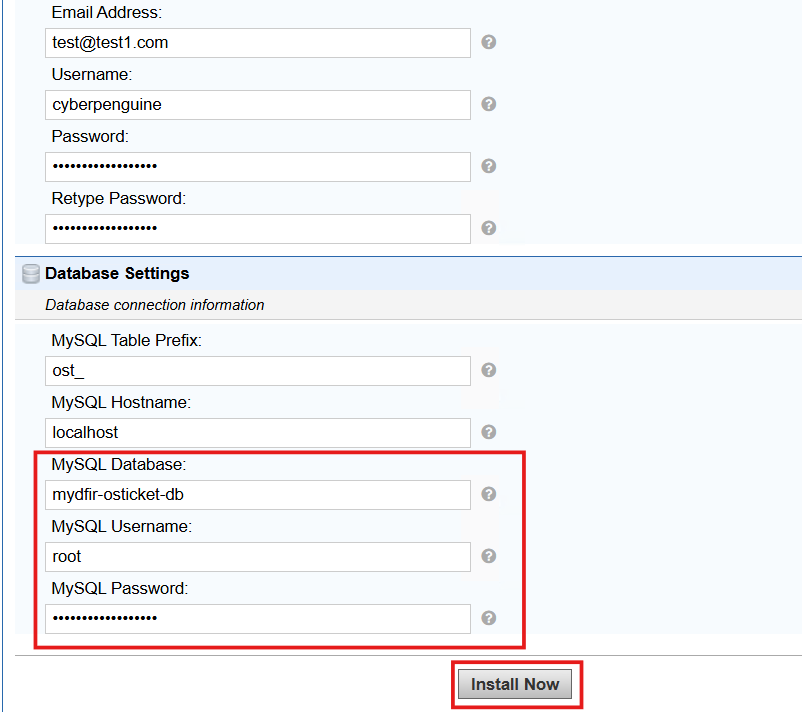
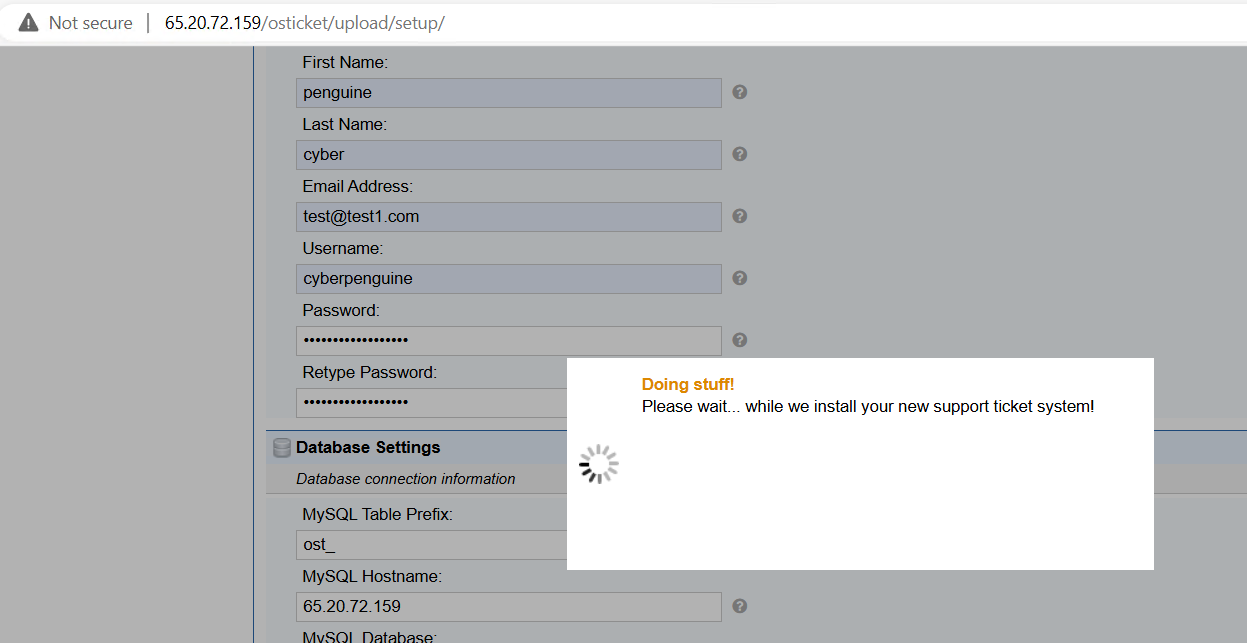
Next up, we’ll dive into the form and create your account. Remember to keep your username and password handy for future logins to the staff control panel.
Then click on install now.
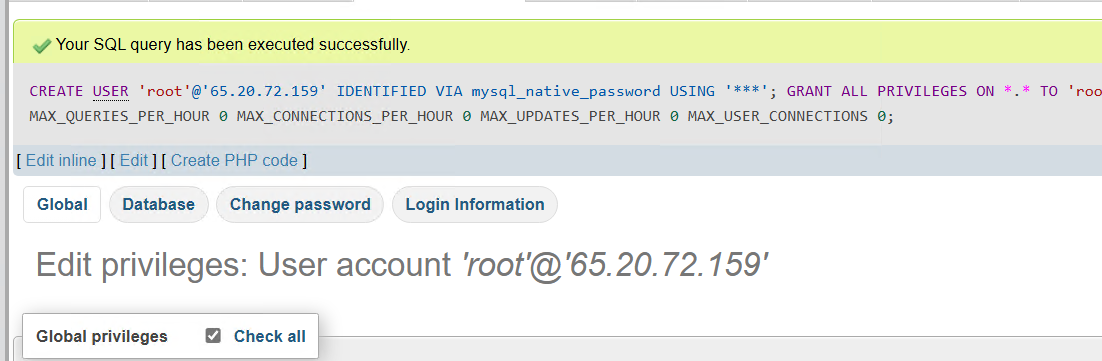
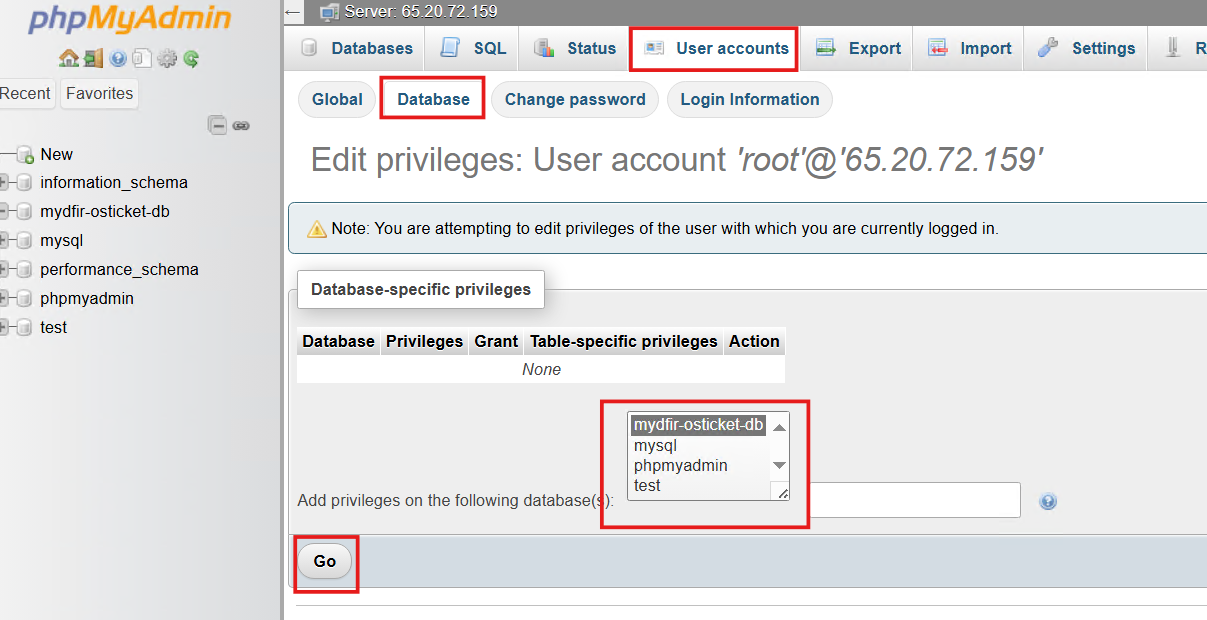
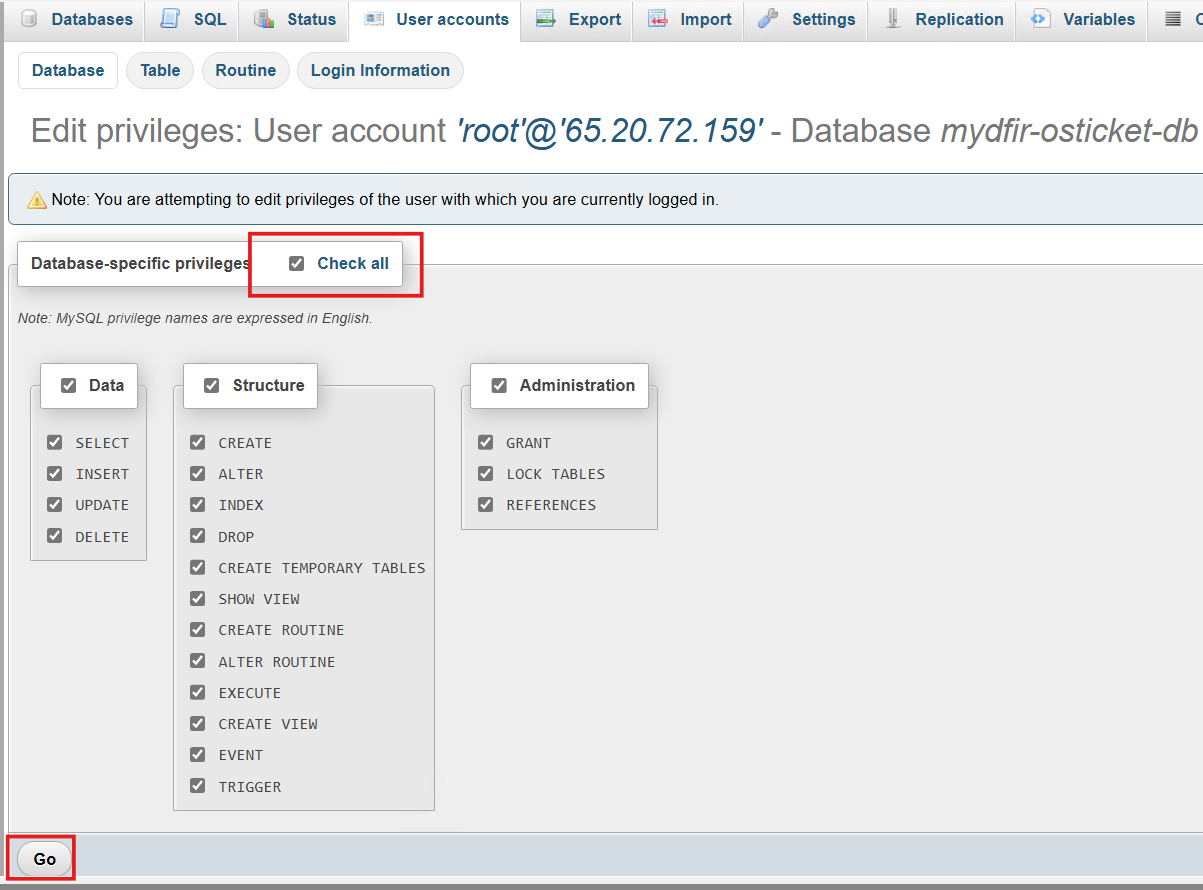
You might run into the same issue I did: you probably forgot to create the database for OSticket or didn’t give the root user permission. I made that mistake too, but I realized it later. Let’s fix that by granting the database the necessary privileges.
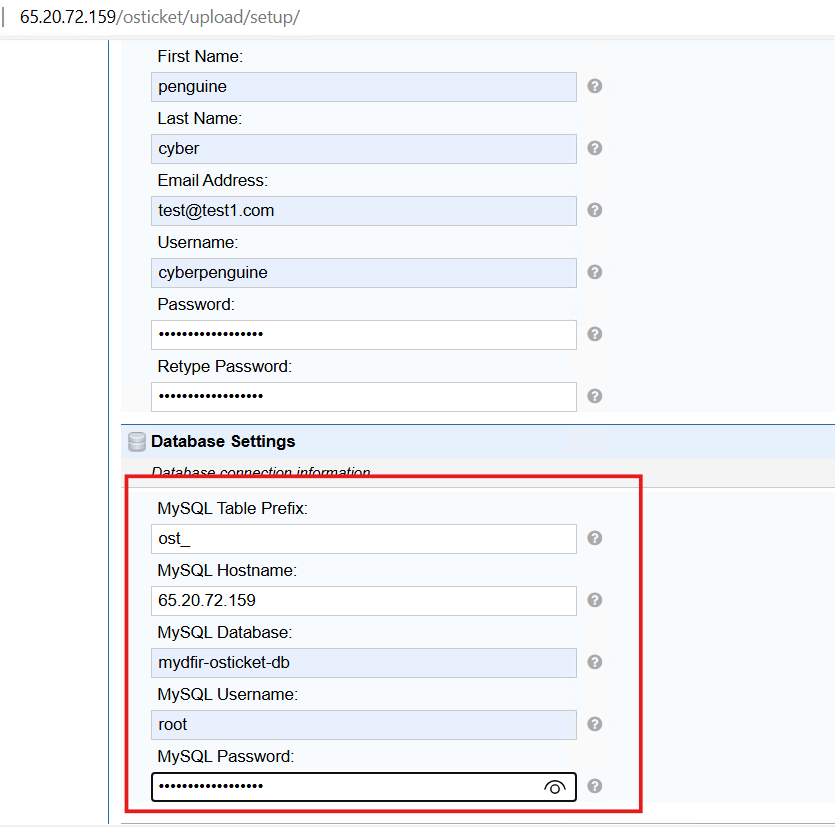
One possible reason for the error is that you might have accidentally typed in ‘localhost’ instead of the server’s public IP address when filling out the installation form. I made that mistake too! To fix it, simply replace ‘localhost’ with the correct server IP address.
Great! It’s working as it should. Let’s give it a few seconds to do its thing.
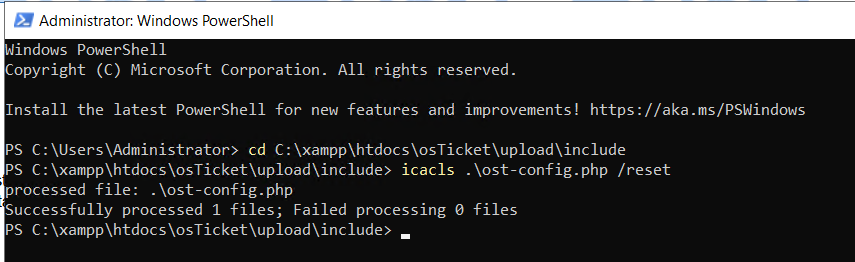
The next page will prompt us to reset the ost-config file. Following the instructions, let’s execute the command task.
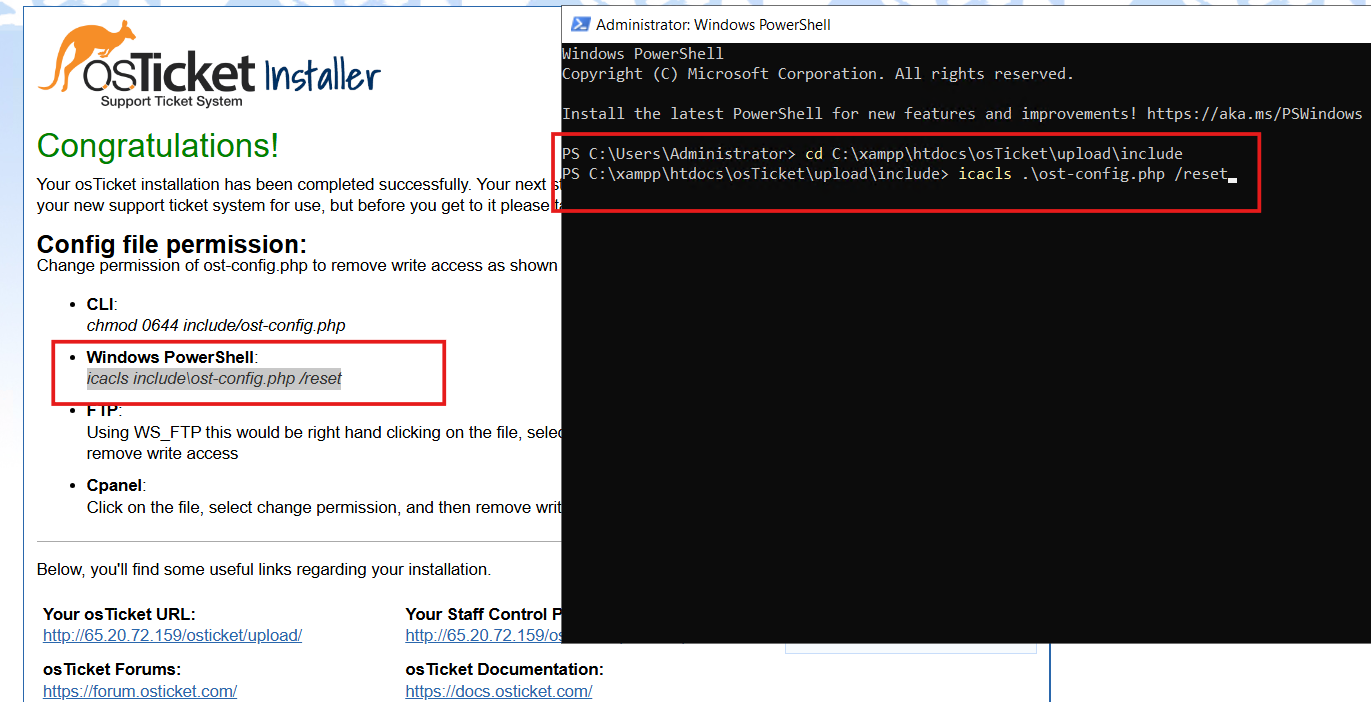
Bookmark those links to the staff control panel for easy access later!
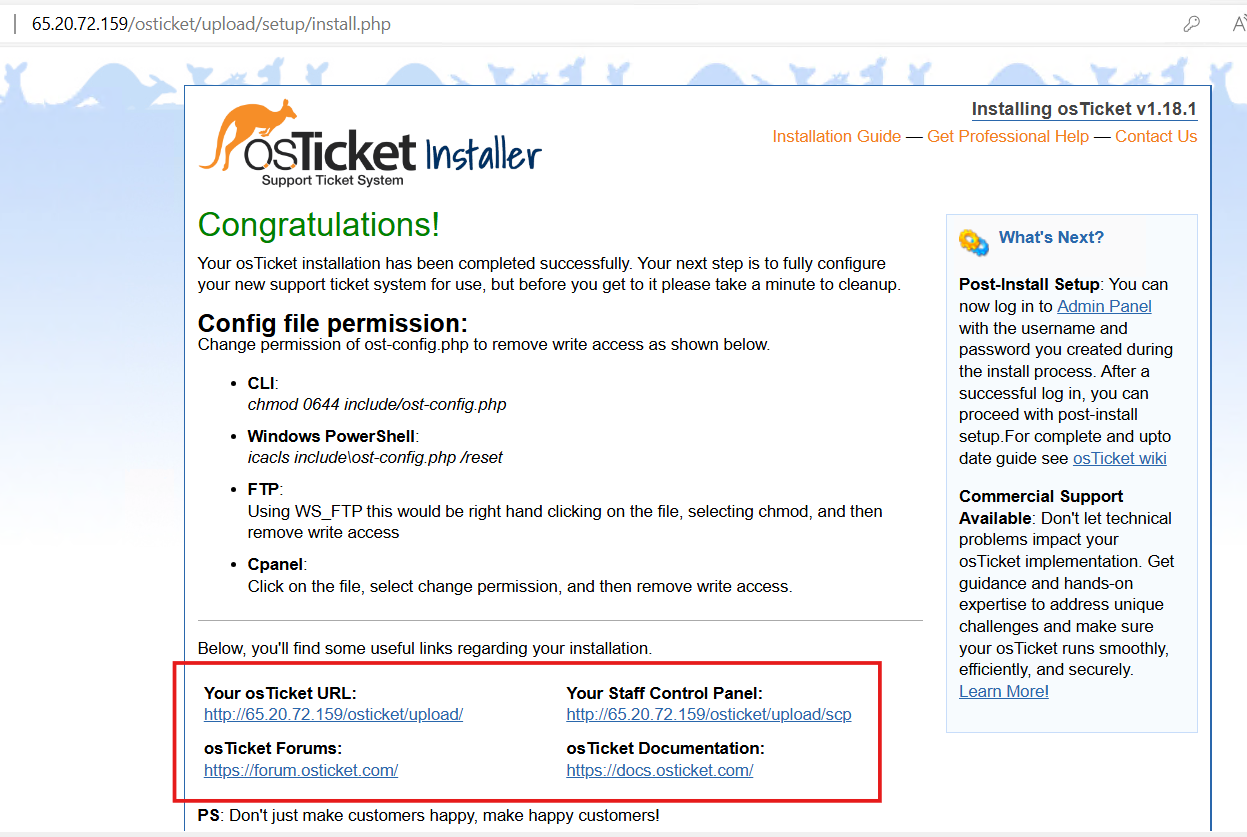
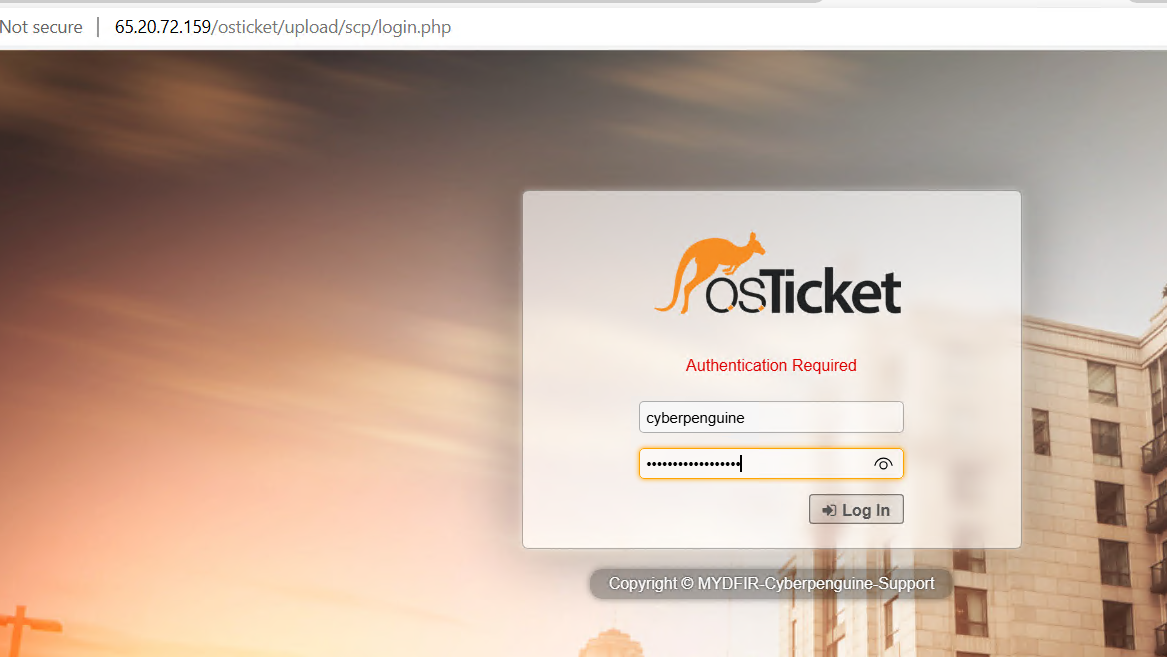
Now, let’s use the link for the staff control panel. Log in using the same credentials you created during the installer setup.
Once you log in successfully, you’ll be greeted by the admin panel. This is where the magic happens! From here, you can customize and tweak your admin panel to your liking.
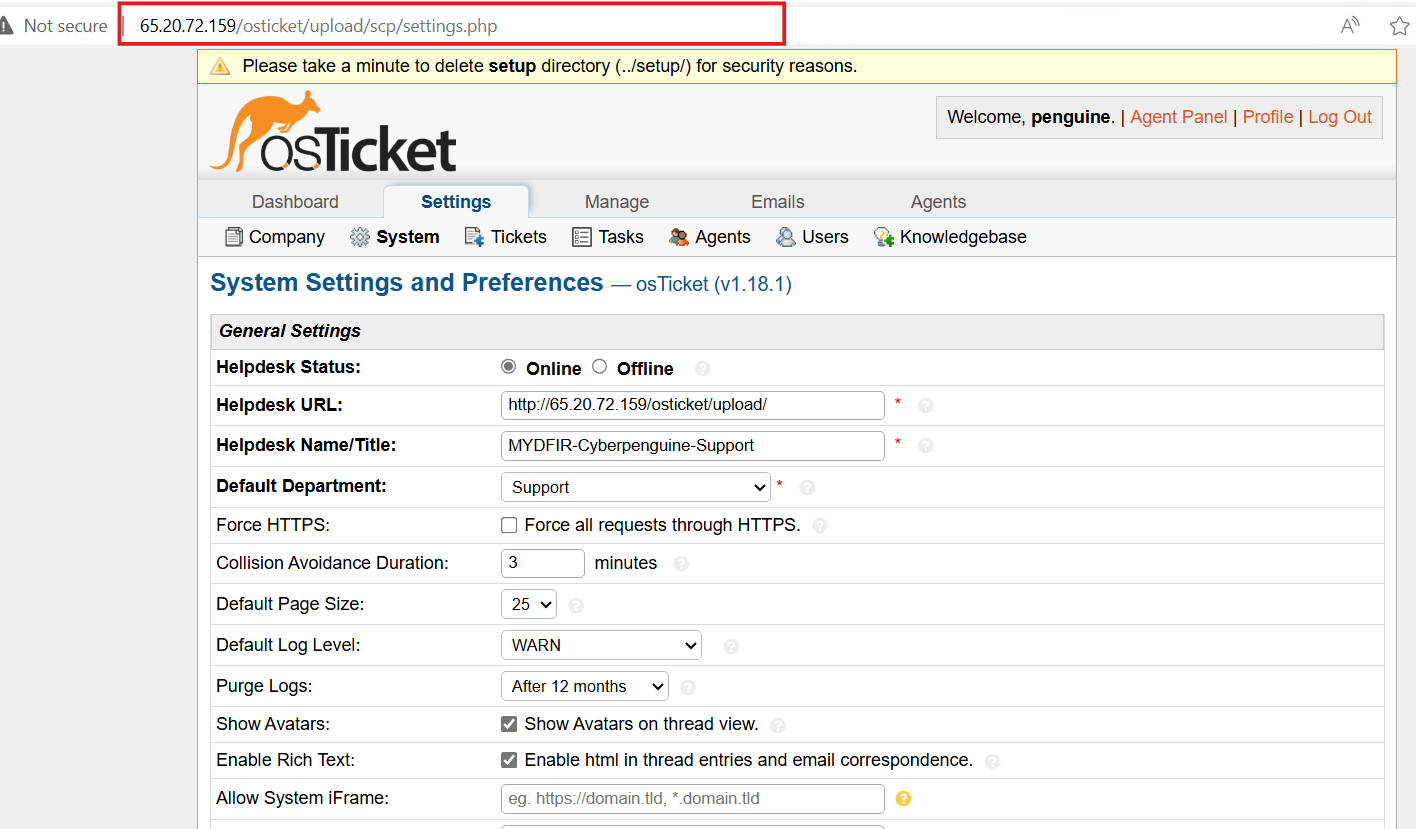
This is where the magic happens! You’ll see tickets pouring in from clients, and you’ll be the one handling them. You can even create new agents and manage other settings.
We’ve successfully set up our ticketing system. In our next blog, we’ll dive into the nitty-gritty of analyzing logs. Stay tuned for more SOC adventures!