Day-26 and 27 Brute Force Attack Investigation
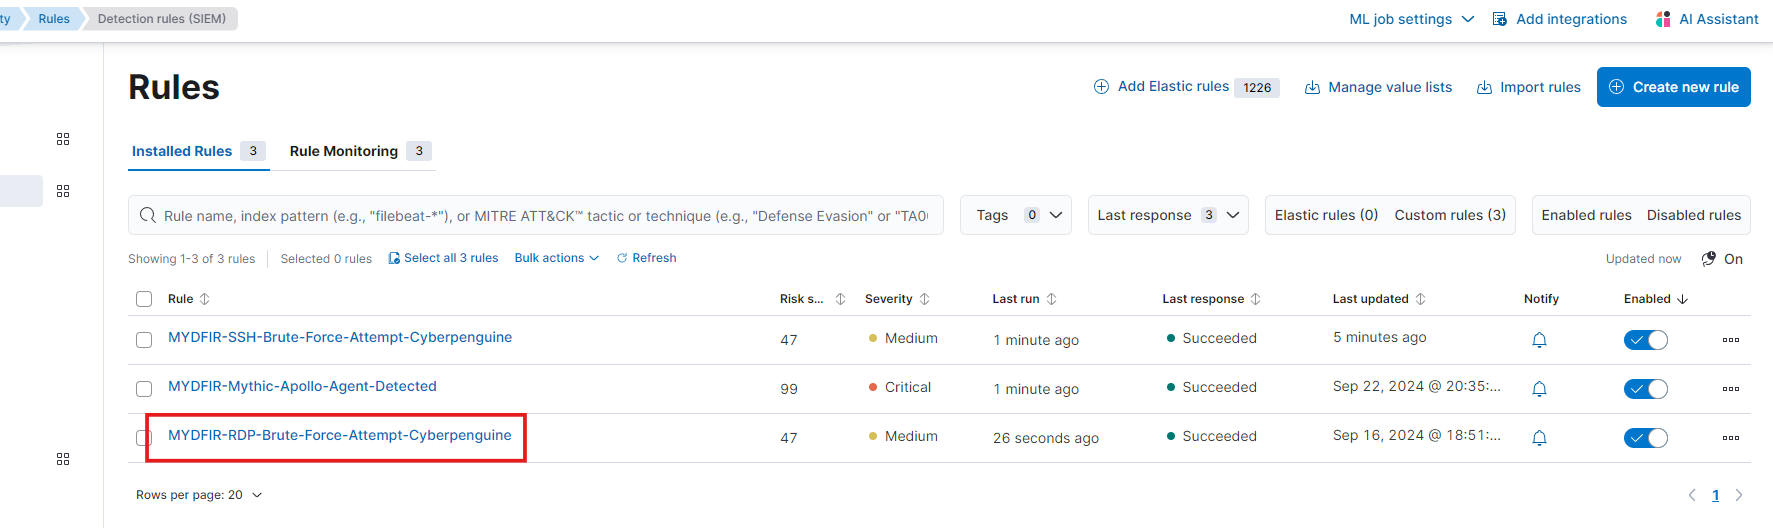
Let’s start by creating some rules to streamline our alert management in OSticket. Head over to the ‘Alerts’ section under ‘Security’ (you’ll find it by clicking the hamburger icon). From there, click ‘Manage rules.

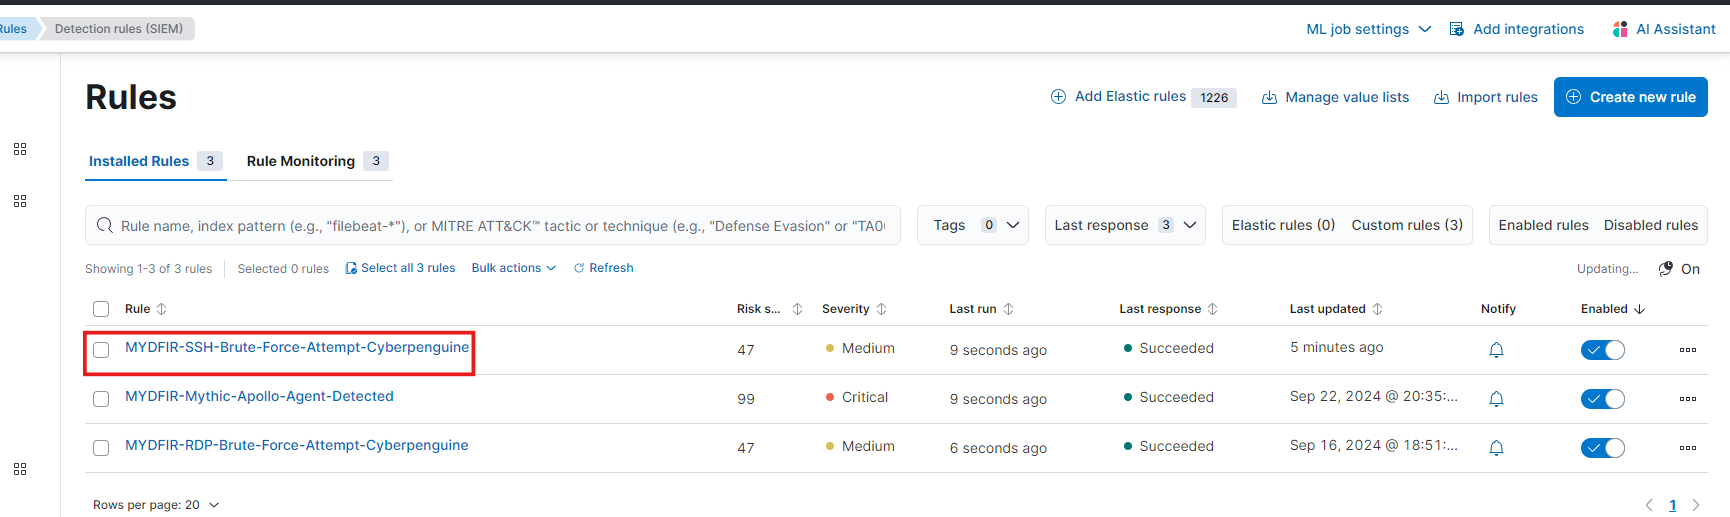
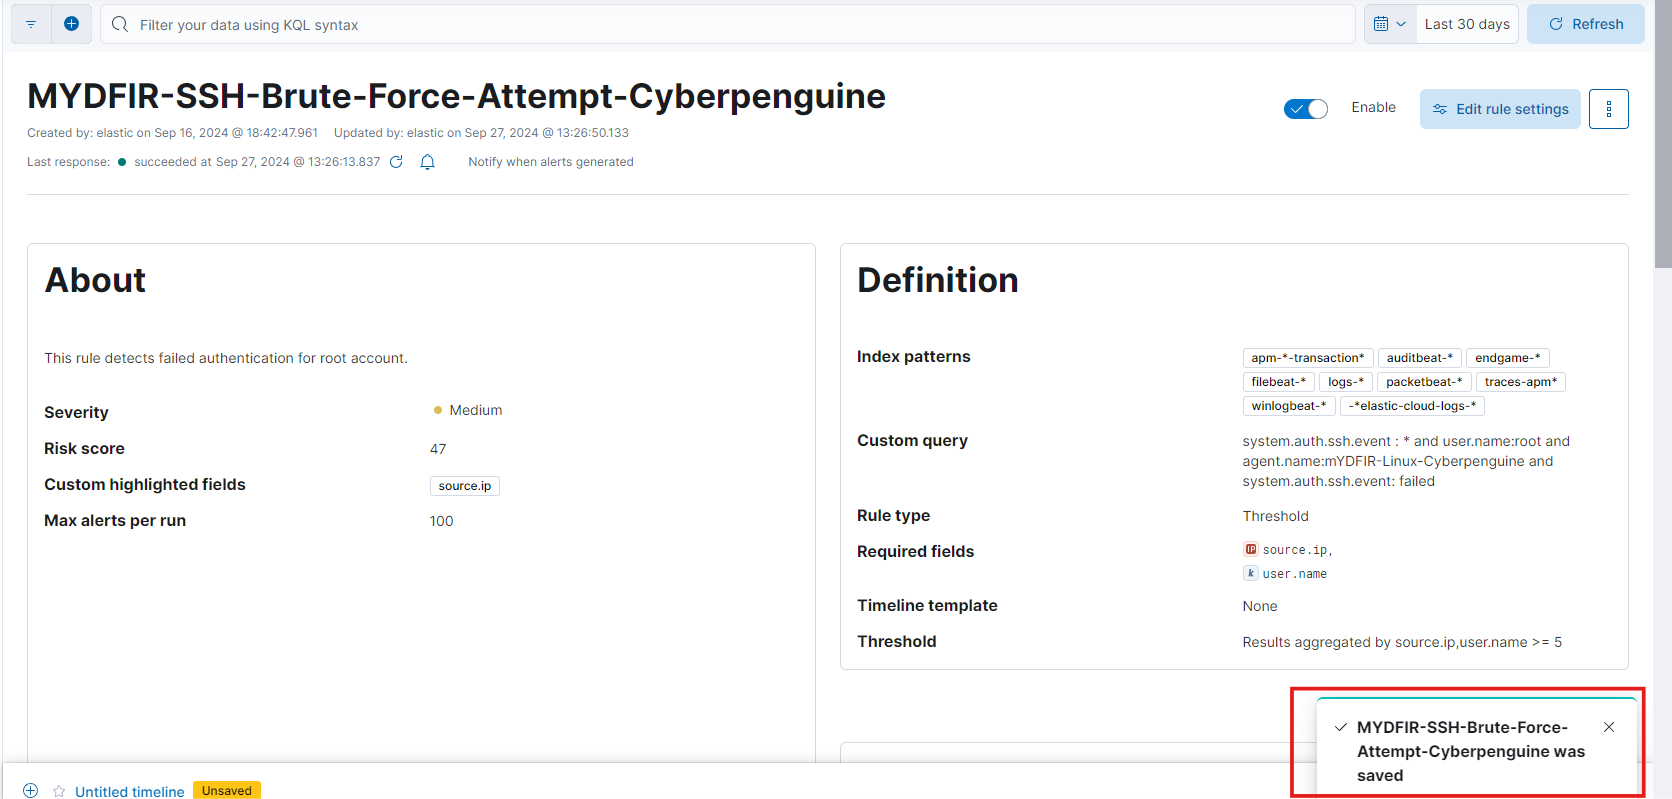
Select the SSH-Brute-Force rule.
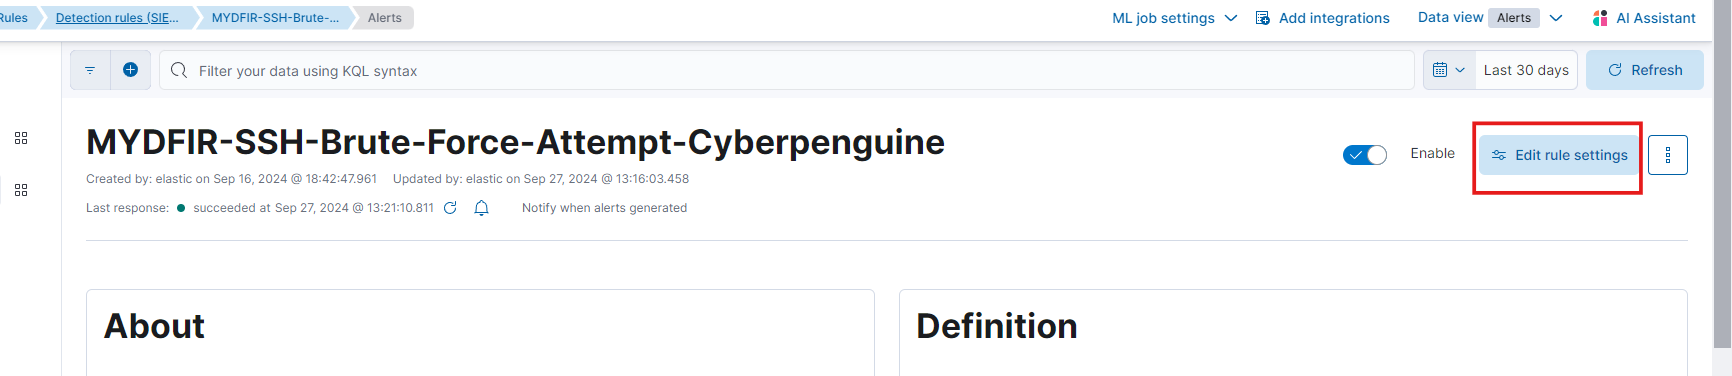
Now Edit rule settings
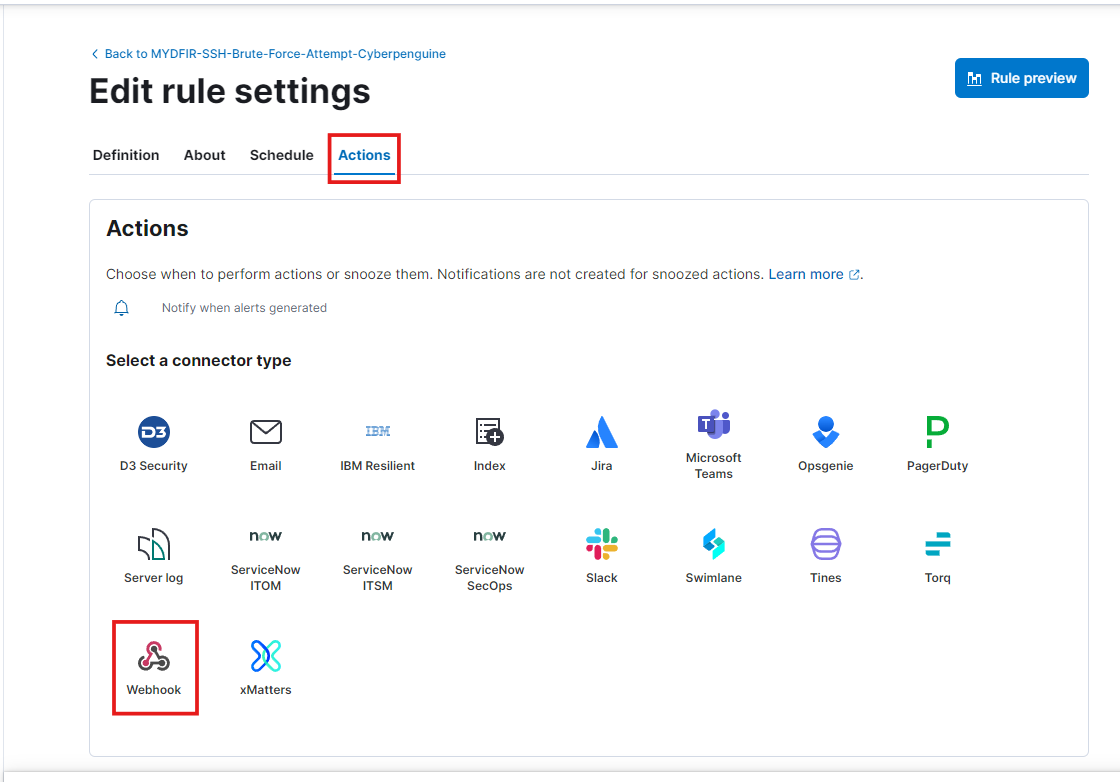
In the rule settings, select ‘Webhook’ from the ‘Actions’ menu.
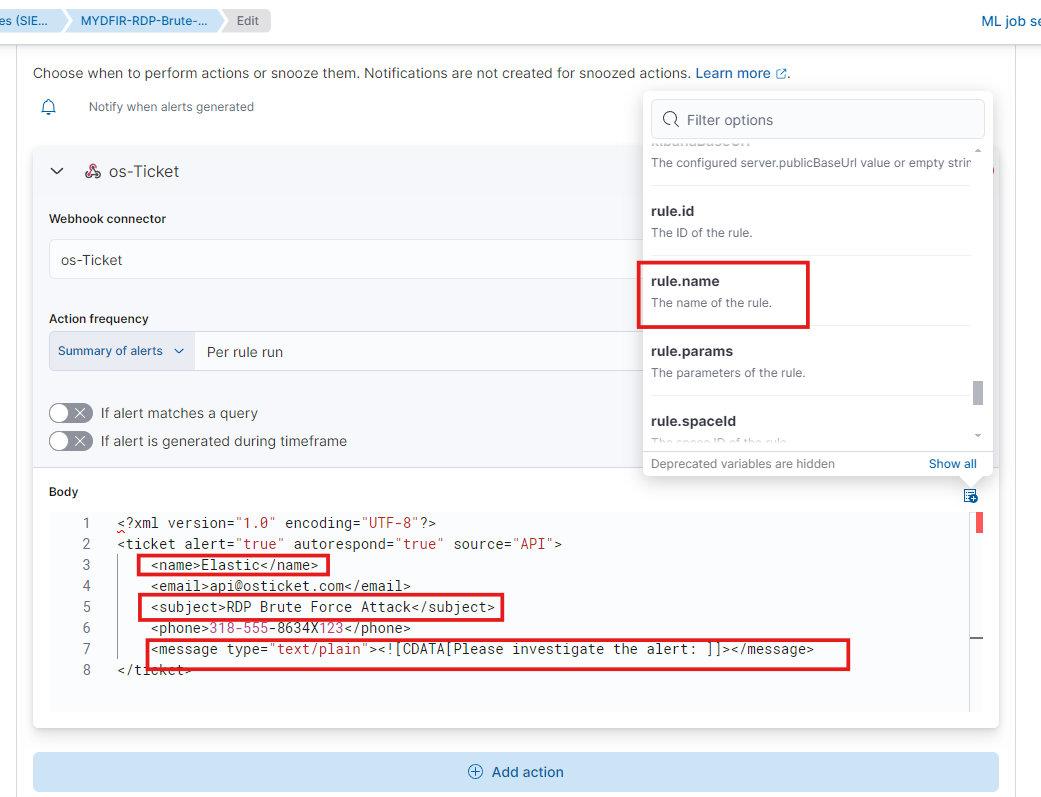
Keep everything the same, and paste the XML body from the OSticket XML payload GitHub page, just like we did on Day 25. However, remove the attachments and IP tag from the XML code and replace the name, subject, and message with your own.
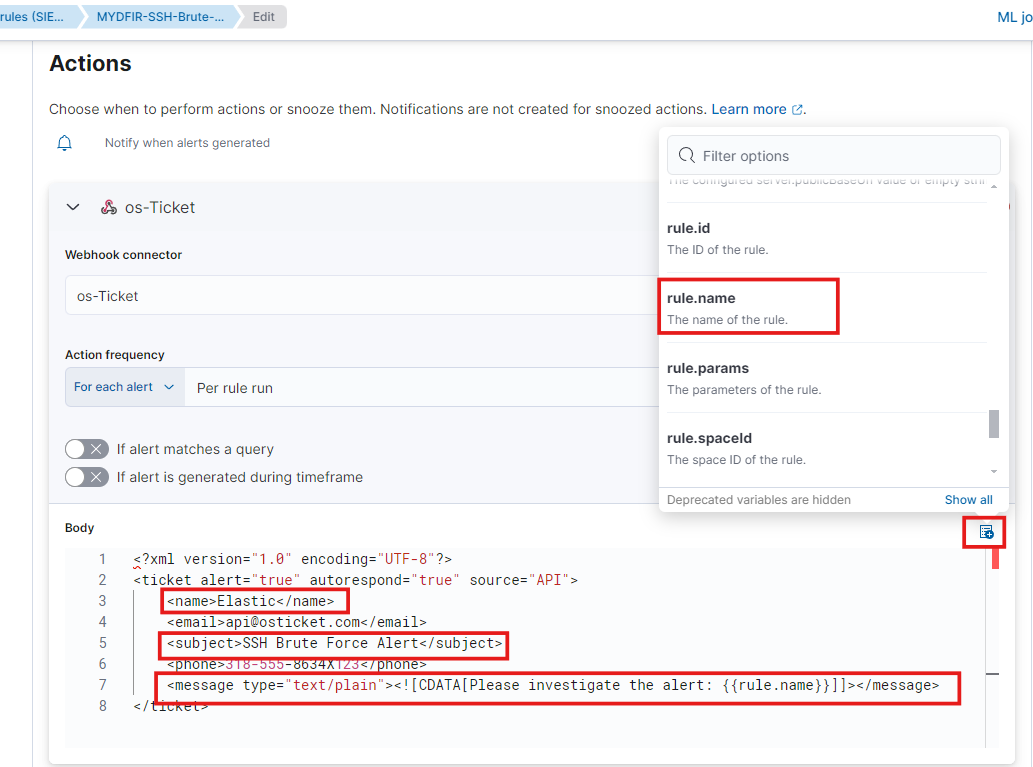
These variables can be used to retrieve information from OSticket. We’ve successfully created the rule using them.
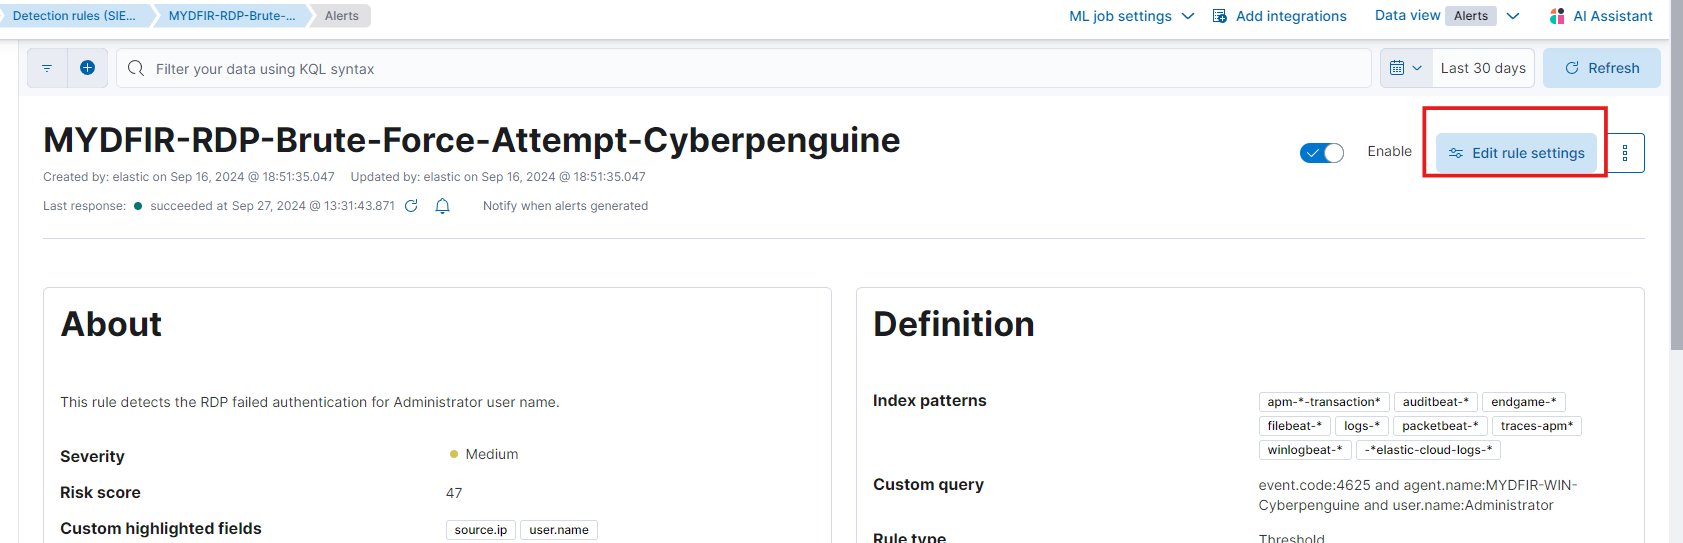
Let’s do the same for RDP-Brute-Force rule.

Imagine this: You’re chilling in the osTicket staff panel, sipping your virtual coffee, when BAM! An alert pops up.
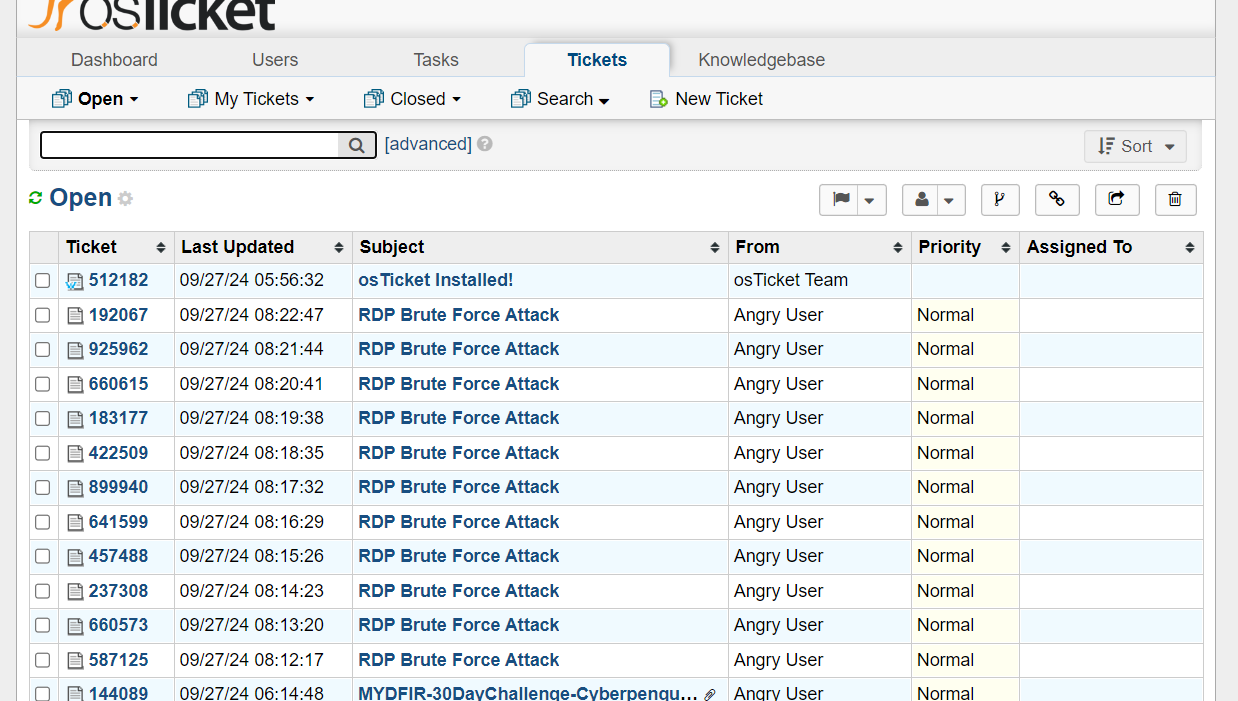
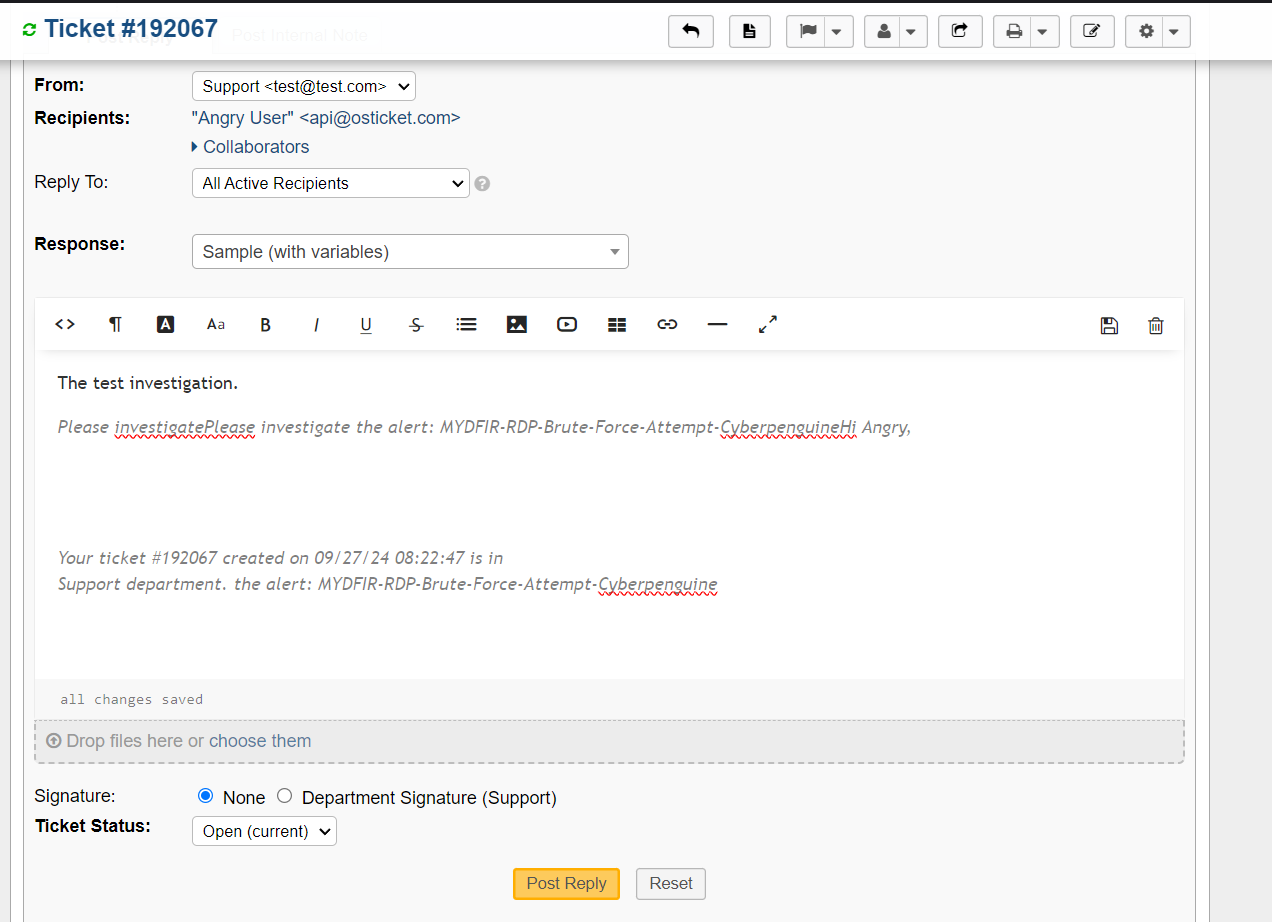
From there, you can follow our standard process for investigating log alerts, assign the alert to yourself, and document your findings.
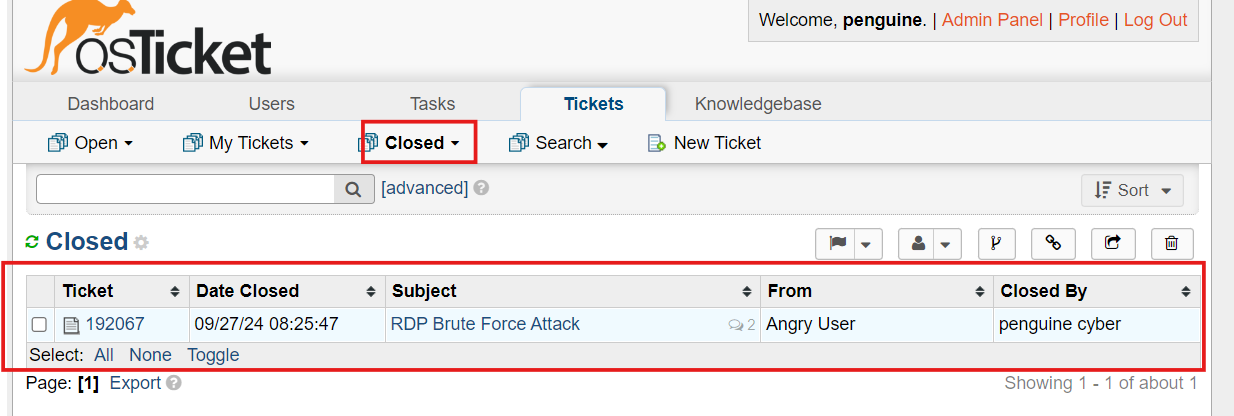
Once you’ve addressed the alert, close the ticket. You’ll find closed tickets in the ‘Closed’ tab, saving you time and effort.
That’s a wrap for today’s blog! Stay tuned for more exciting content in the future. If you have any suggestions or feedback, don’t hesitate to reach out.