Day-5 Windows Server Installation

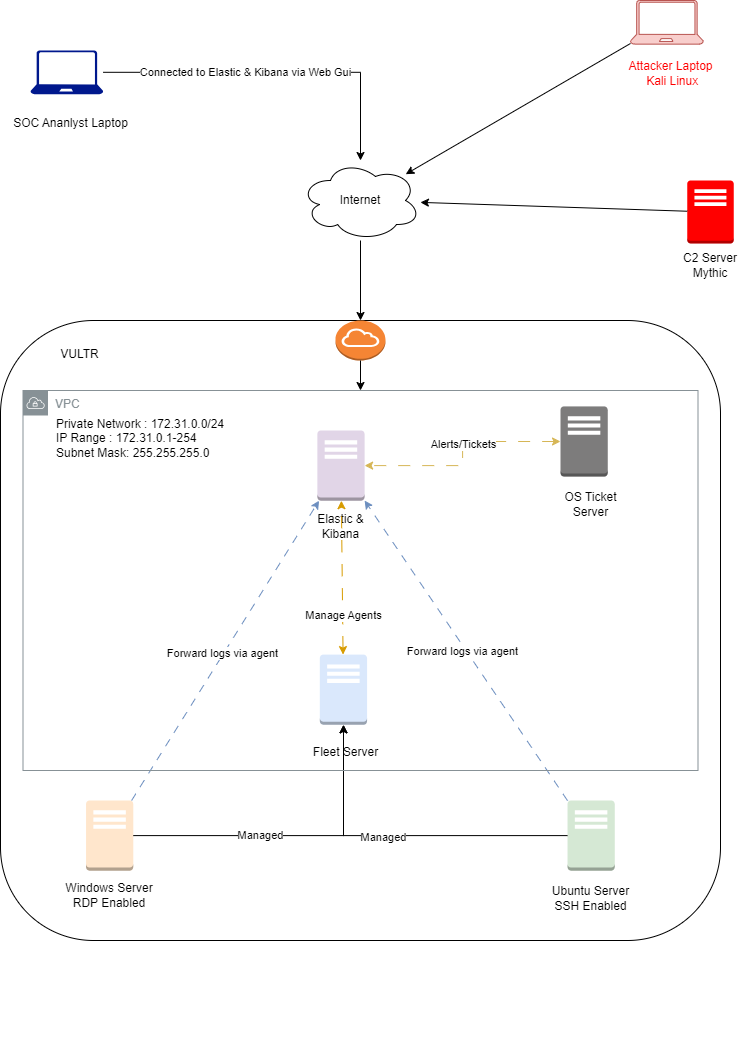
Today, we’ll focus on creating our Windows server as a target machine. This server will play a crucial role in our simulated attack scenarios, following the logic diagram we established on Day 1.
Let’s get started:
- Launch a New Vultr Server:
- Log in to your Vultr account and go to compute option.
Click on “Deploy New Server”.

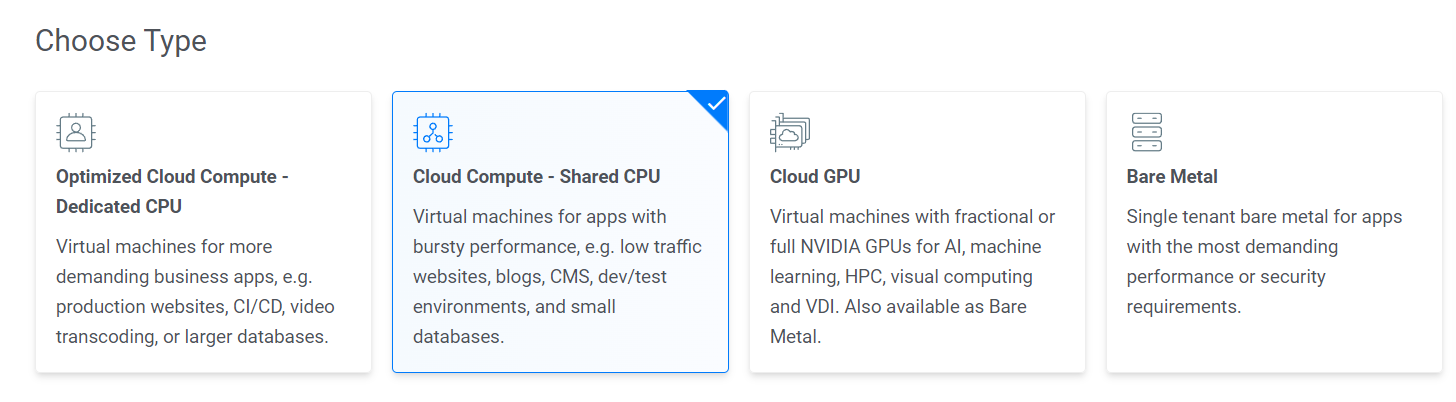
Choose “Cloud Compute - Shared CPU” as the server type.
Select the same location as your VPC and ELK instance for optimal network connectivity.

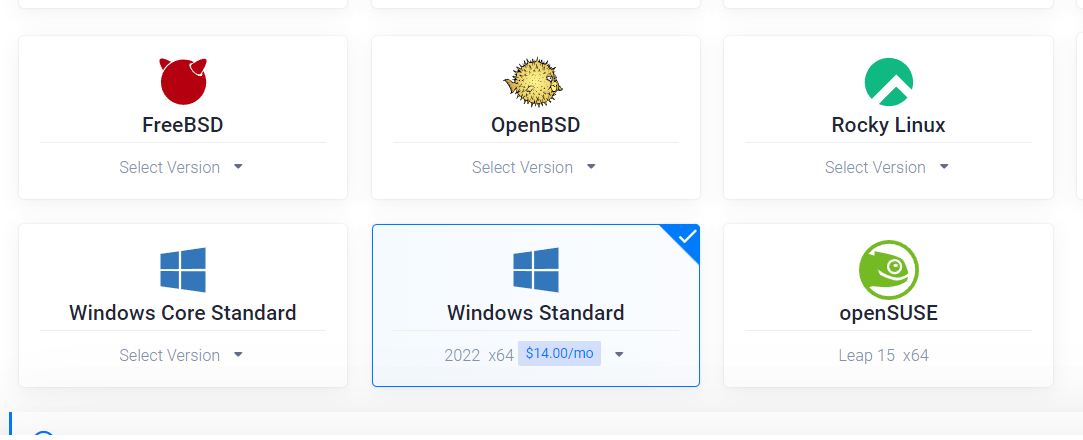
For the image, select “Windows Standard 2022 Server”.
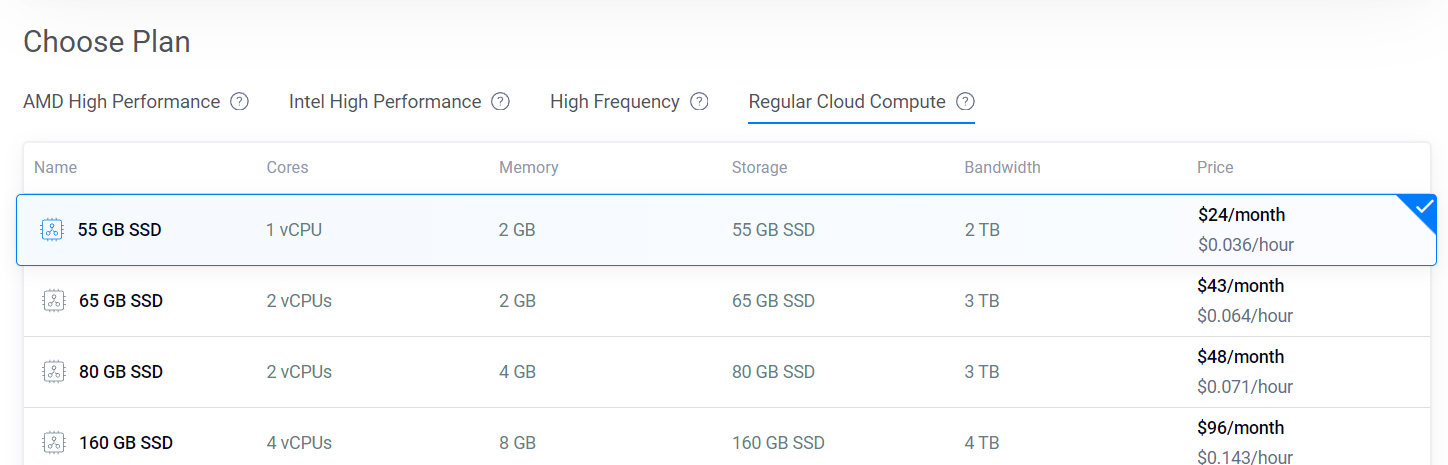
Choose a suitable plan, such as the “Regular Cloud Compute” with 1 vCPU, 2GB RAM, and 55GB SSD storage.
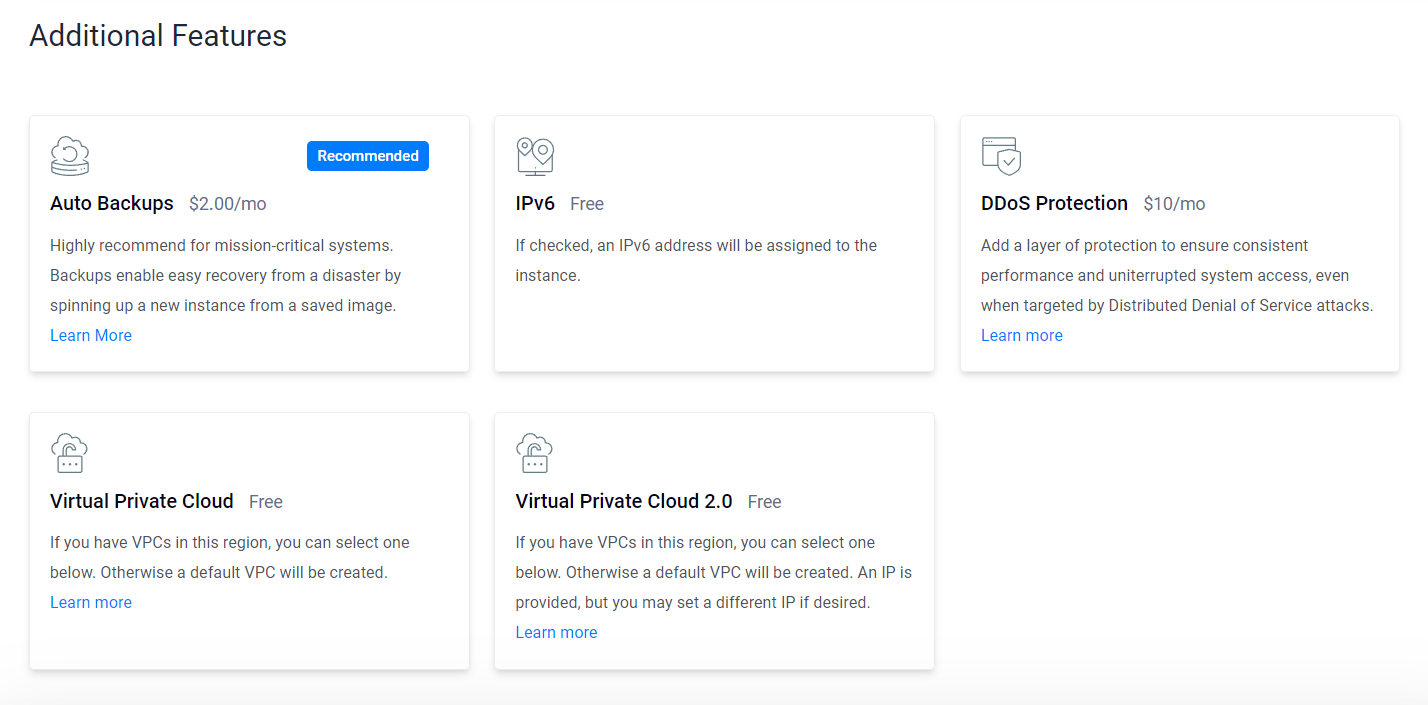
Do not choose any Additional Features for Win-server. We will not add it to VPC as per our modification in logical diagram below.
- Isolate the Windows Server:
- Let’s adjust our logic diagram from Day 1. We’ll place the Windows server and Ubuntu server outside the VPC. This means they’ll be accessible from the internet but won’t have access to the private network used by other servers within the VPC. This isolation will help prevent any potential compromise of the Windows server from affecting the rest of our setup.
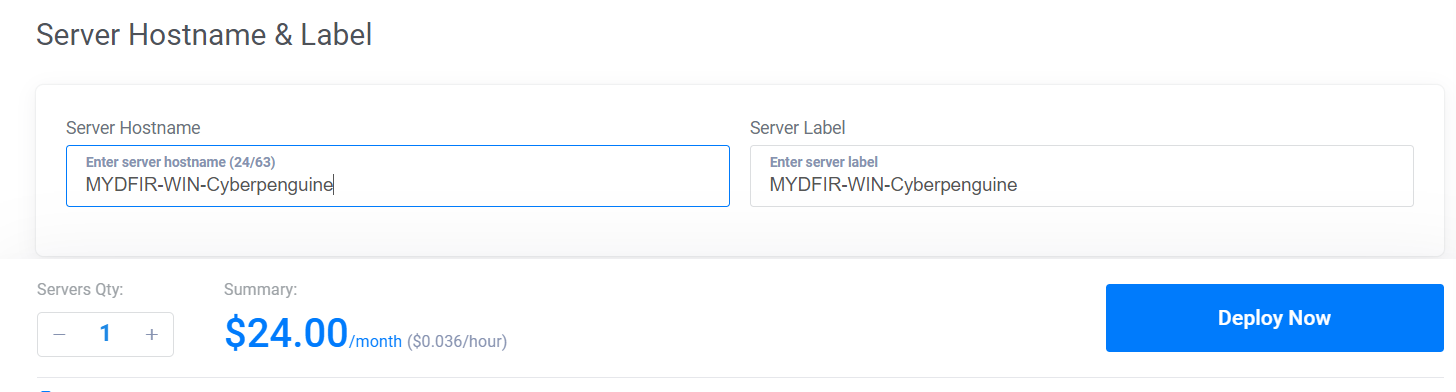
- Deploy and Access the Server:
Give your server a meaningful name and deploy it.

Once deployed, open the server and click “Show Extra Keys”(with symbol ‘A’).
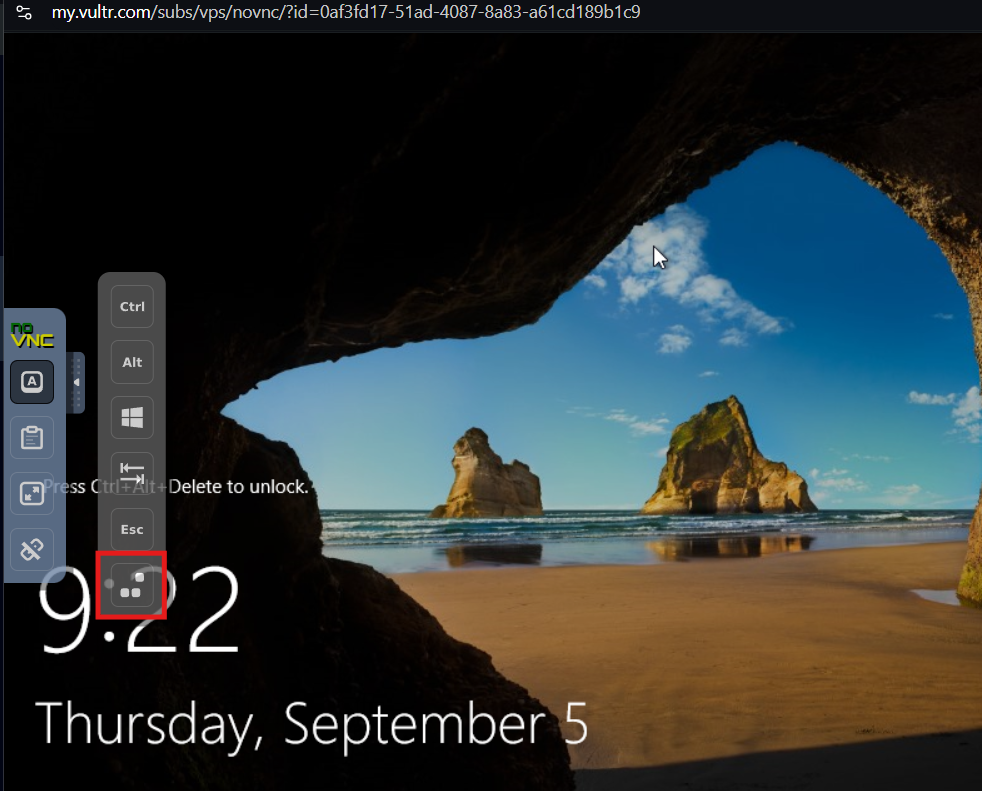
Then click on option Send Ctrl+Alt+Del (Three dots) to send a keyboard interrupt and log in using the provided credentials.

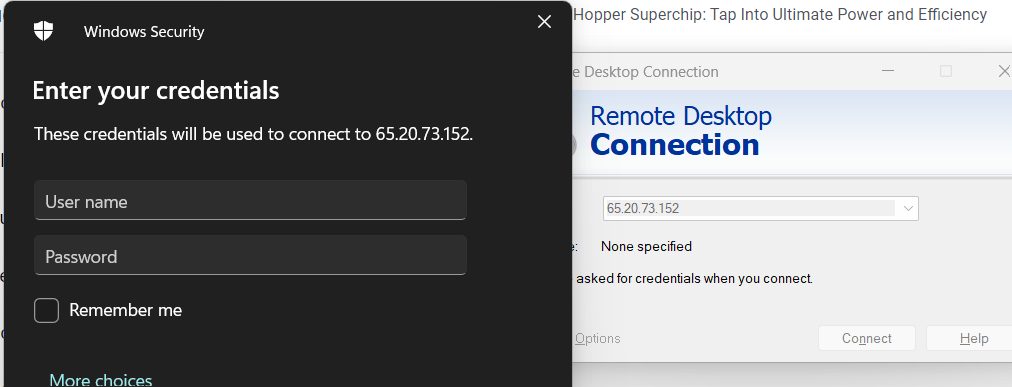
- Expose RDP:
- Ensure that Remote Desktop Protocol (RDP) is exposed to the internet. This will allow you to access the server remotely.
To verify, copy the server’s public IP address and try connecting to it using RDP on your system.
That’s it for today! We’ve successfully deployed the Windows server. In the next blog post, we’ll focus on configuring it for its role in our simulated attacks.