Day-7 Fleet Server and Elastic Agent setup

We will continue with setting up fleet server and integrating it with elastic agent. Login to vultr account we created with login credentials.
Creating Fleet Server
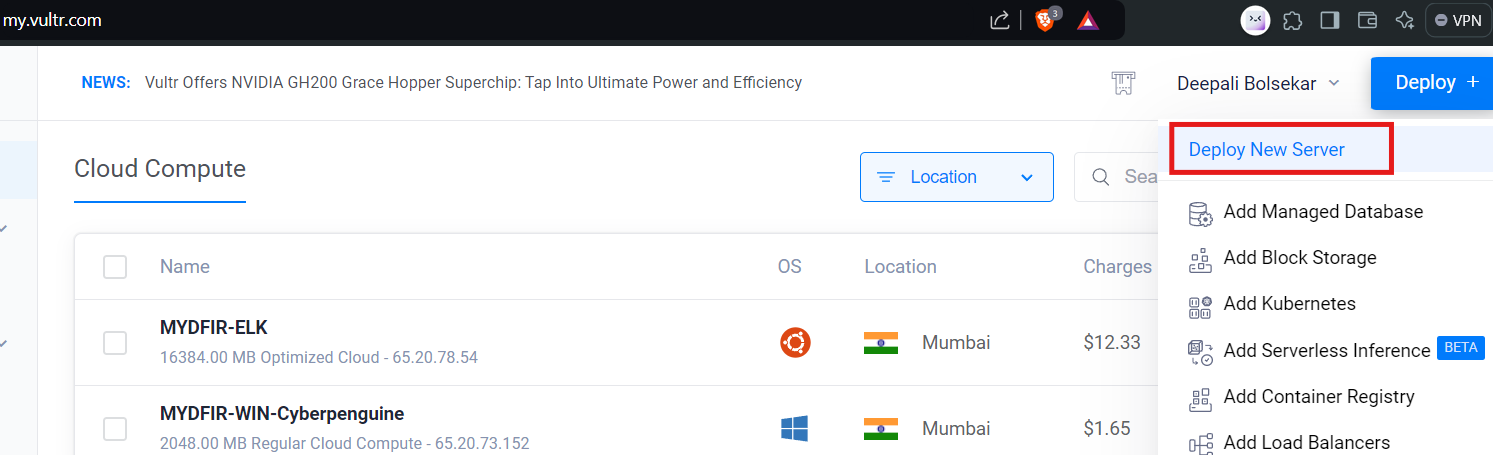
- In vultr, go to compute option and click Deploy button and deploy new server for fleet server creation.
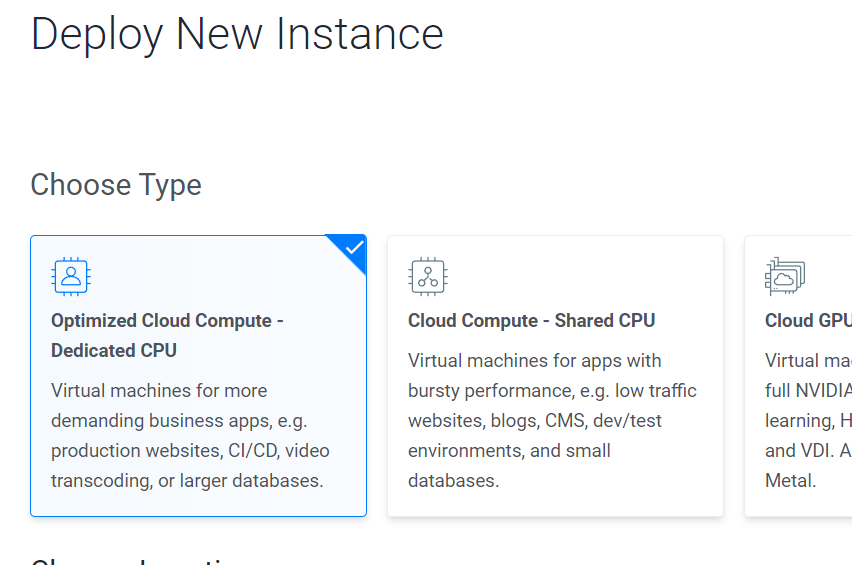
- For the fleet server we will be using Dedicated CPU instance.
- Keep the location for fleet server as same as our VPC.

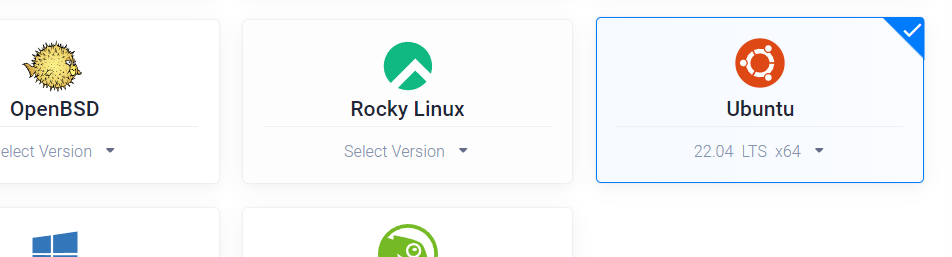
- For image we will be using the Ubuntu 22.04 image.
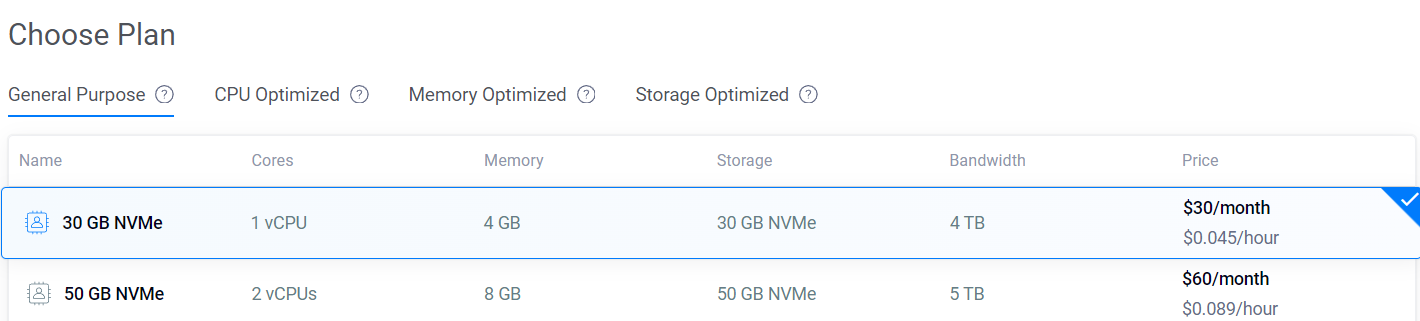
- Let’s select a suitable plan as per requirements with 1 vCPU, 4GB memory and 30GB storage
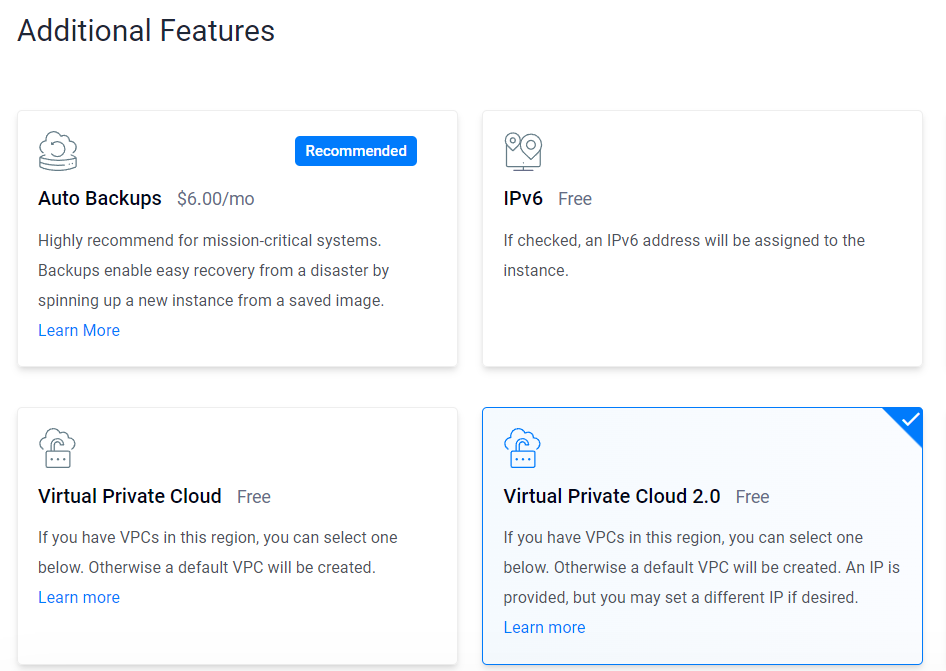
- For additional features we don not require backup and IPv6 features. But As per our logic diagram the fleet server is inside the VPC so, we will be selecting the VPC 2.0.
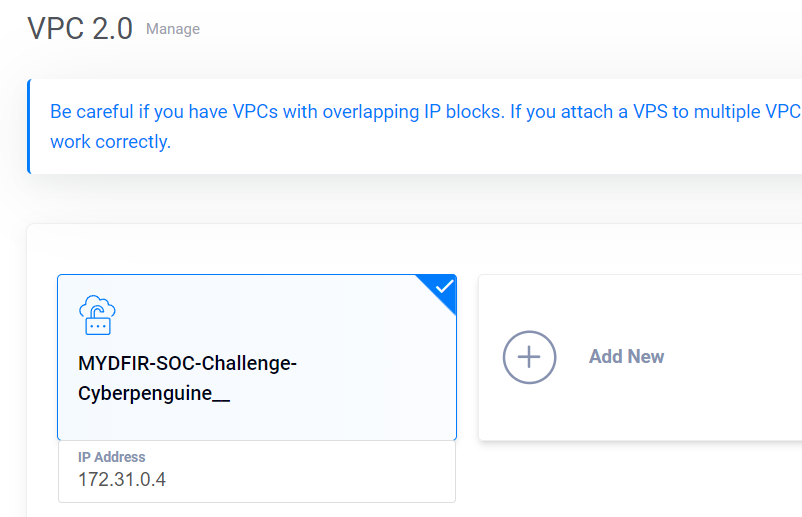
- Next. choose the appropriate VPC for the fleet server.
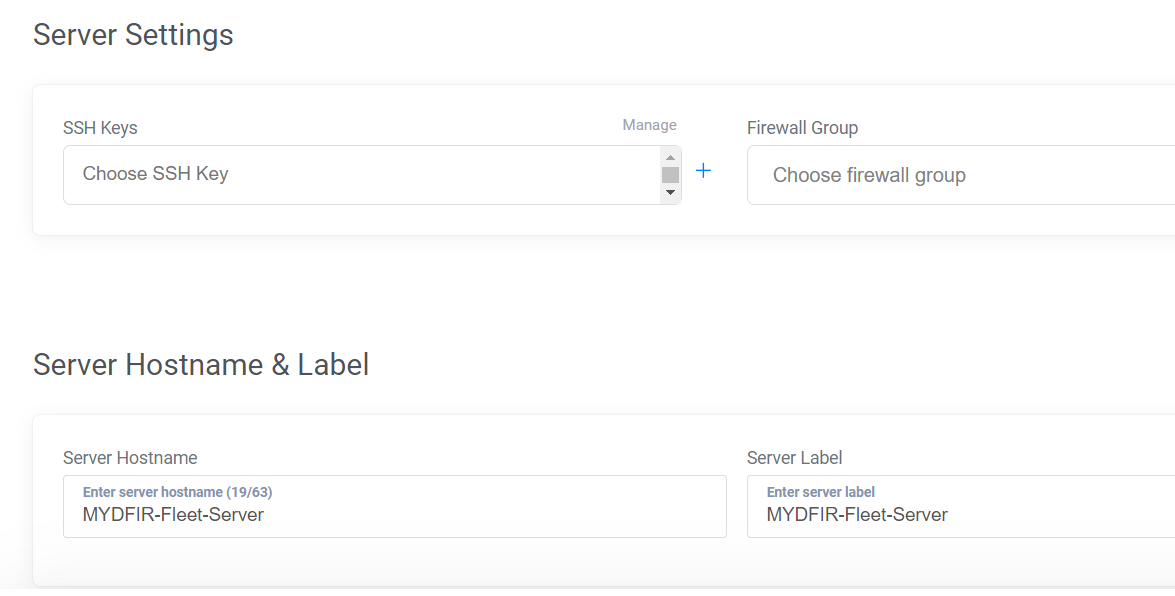
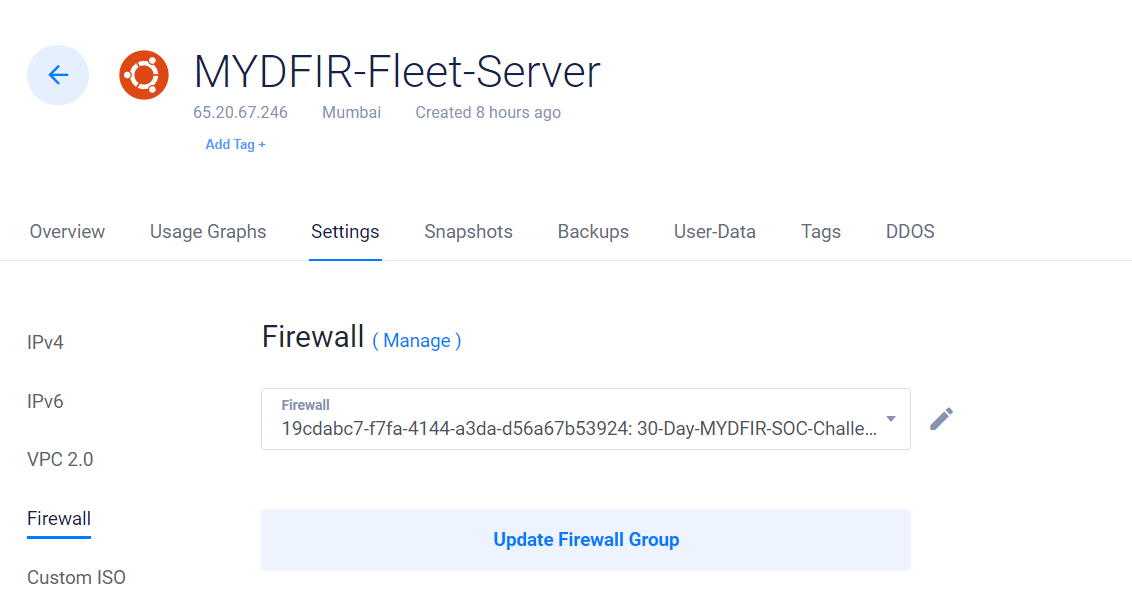
- To make it easy for us to identify our server, let’s name it as MYDFIR-Fleet-Server and click Delpoy now and our server will be ready.
Add fleet server
Now, access the kibana interface through the web browser using your IP and port as 5601.
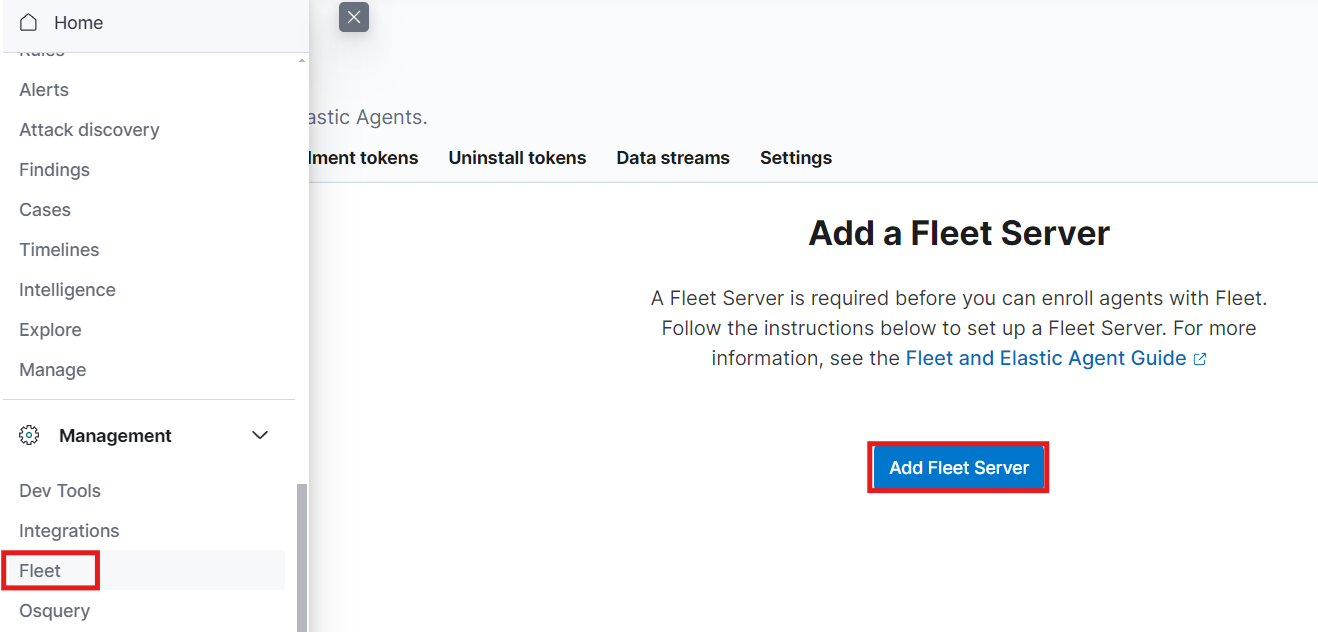
Click on hamburger icon, scroll down to Management and select fleet.
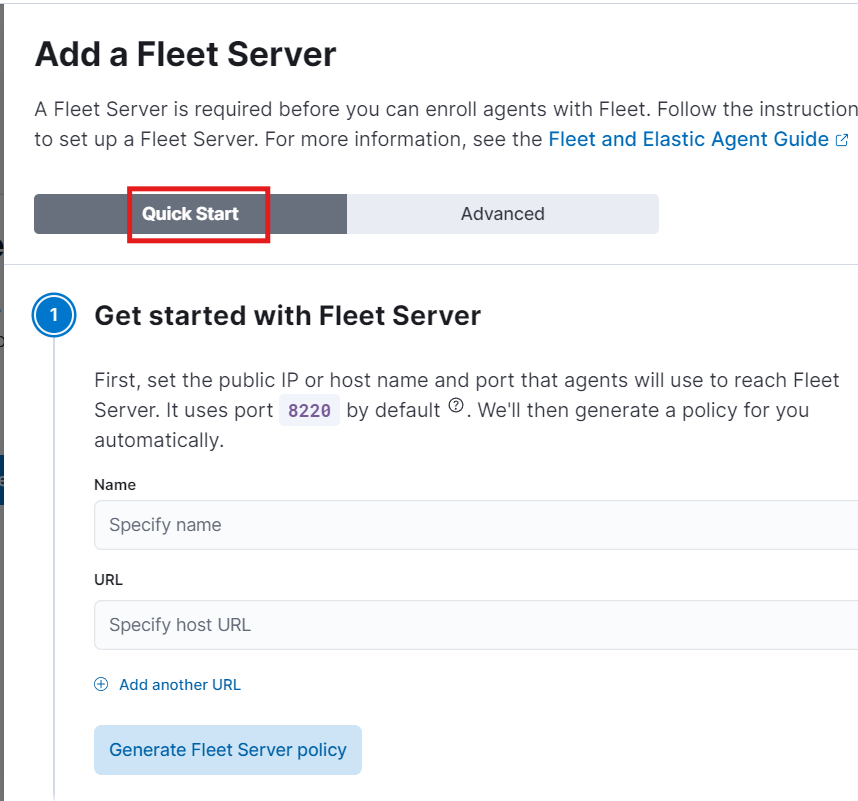
Click on “Add Fleet Server” button.
- For this challenge we will go with “Quick Start” as it will be good for personal project but for production environment we will be using Advanced option.
Basic steps for generating fleet server policy are required, so let’s start with name and then URL.
Here URL will be the IP address of fleet server we created.
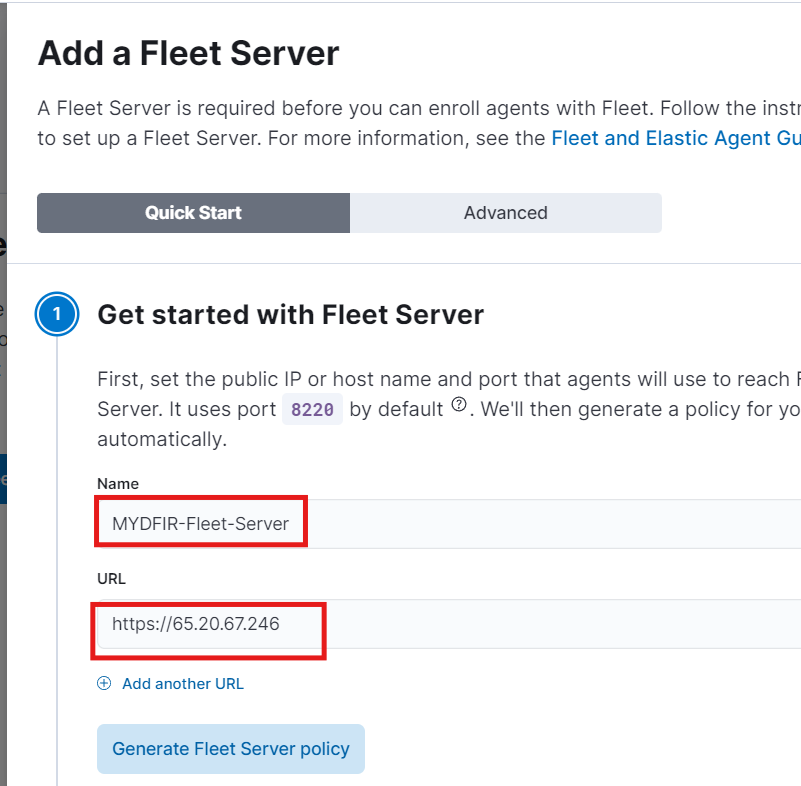
Now, proceed by clicking the “Generate Fleet Server Policy” button.
After few minutes the policy will be created and we can proceed with the further installation of fleet server creation.
But before that we need to complete some prerequisites like:
Adding the Fleet Server IP to MYDFIR firewall group as a rule by allowing port range 1-65535 with protocol TCP.
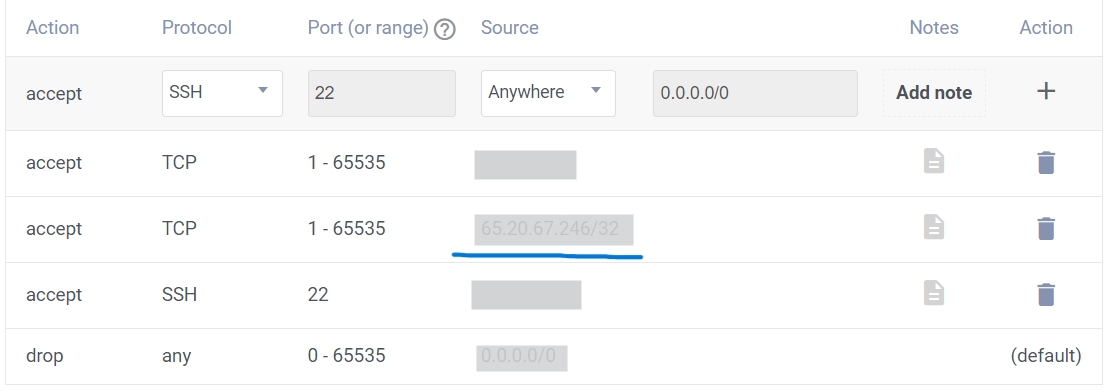
- Then update the firewall group and wait for 120 seconds for the rule to apply.
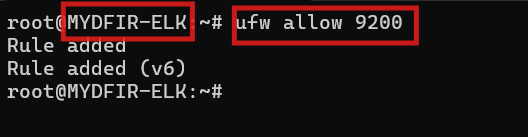
And in ELK server allow port 9200 in firewall using
ufw allow 9200This port is used for communication between Elasticsearch clients and the Elasticsearch server, allowing clients to send search queries, indexing data, and retrieving data.
- Continuing with our installation now, copy the policy created and paste it in fleet server’s terminal and enter.
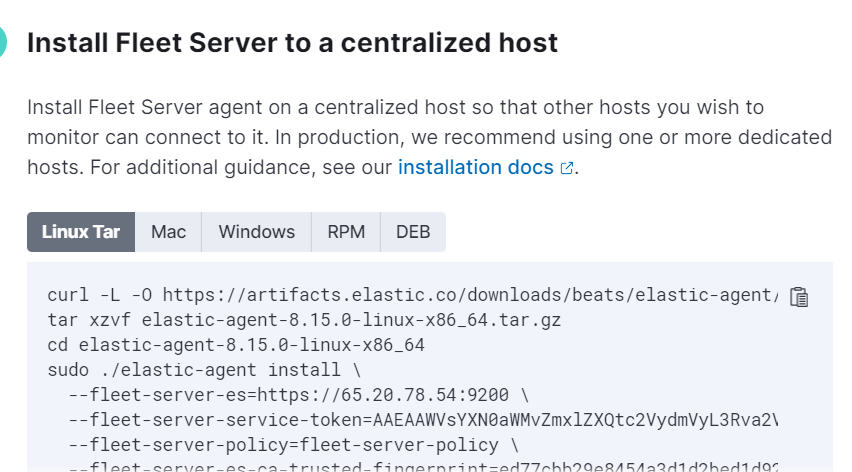
- After successful execution of commands in fleet server terminal, connection will be established.
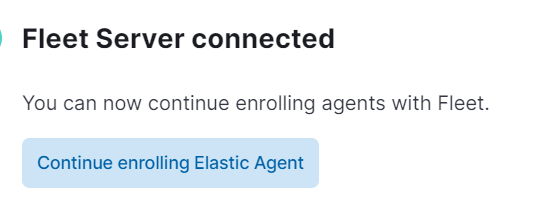
- Now, click on “Continue enrolling Elastic Agent”.
Adding the elastic agent to host:
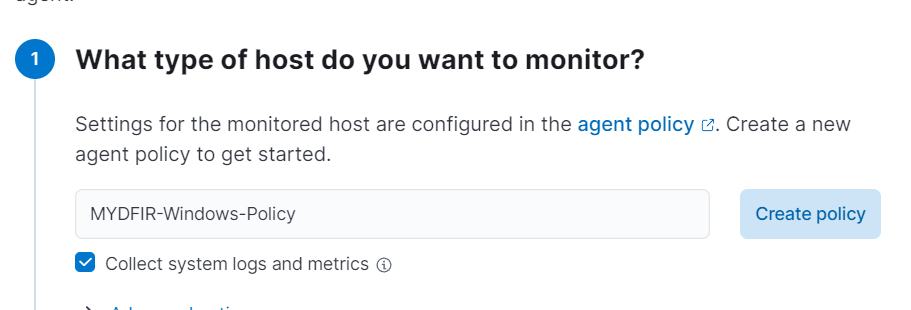
- Now, let’s add the agent to our host. Here, the host is Windows server which we created earlier.
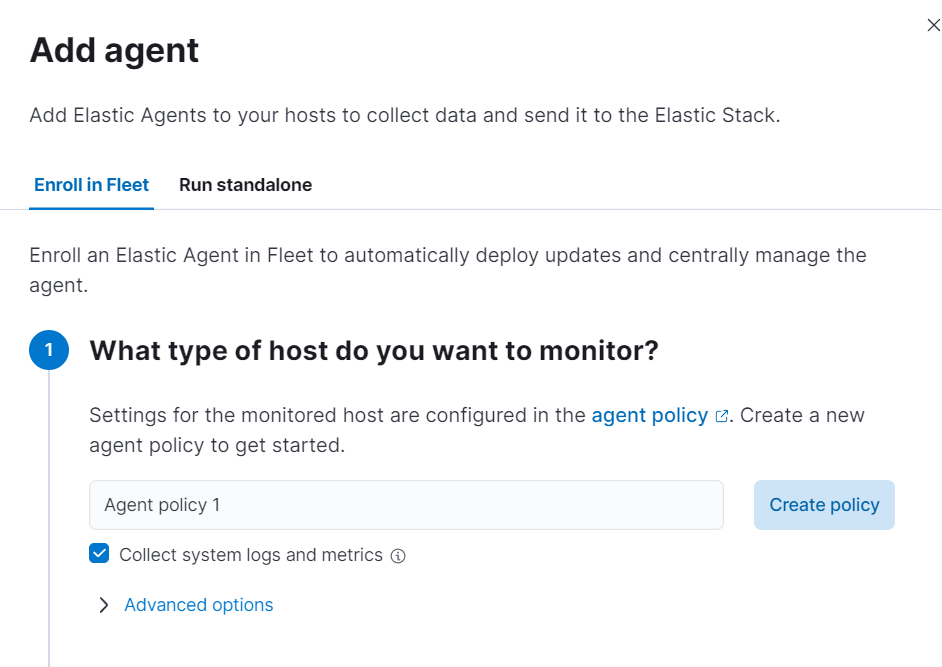
- Give the name to the policy for windows server and click “Create Policy”.
- To install Agent on windows host use the given command on windows powershell.
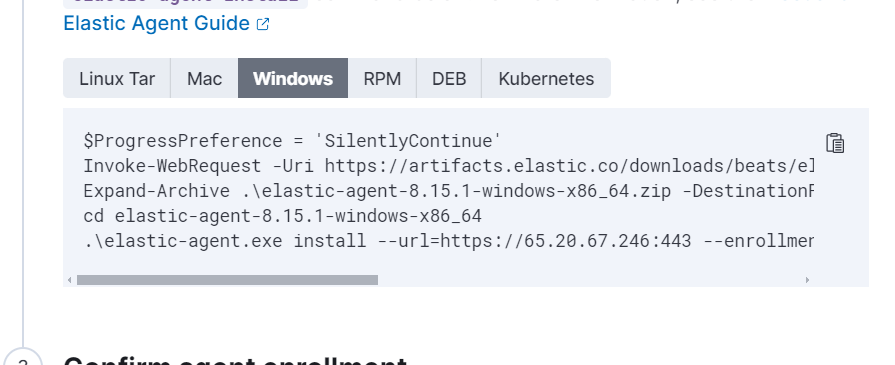
- Paste it in our windows server powershell with administrator privilege.
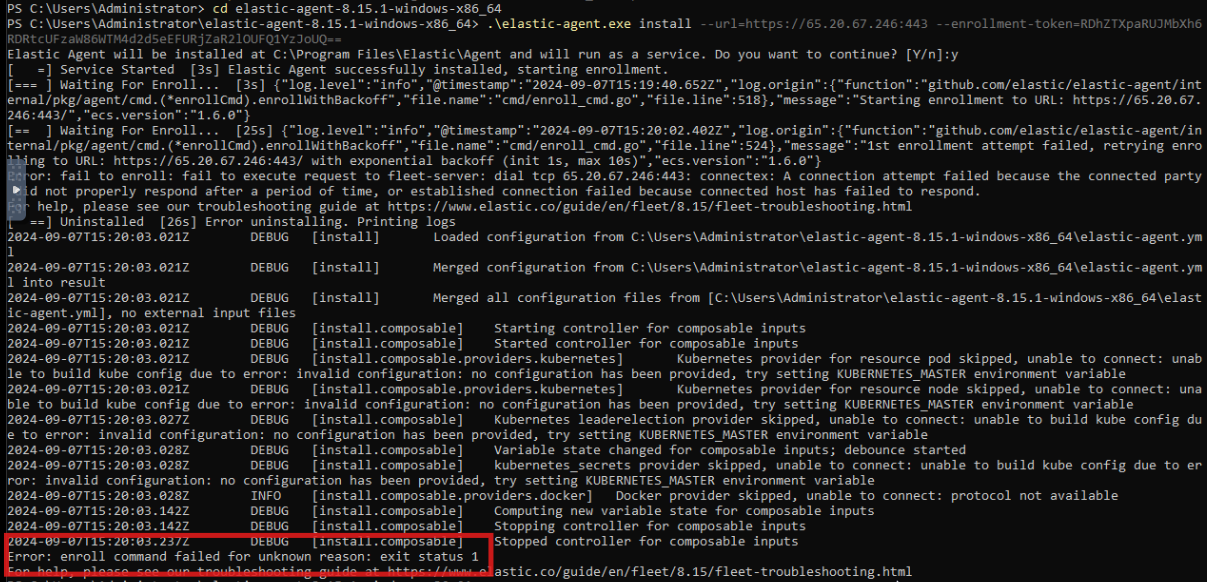
As you can see, it’s showing an error, to troubleshoot this error. look at what this error is saying (fail to execute request to fleet-server).
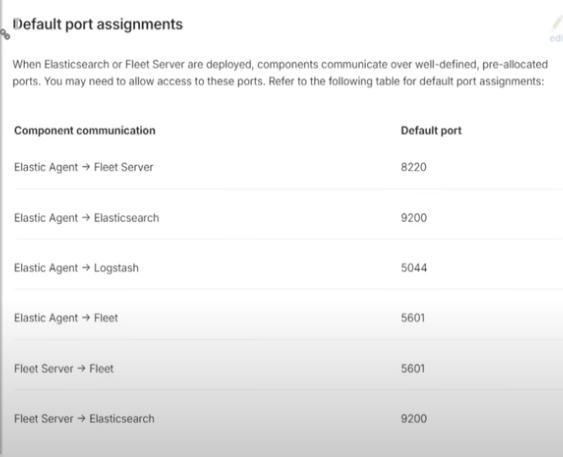
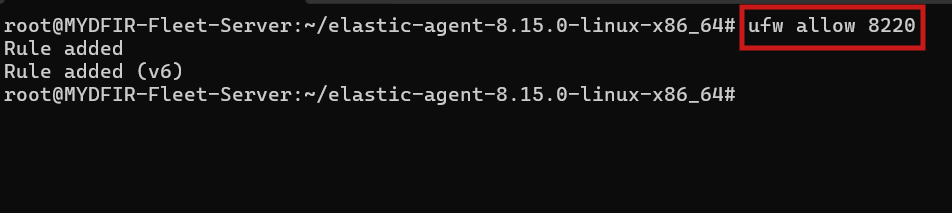
You can look for the error on internet and can find the solution as allowing the necessary ports. The fleet server have few default ports we will need to allow. We will allow 8220 for Elastic Agent —> Fleet Server communication.
- Using command line :
ufw allow 8220we can add the port to fleet server firewall.
Then run the windows commands again.
Again encountering the error so, now we will go to elasticsearch interface, click on hamburger icon, select the Fleet under Management option. In settings we will change the port to 8220. Save and apply the changes.
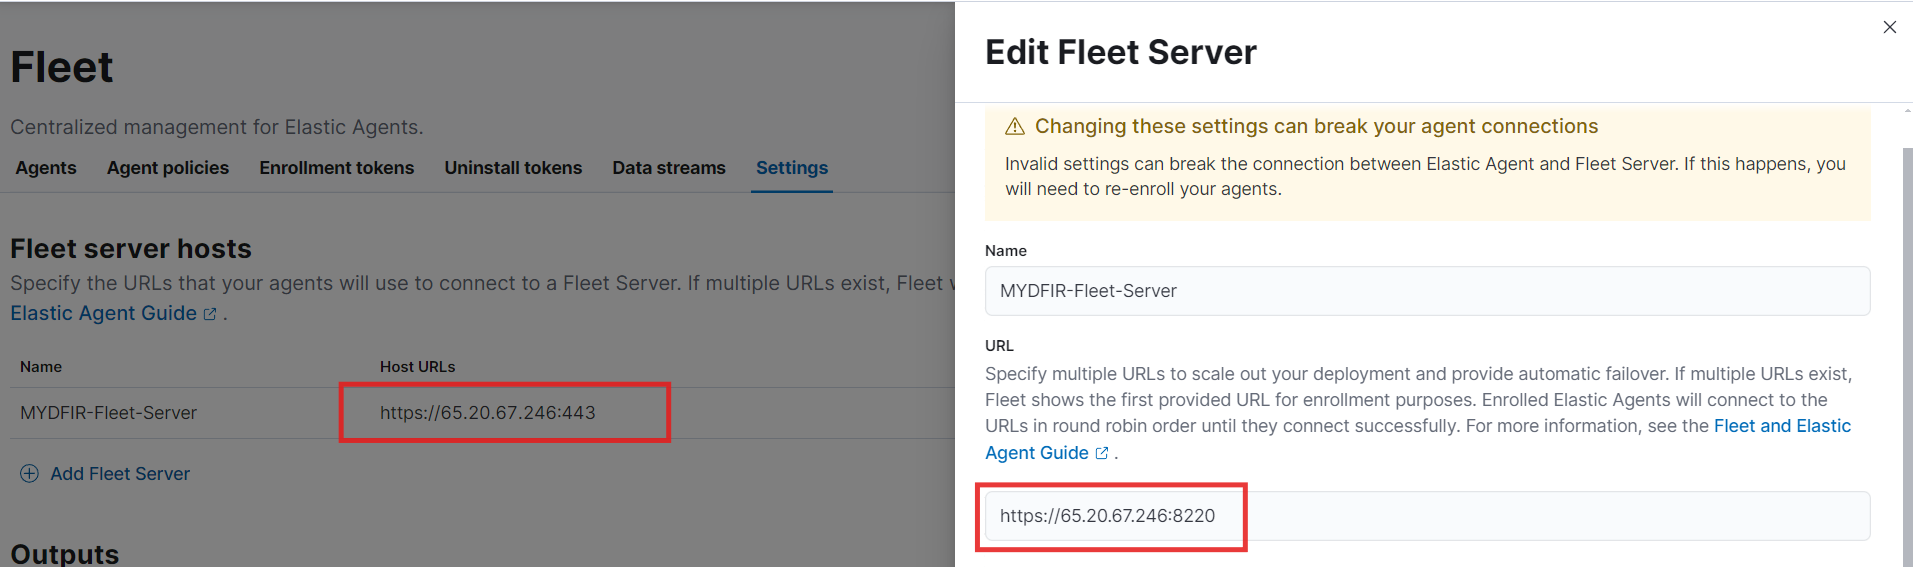
- Now, modify the command with 8220 port instead of 443 and run the commands on windows server again.

- Now, again it displays an error with certificate because we are using self-signed certificate for Quick Start setup option.

- To deal with this error we will add
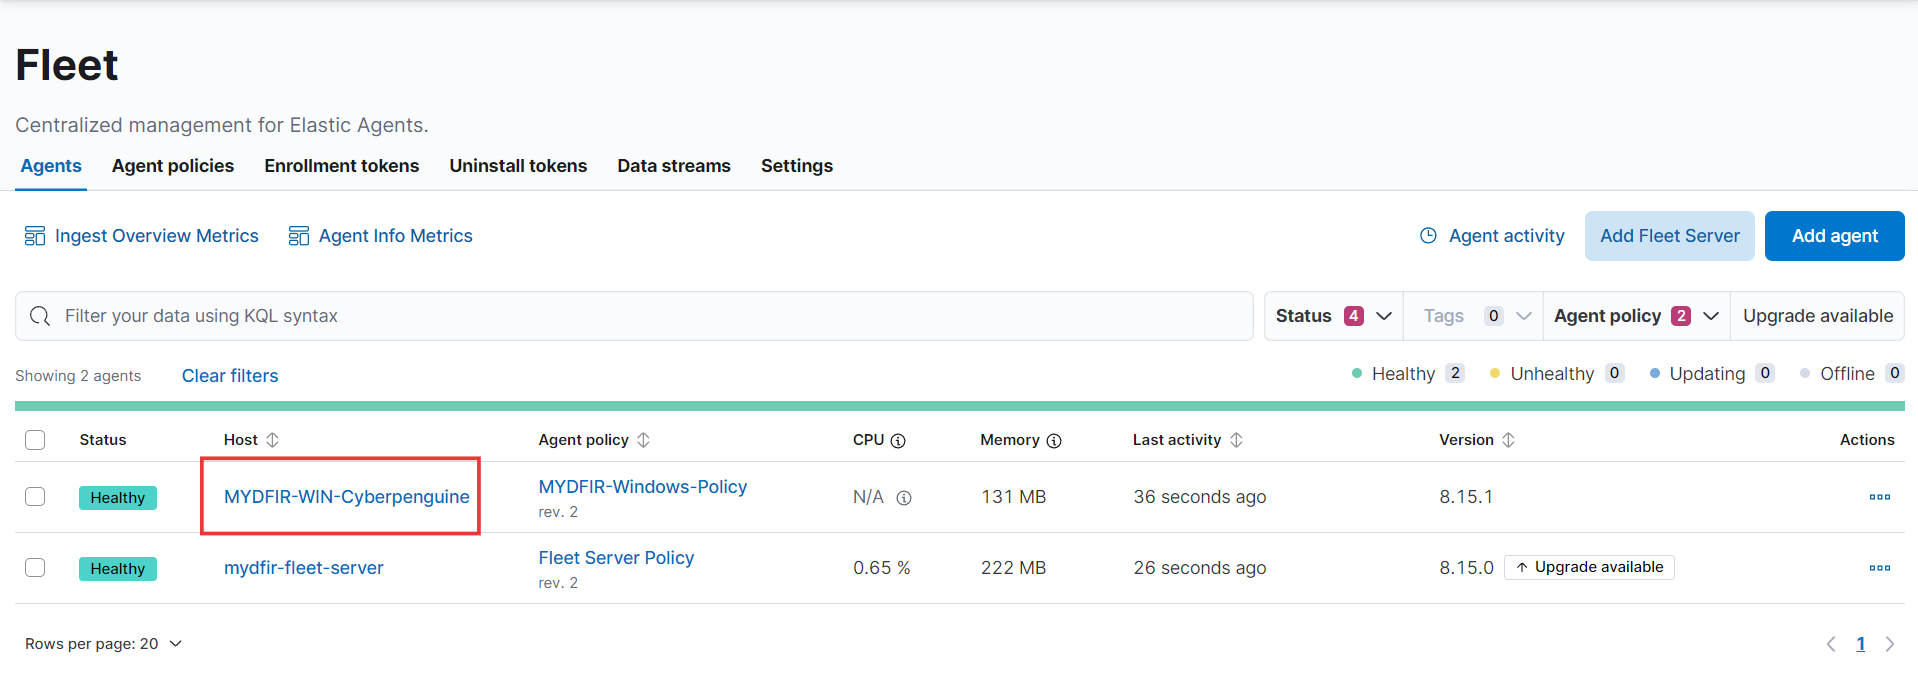
--insecureat the end of the command and run it again. Now, it will successfully install the agent on host.

- Go to fleet server agent on kibana interface on browser and now, we have our windows host.
- We can go to “Discover” option to see some logs if there are any.
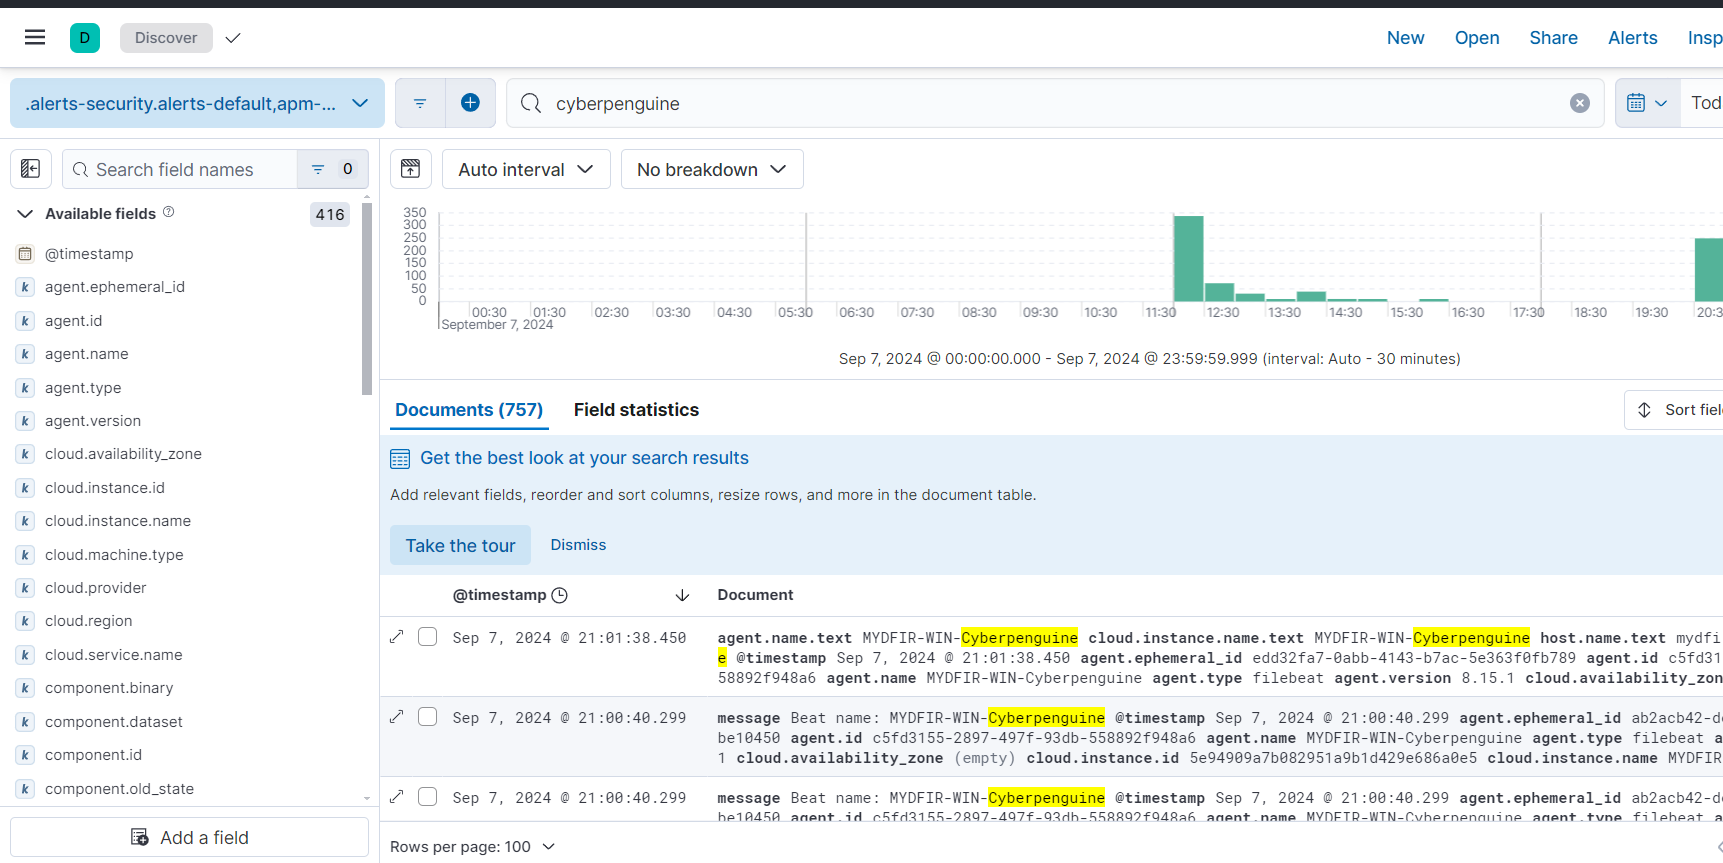
So, here are some logs for us to search using fields.
We successfully completed the setup of fleet server and integration of elastic agent.