Day-9 Setting up Sysmon
Sysmon Setup
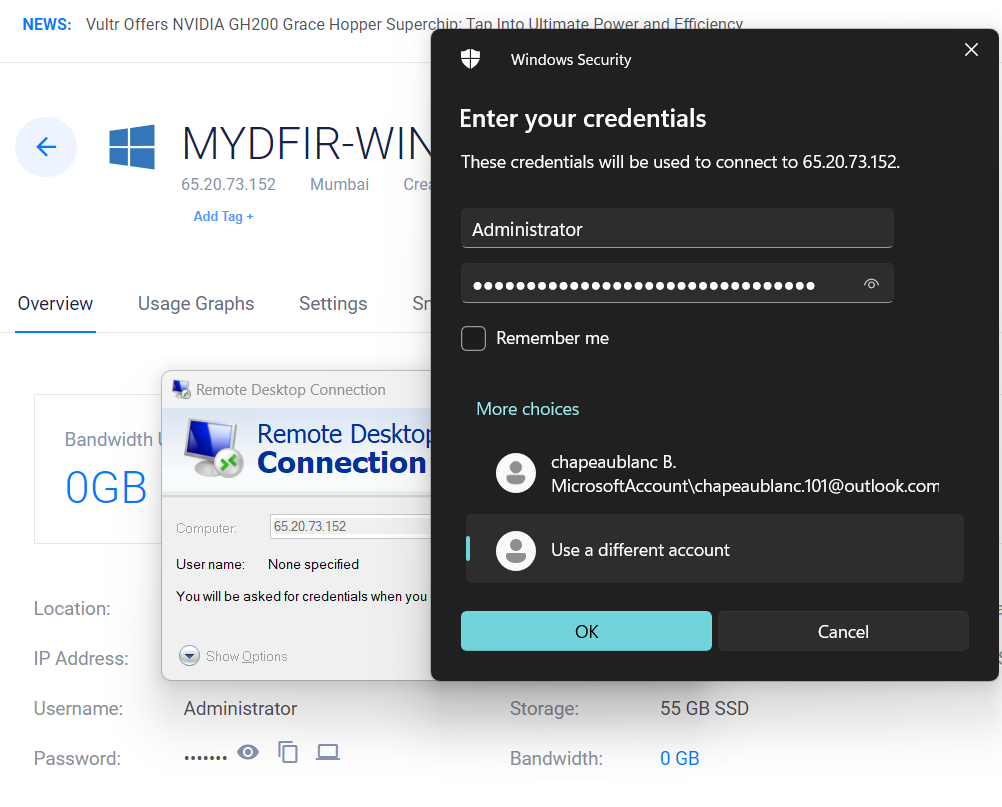
In our previous blog, we introduced Sysmon. Now, let’s set it up on our Windows server. Start your previously created Vultr Windows server instance. Use RDP for remote access.
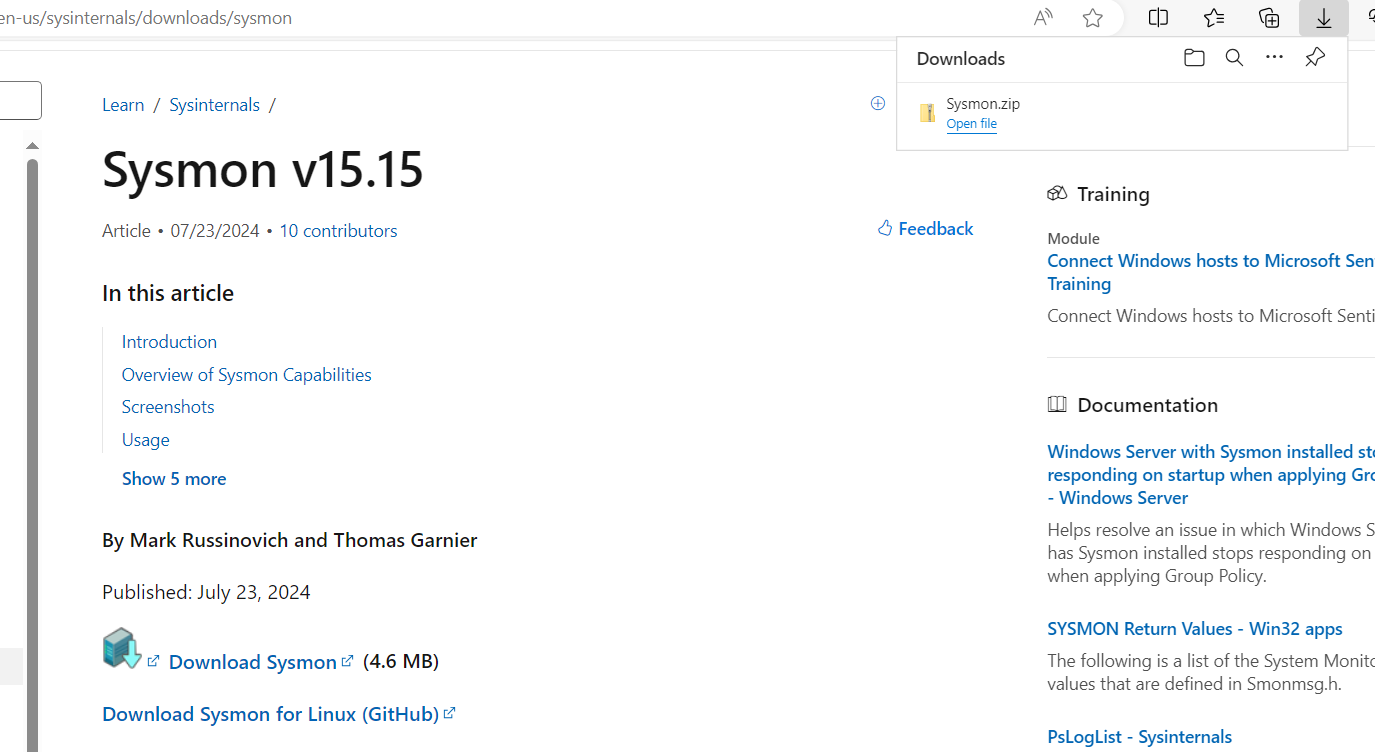
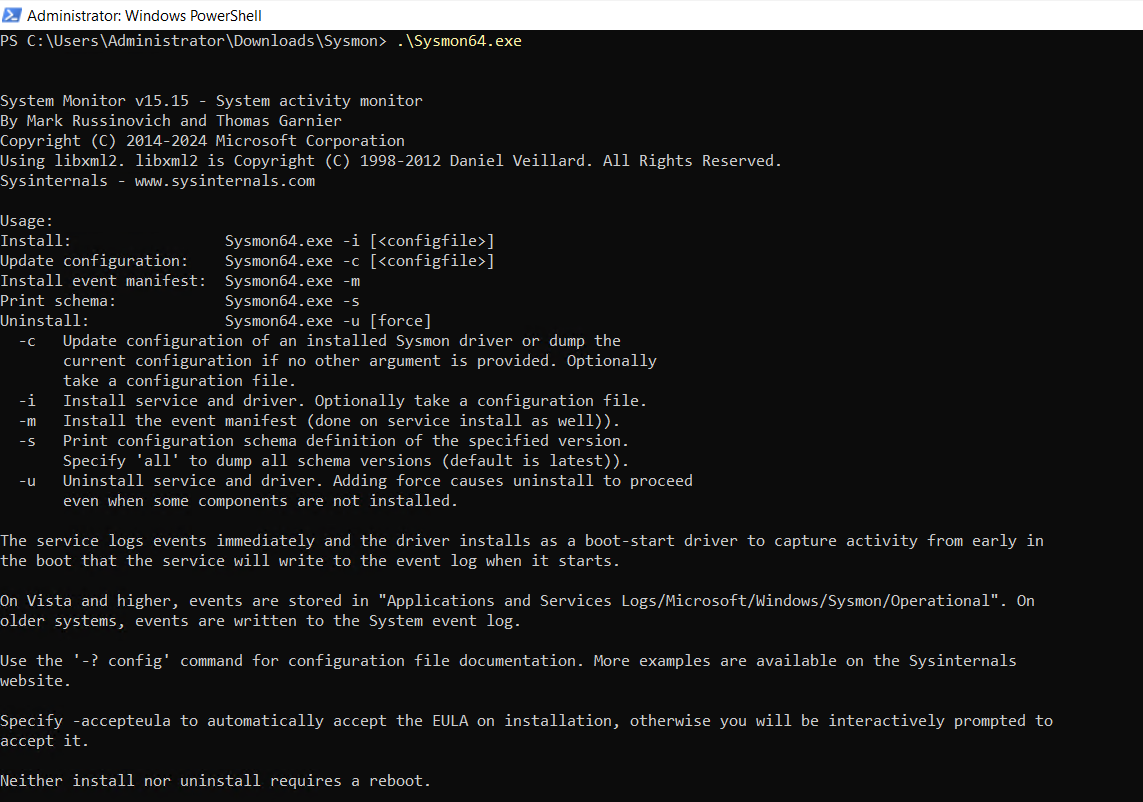
- Search for “Sysmon Sysinternals” online. Download the latest Windows version.
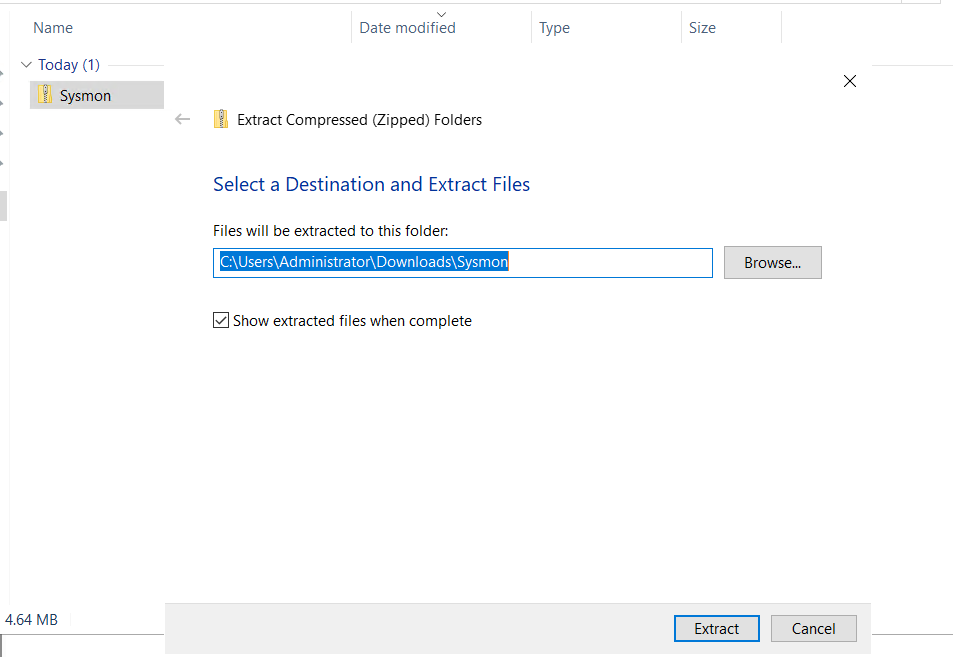
- Extract the downloaded files.
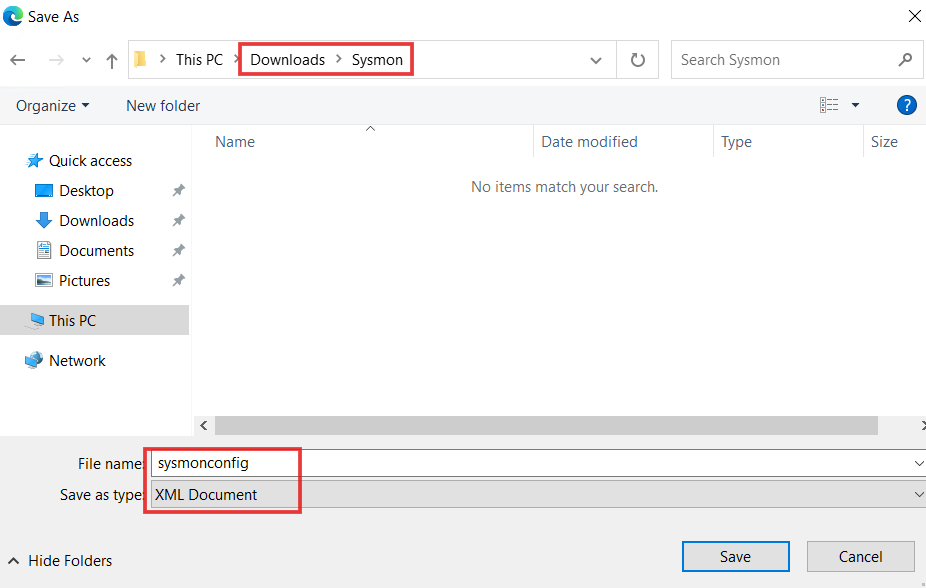
- For Sysmon configuration, use the Olaf GitHub repository. Search for “Olafhartong Sysmon config” and download the
sysmonconfig.xmlfile.
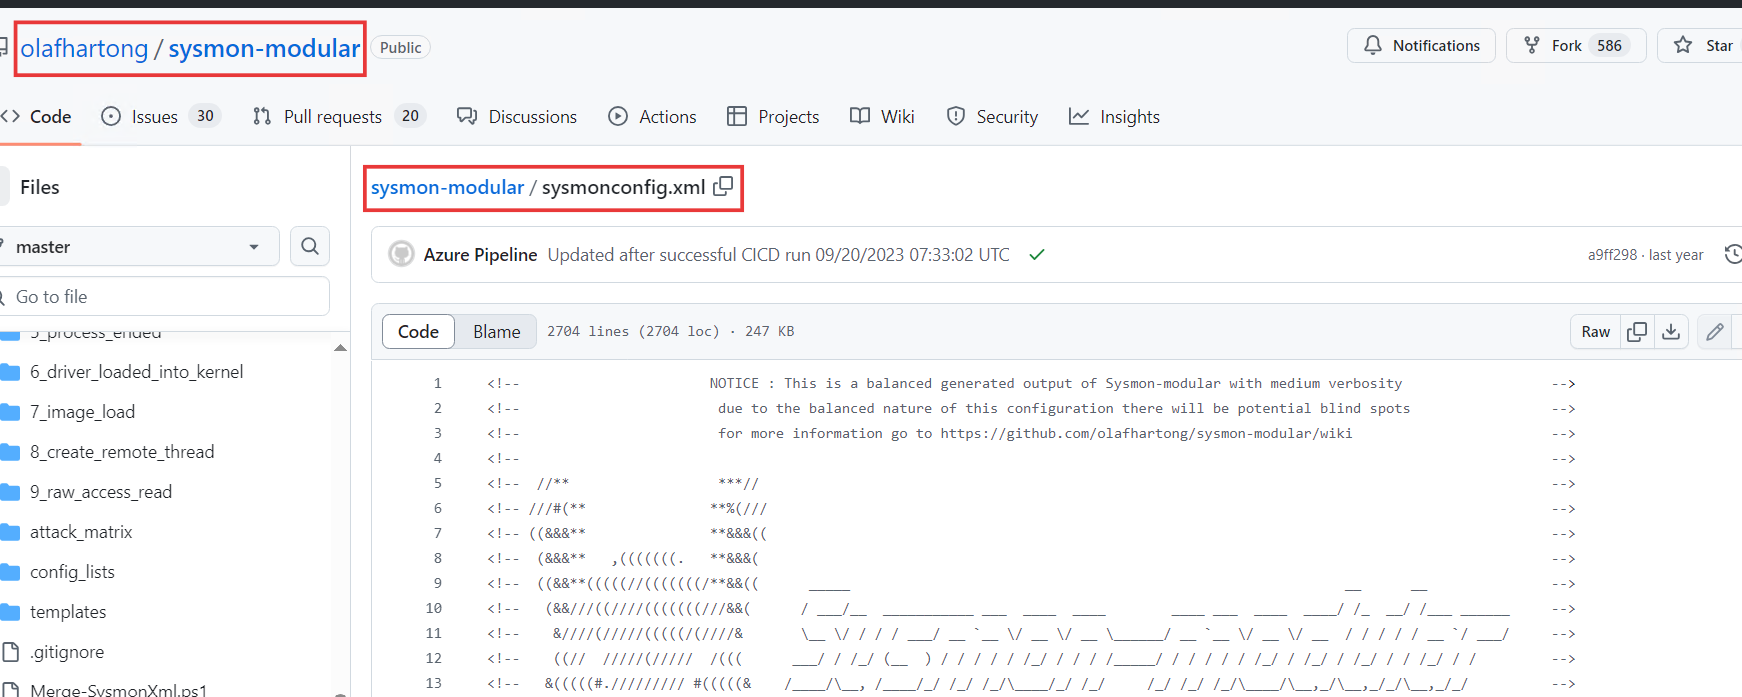
- Place it in the extracted Sysmon folder.
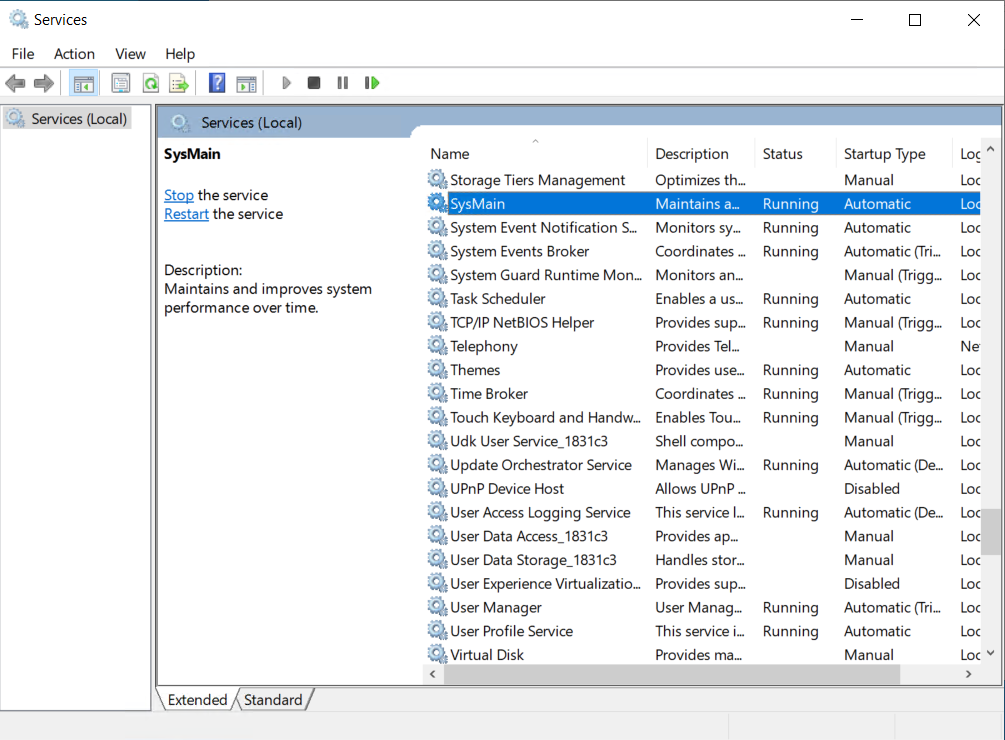
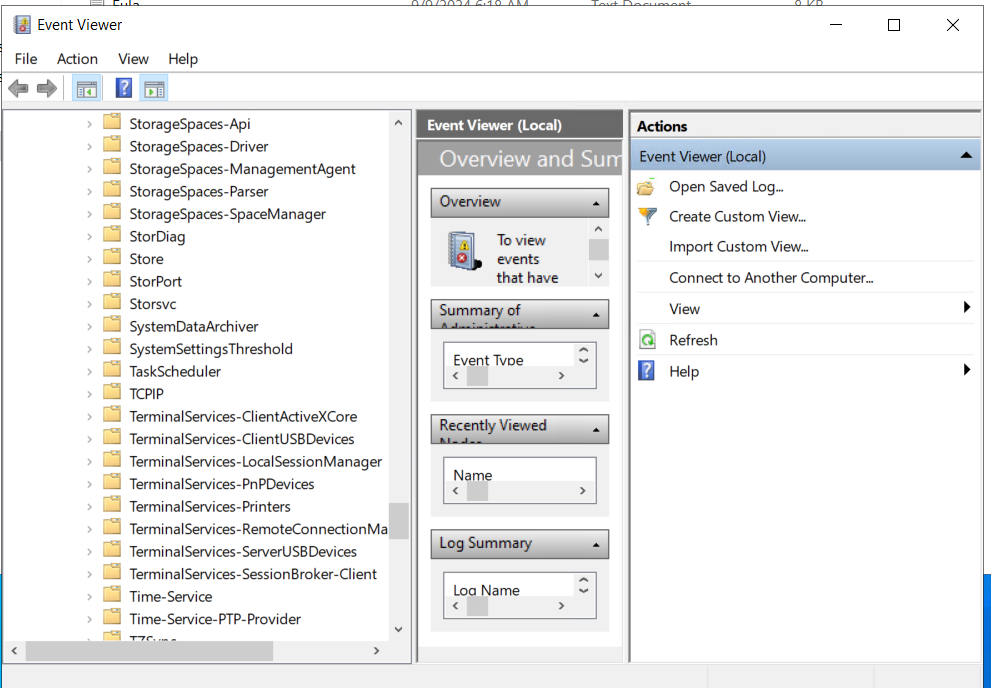
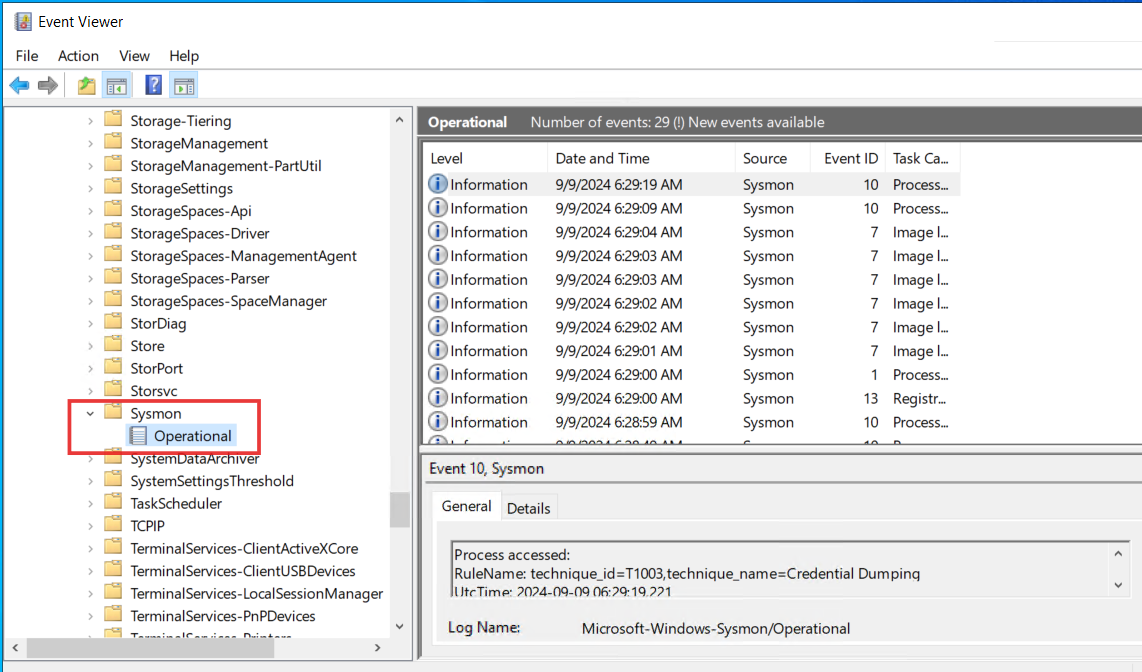
- Check if Sysmon is already installed in Event Viewer > Applications and Service logs > Microsoft > Windows and Services.
If not, proceed with the following:
Open PowerShell as an administrator. Change the directory to the folder where we extracted the sysmon. Then,
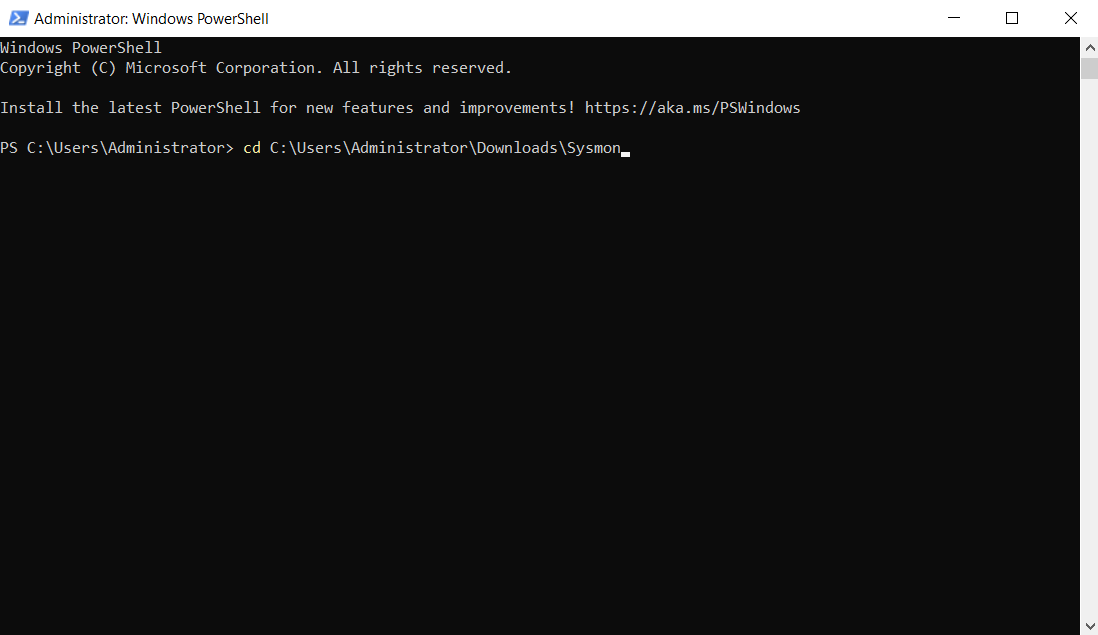
- Type
.\sysmon64.exein PowerShell to see available options.
- Install Sysmon using:
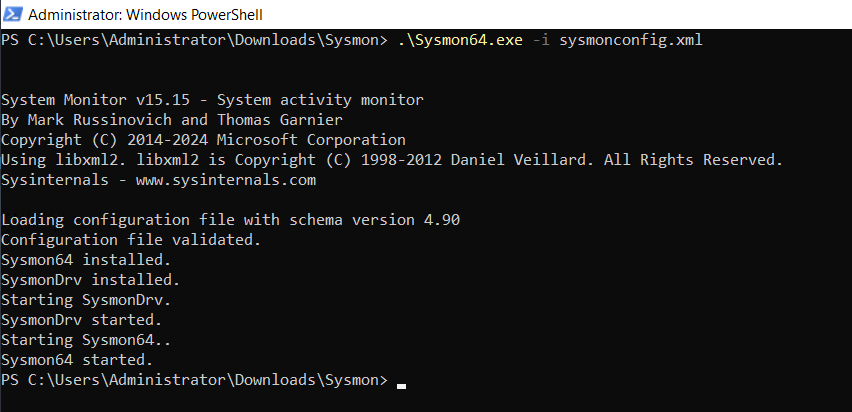
.\sysmon64.exe -i sysmonconfig.xml
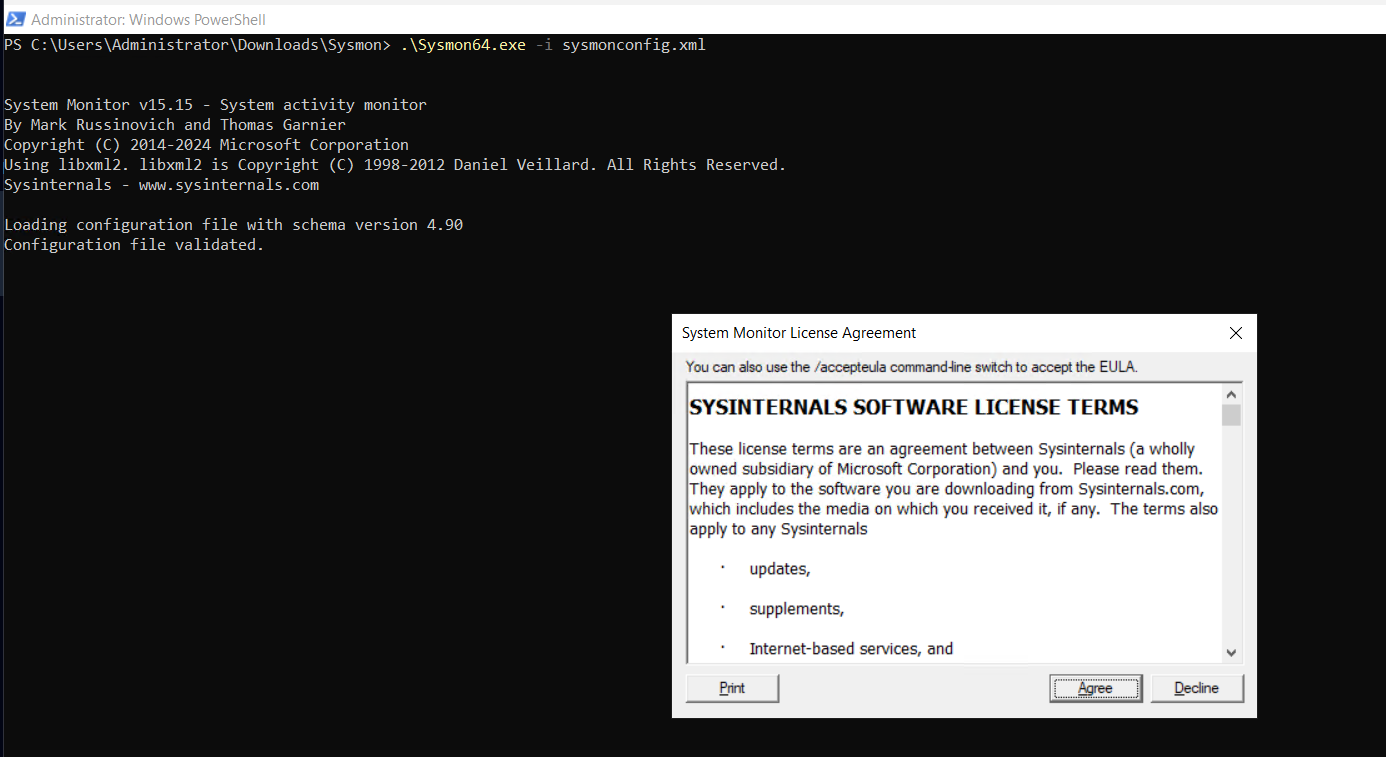
- Agree the Licence Agreement and the installation will be done.
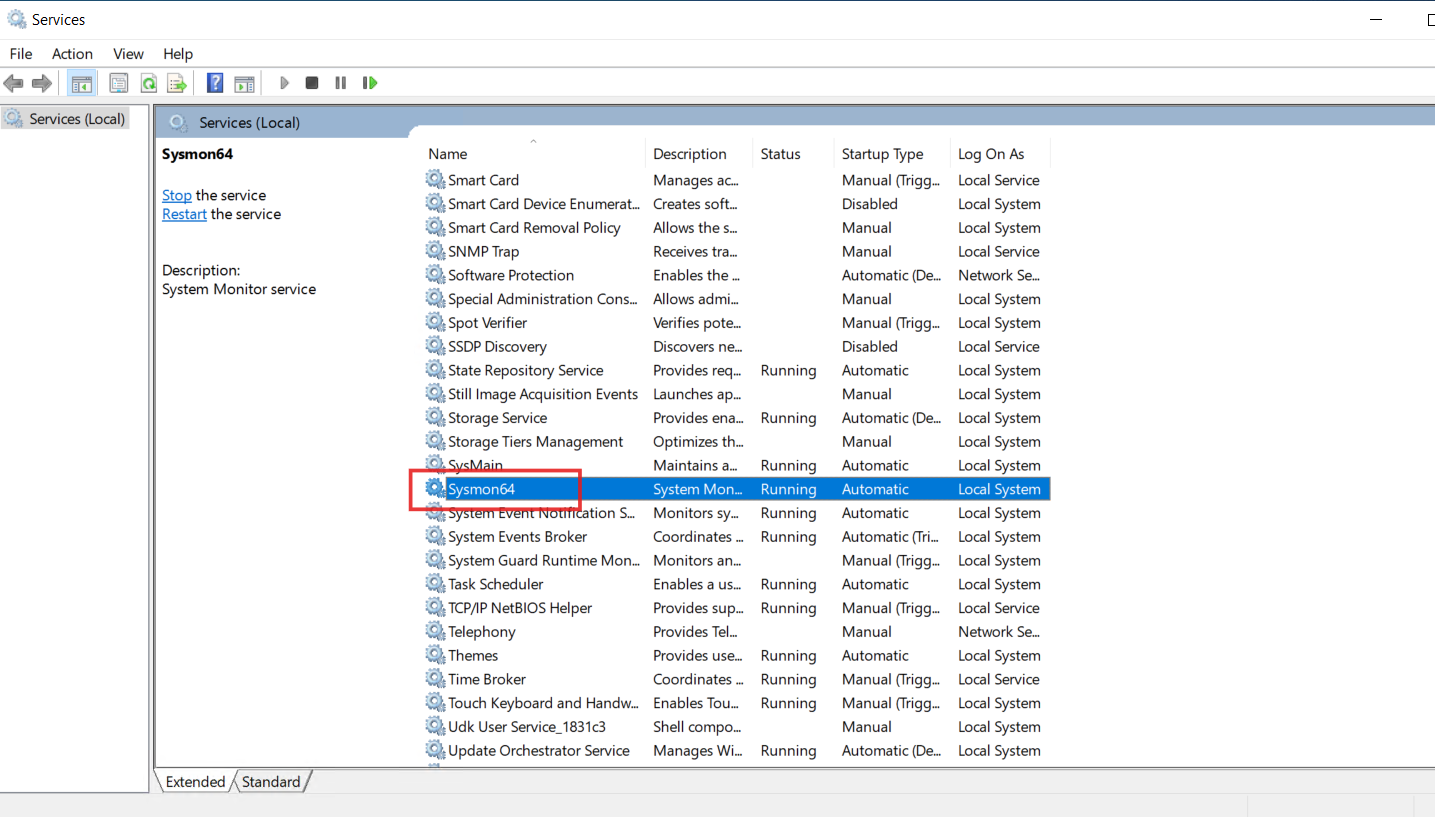
- Refresh Services and Event Viewer > Applications and Service logs > Microsoft > Windows to verify Sysmon’s status.
This post is licensed under CC BY 4.0 by the author.